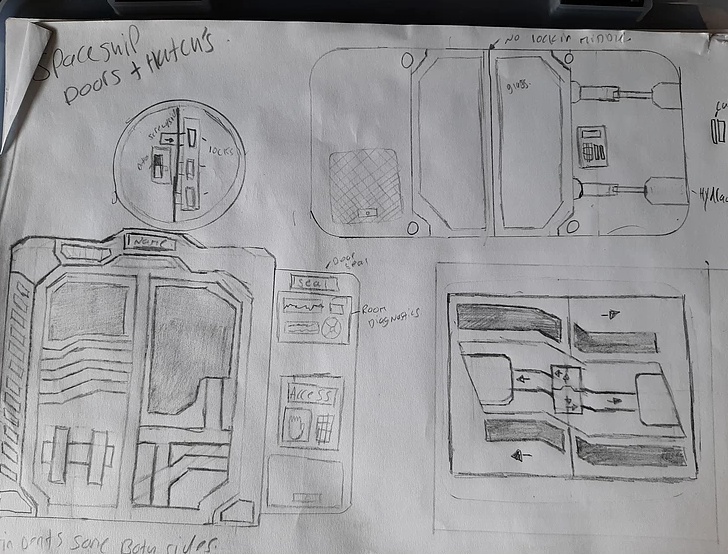
once I completed the “Kitchen” project I wanted to challenge myself again so I moved onto creating something without using any references or tutorials other than my own sketches/drawings and the ones I chose were from quite some time ago of these 4 Sci-Fi Doors and hatches.
(Not important but still) Normal people would make these doors from top left to bottom right but since I’m not normal and wanted to make the bottom right door last I decided to make them top left bottom right, top right then bottom left.
Link to the original Post On WIX: https://taminaionanimation.wixsite.com/taminaion/post/sci-fi-doors
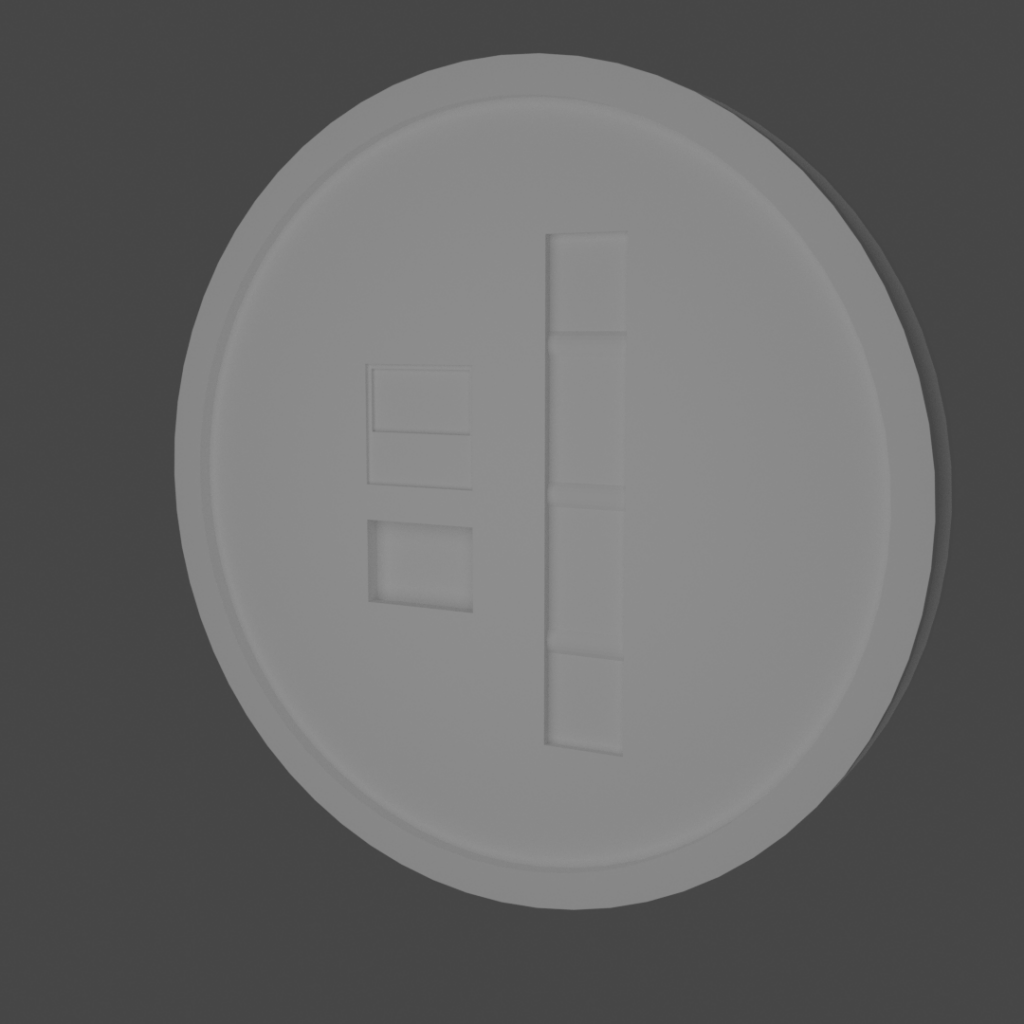
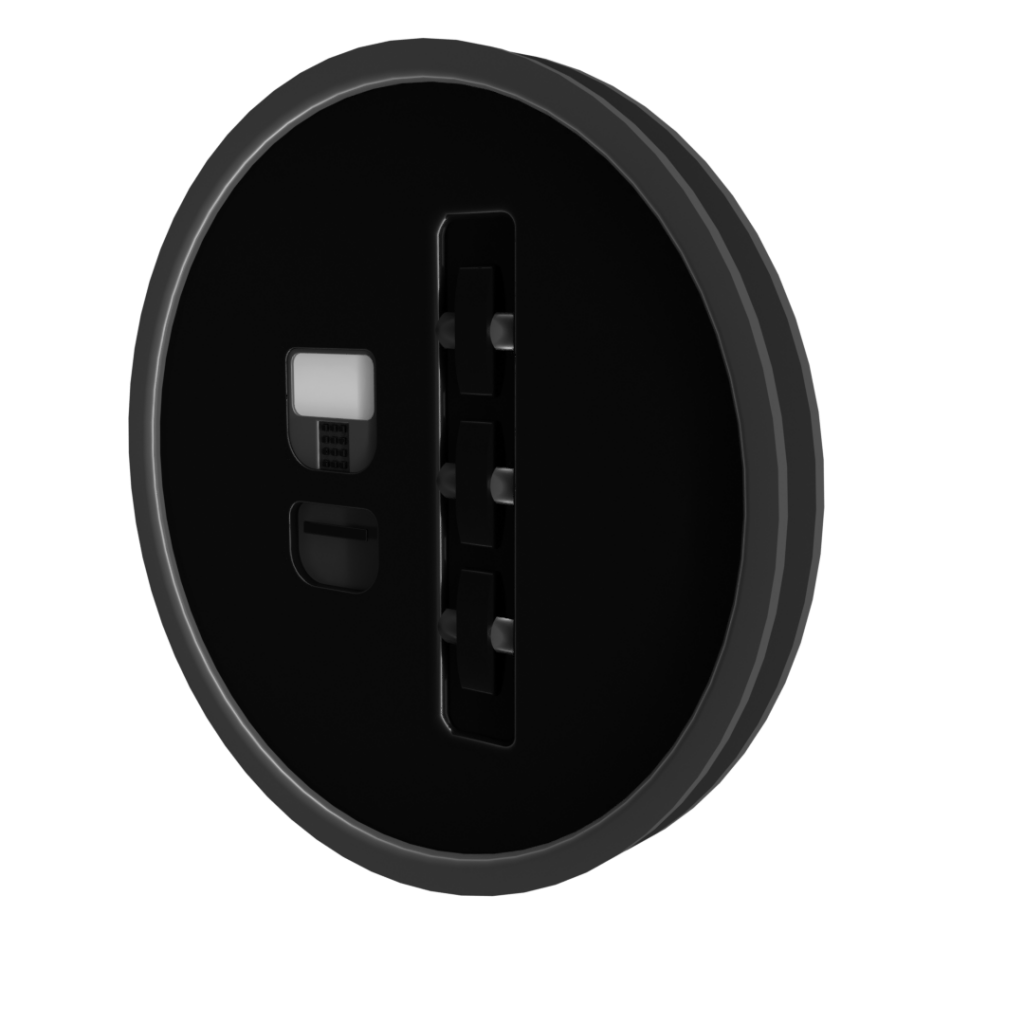
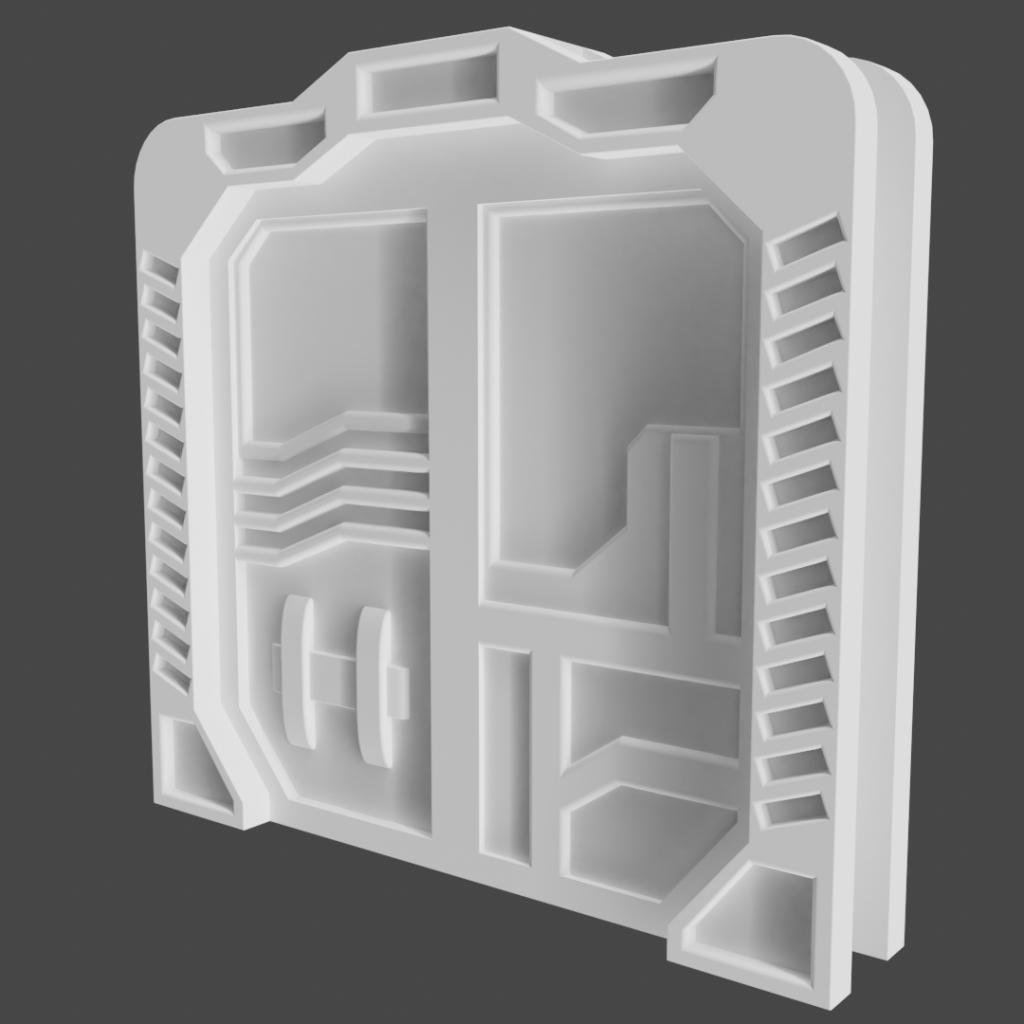
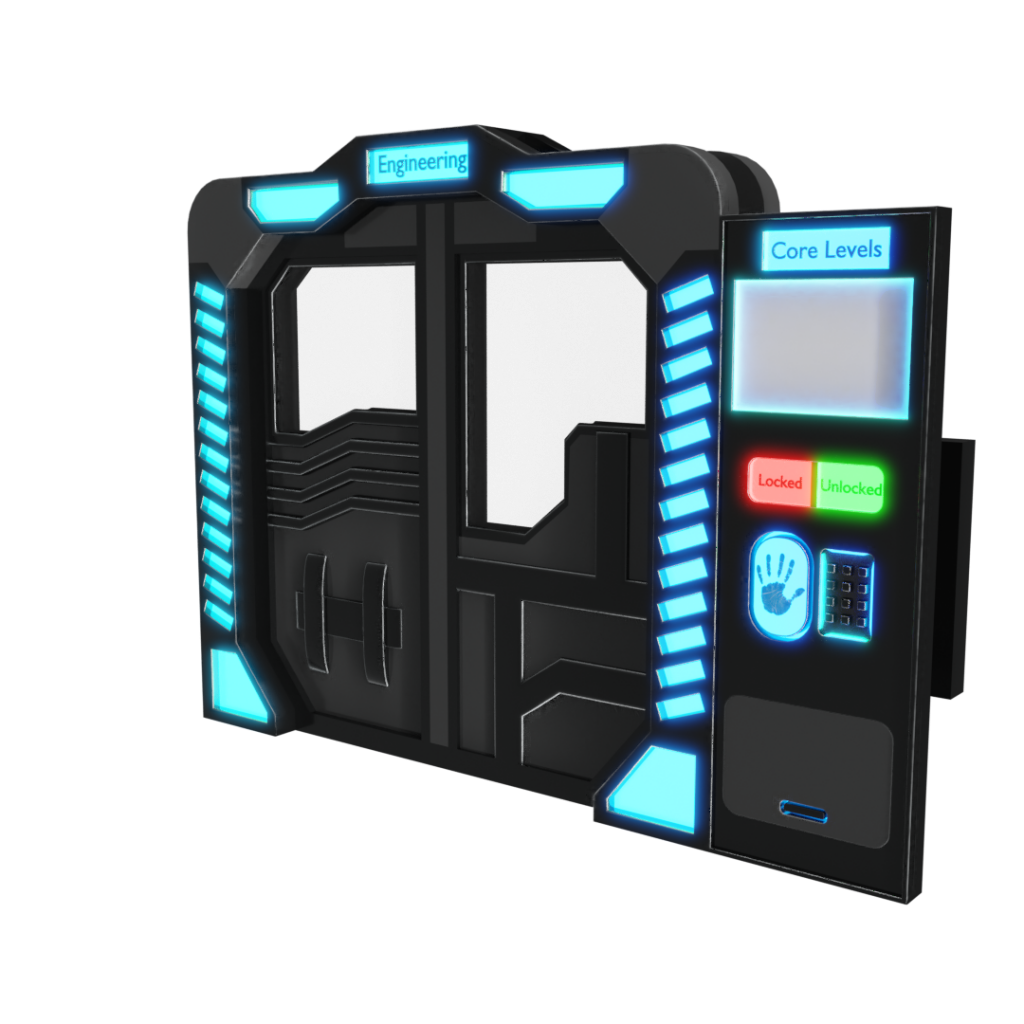
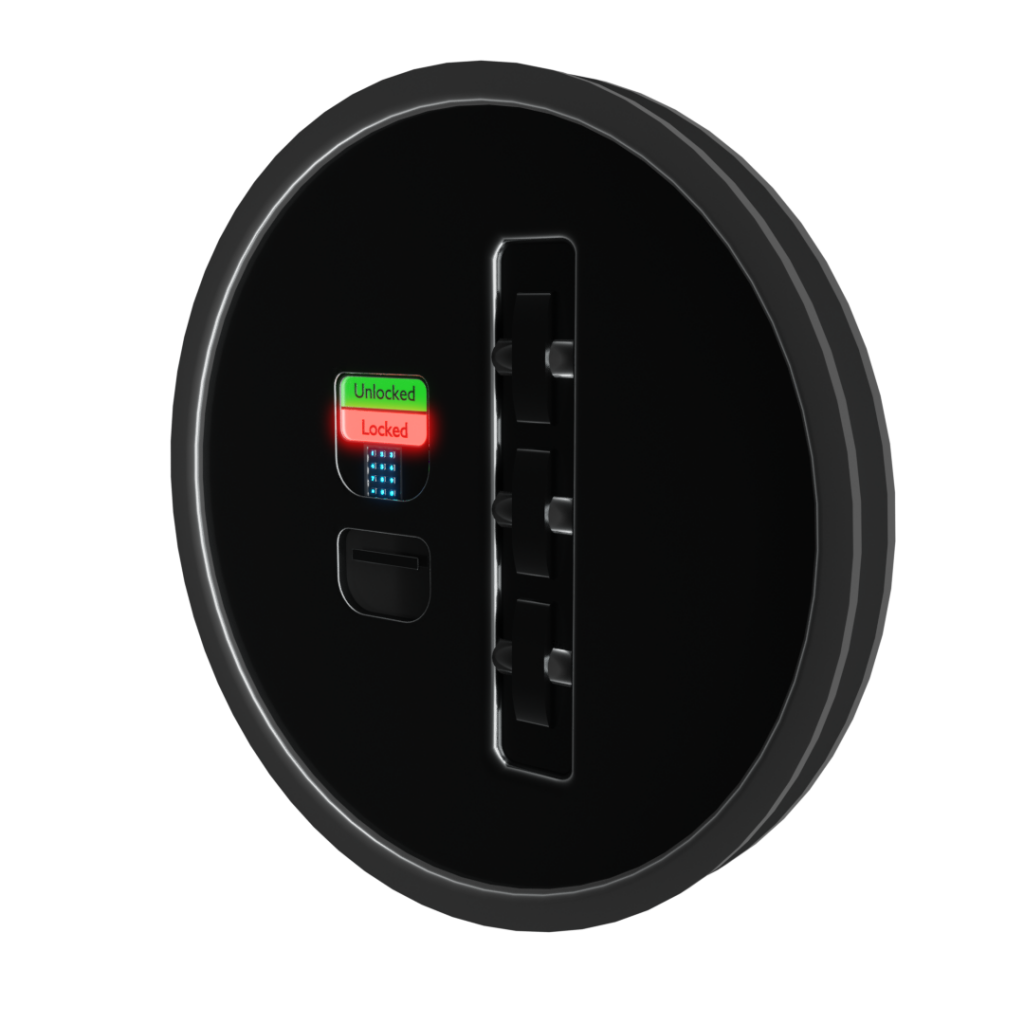
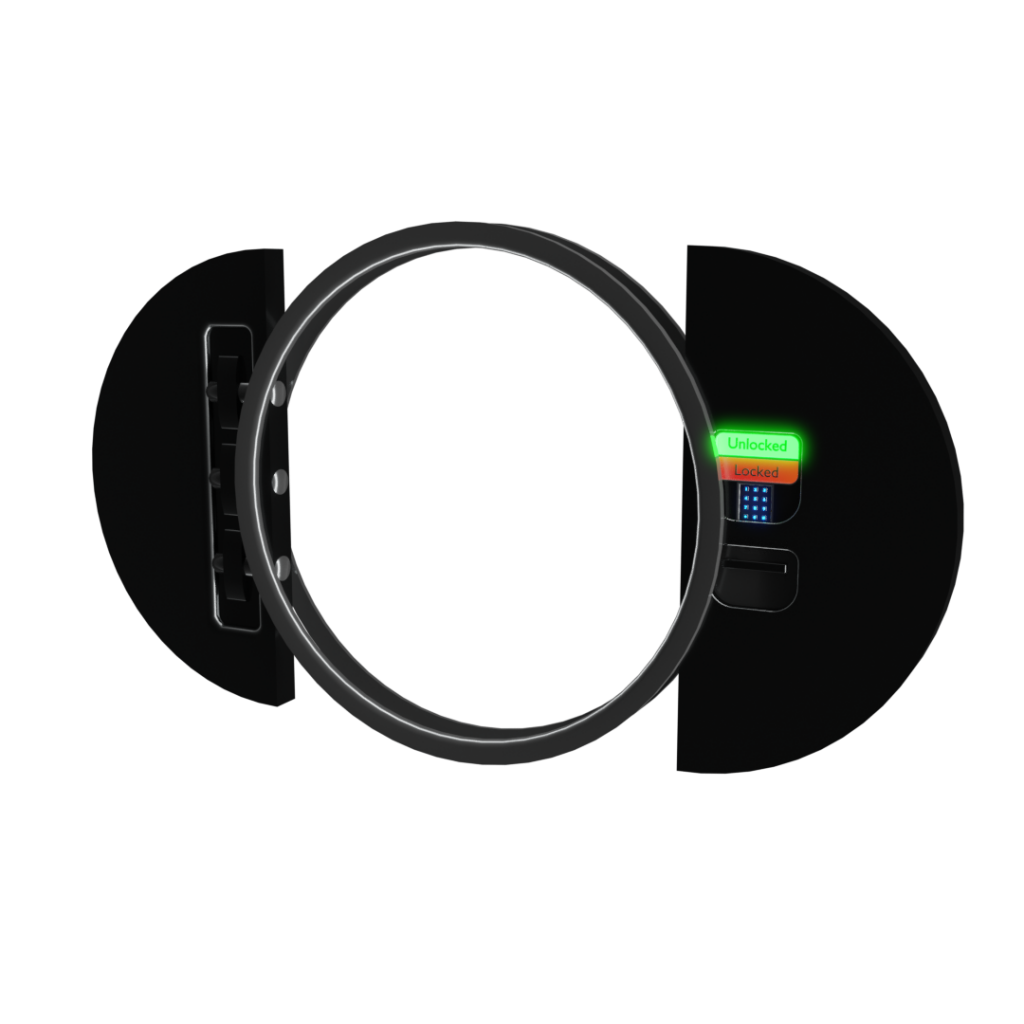
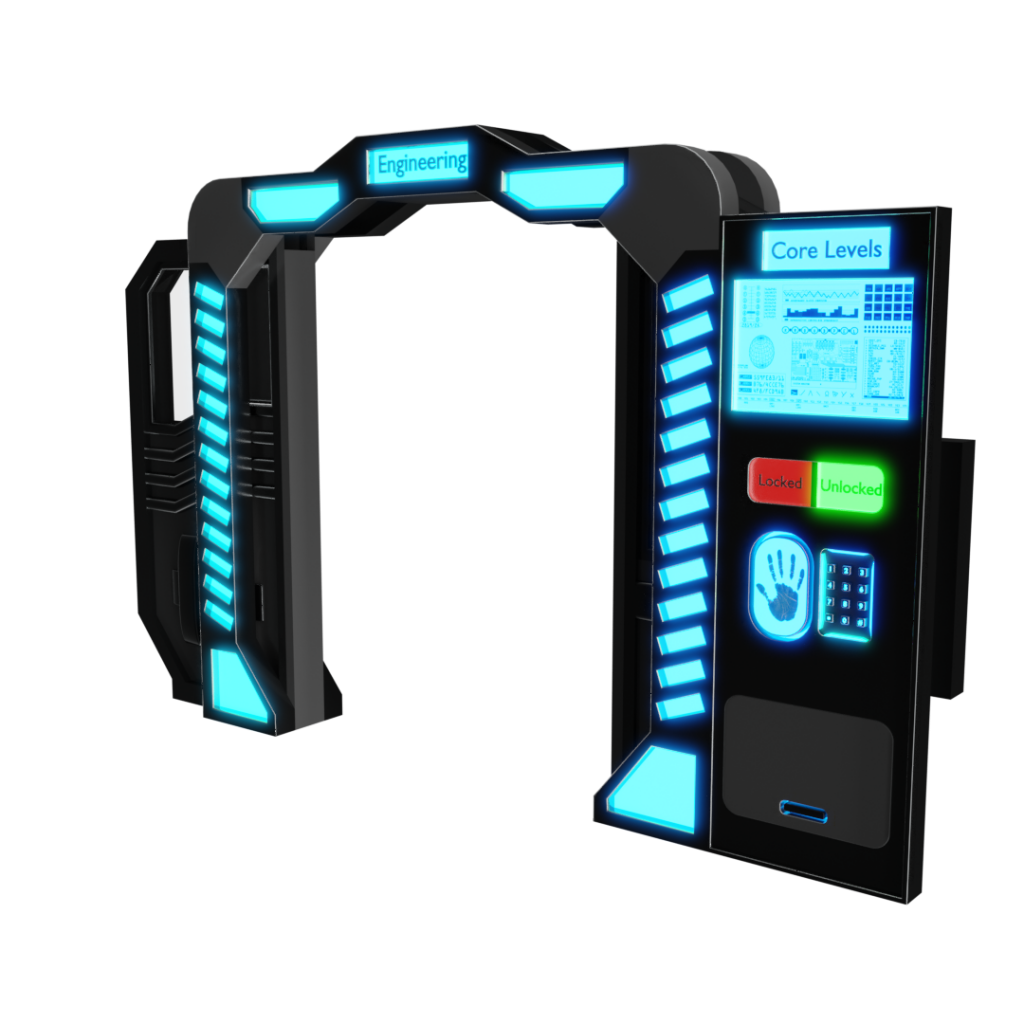
The first door is actually more of a hatch and out of all four is the second best one I actually created out of four and originally I didn’t plan on really making any animations but whilst I was making the doors I thought up this animation in my head for the first door which is the only door that actually has a locking mechanism built into the model so I decided to make a quick animation once I had made all the models.
I rendered the first video at 35 frames and then for the second I just slowed it down by a factor of 4 for 140 frames.
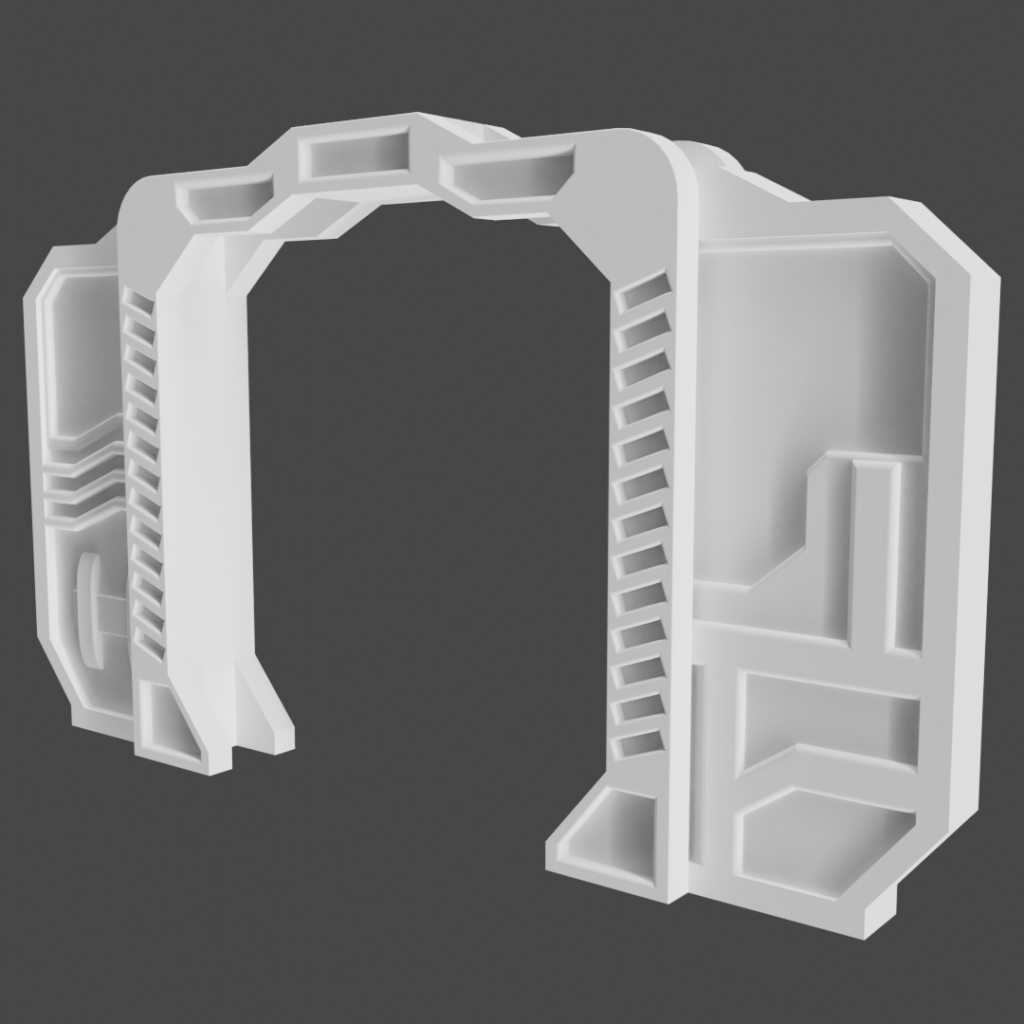
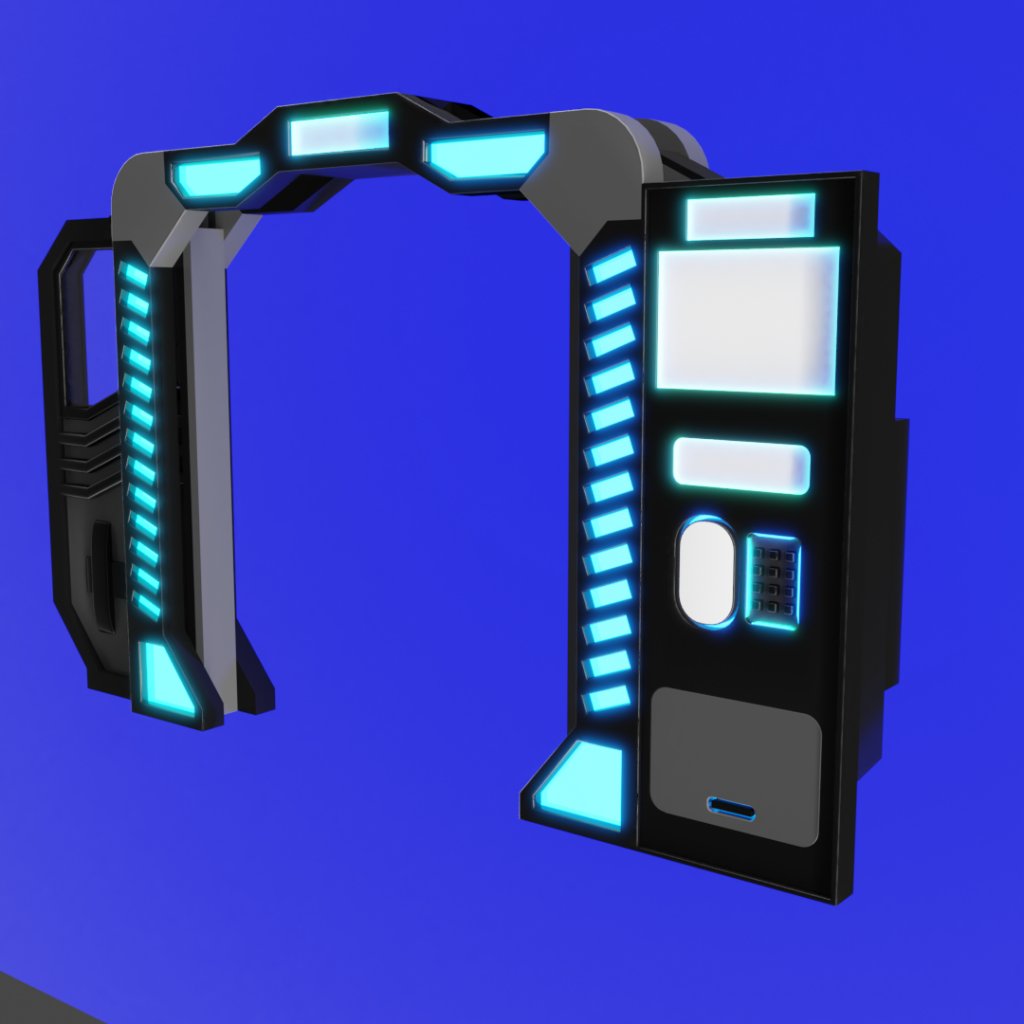
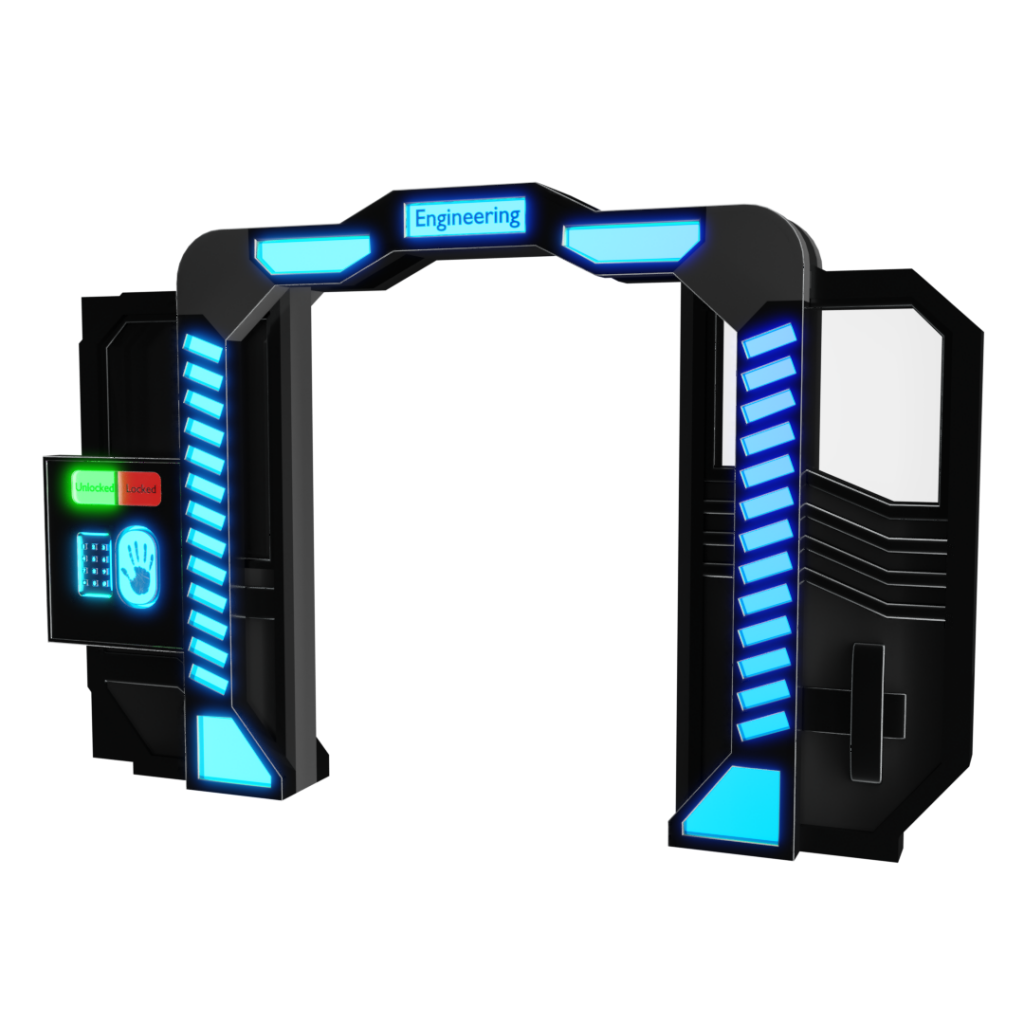
I realized early on into the second door that it was going to be more trouble than its worth to make since this is the door I wanted to originally animate but it ended up being more trouble than I could see so I ended up abandoning this one.
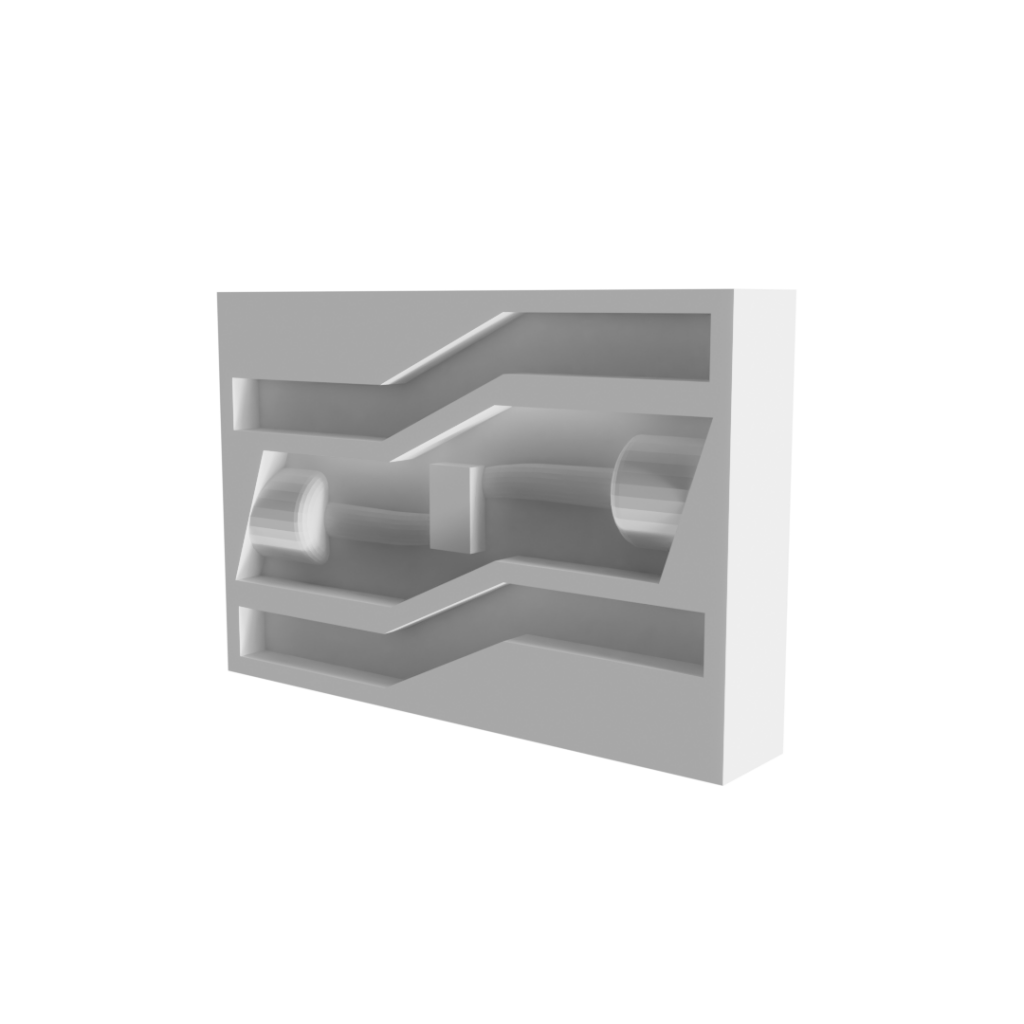
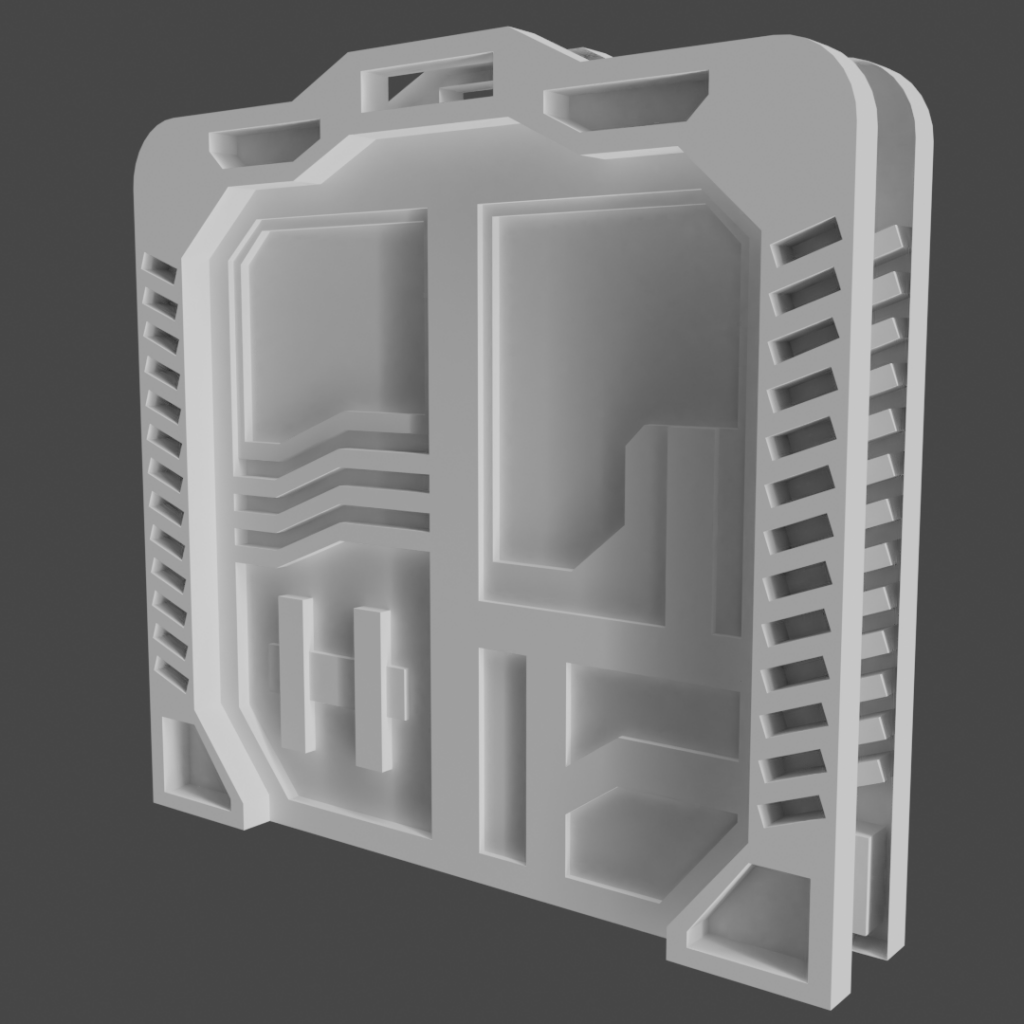
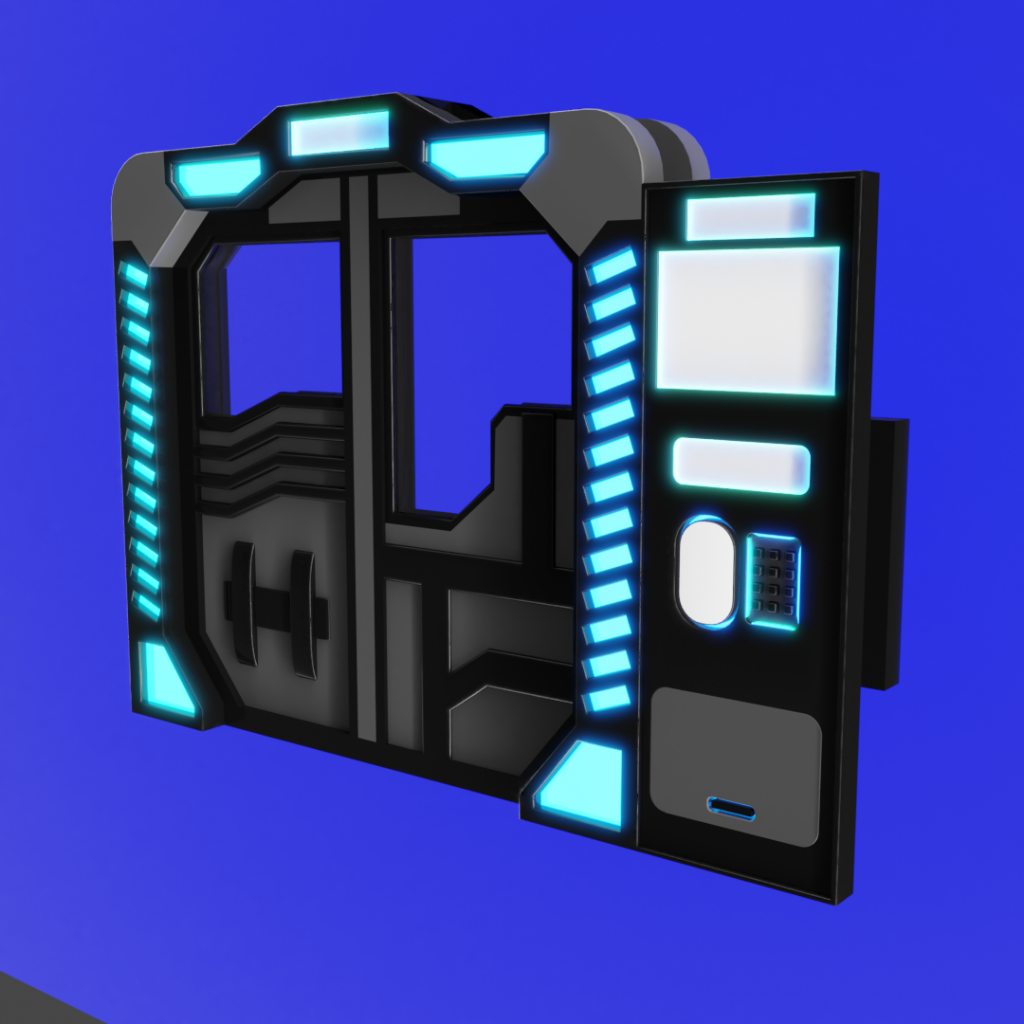
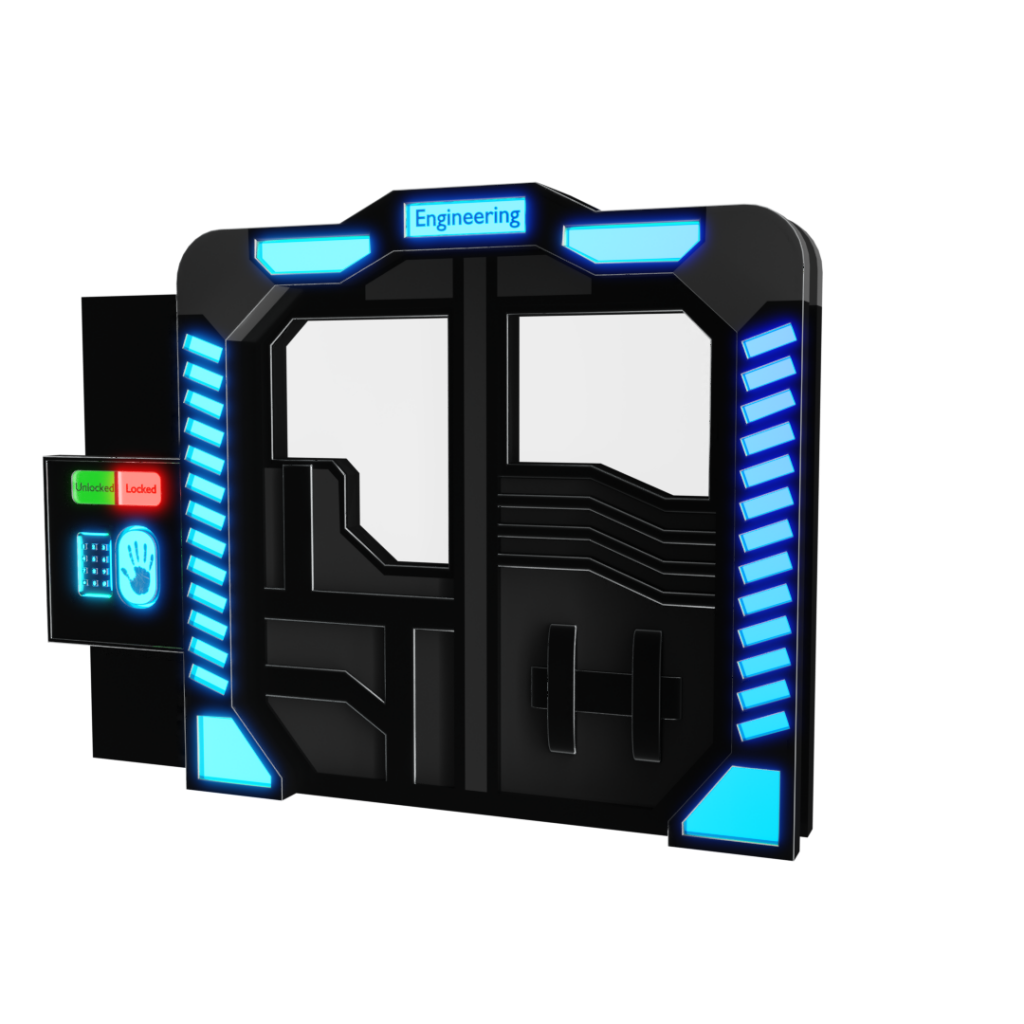
The third door is kind of lame and does not have much of a look to it since there was not much going on with this door and to be honest I didn’t even bother to make the locking mechanism indicated on the drawing I made.
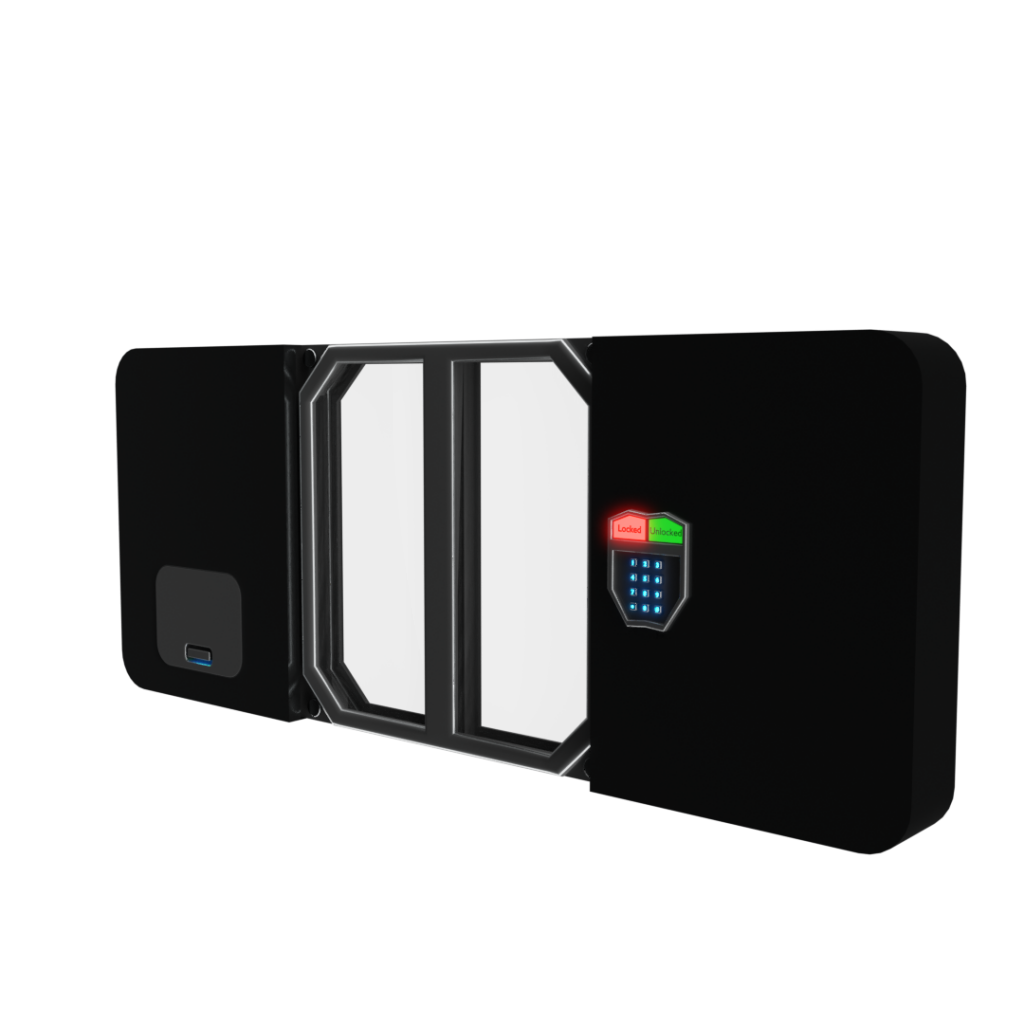
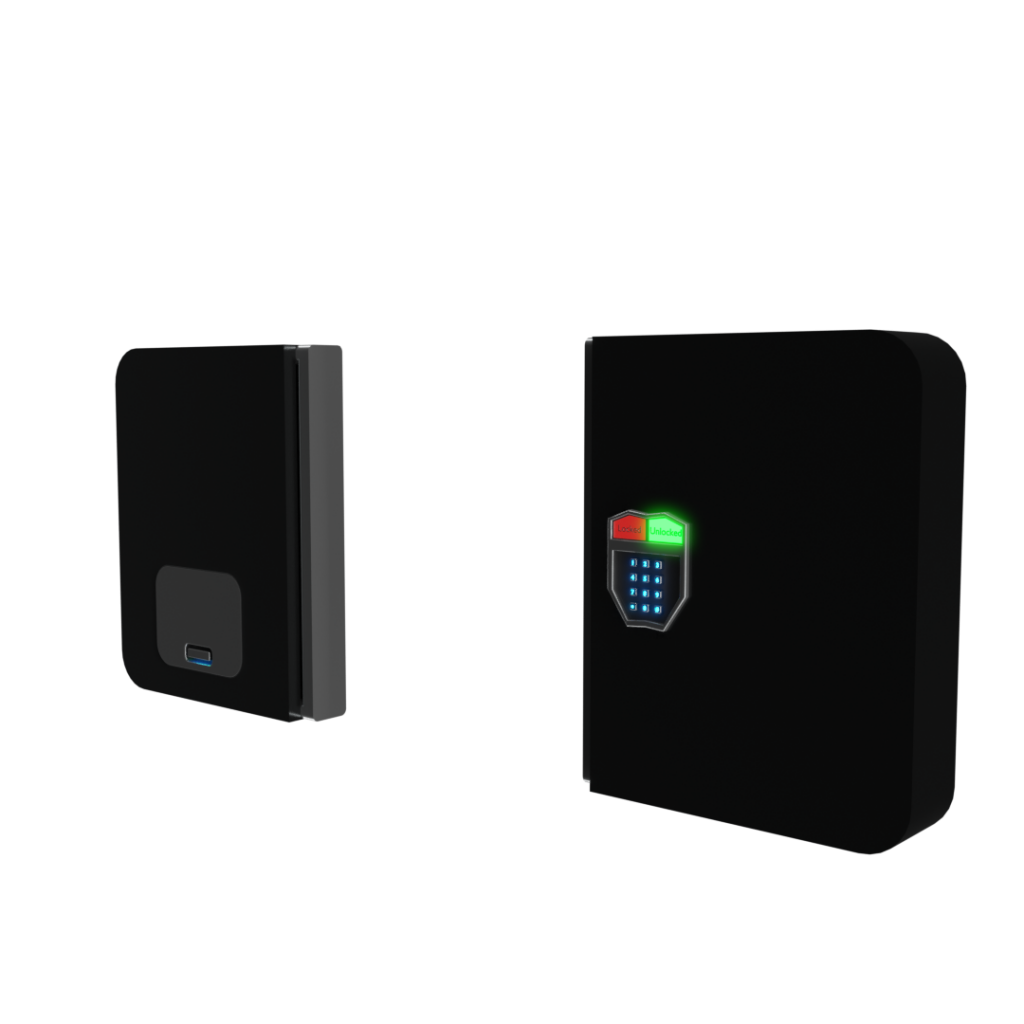
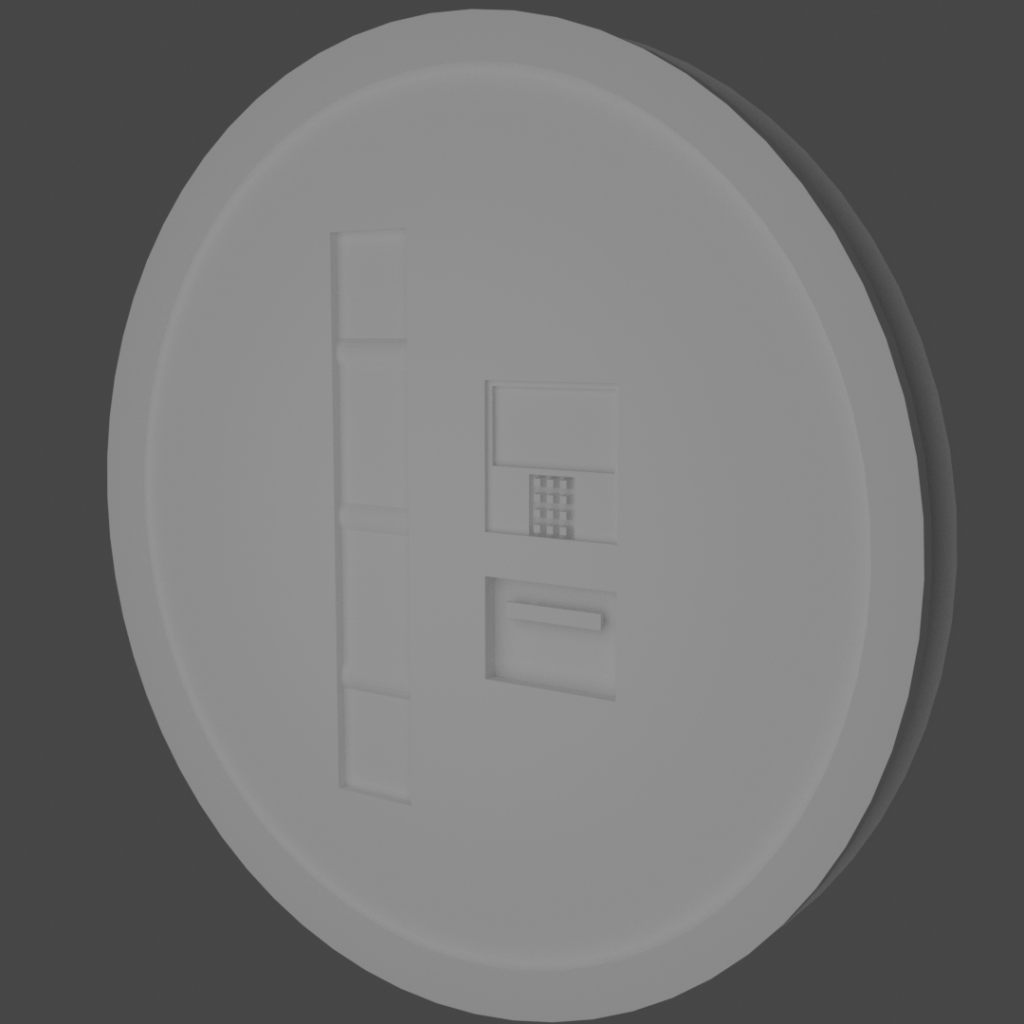
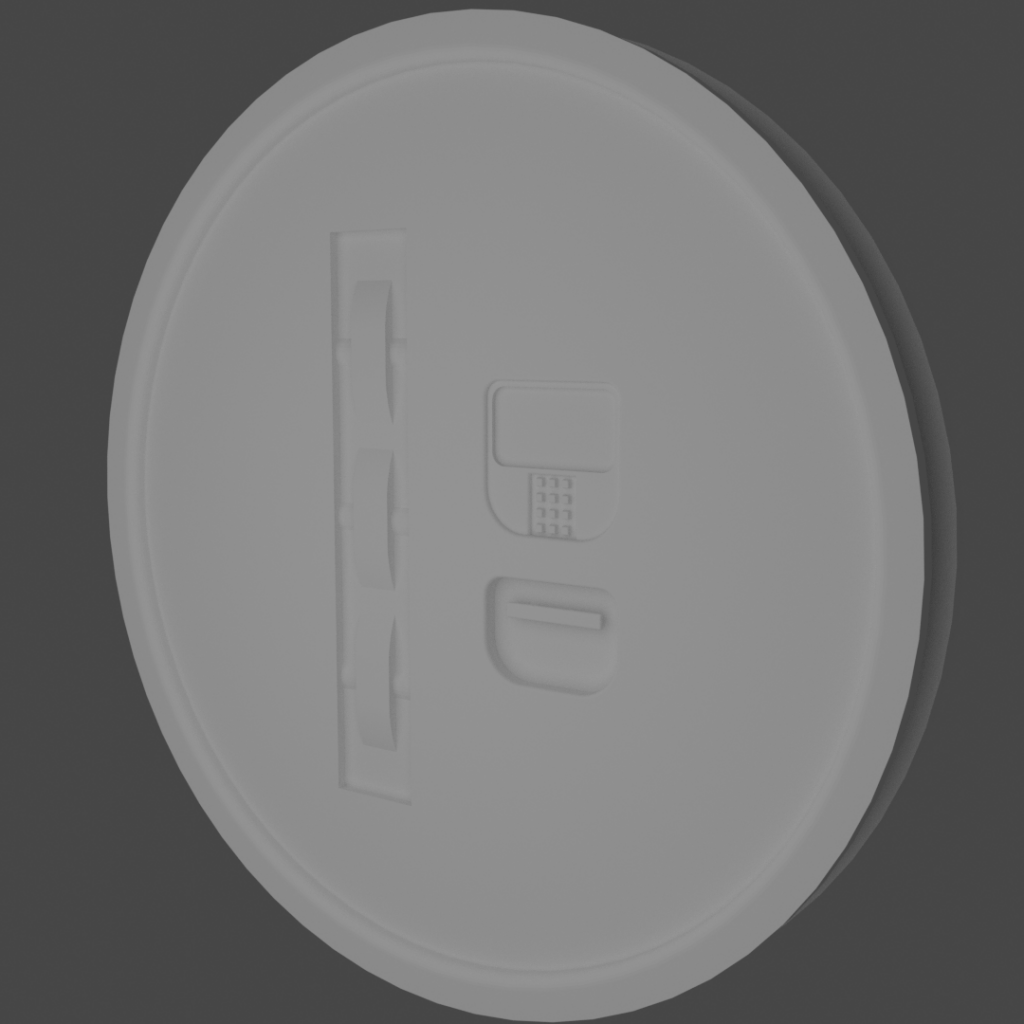
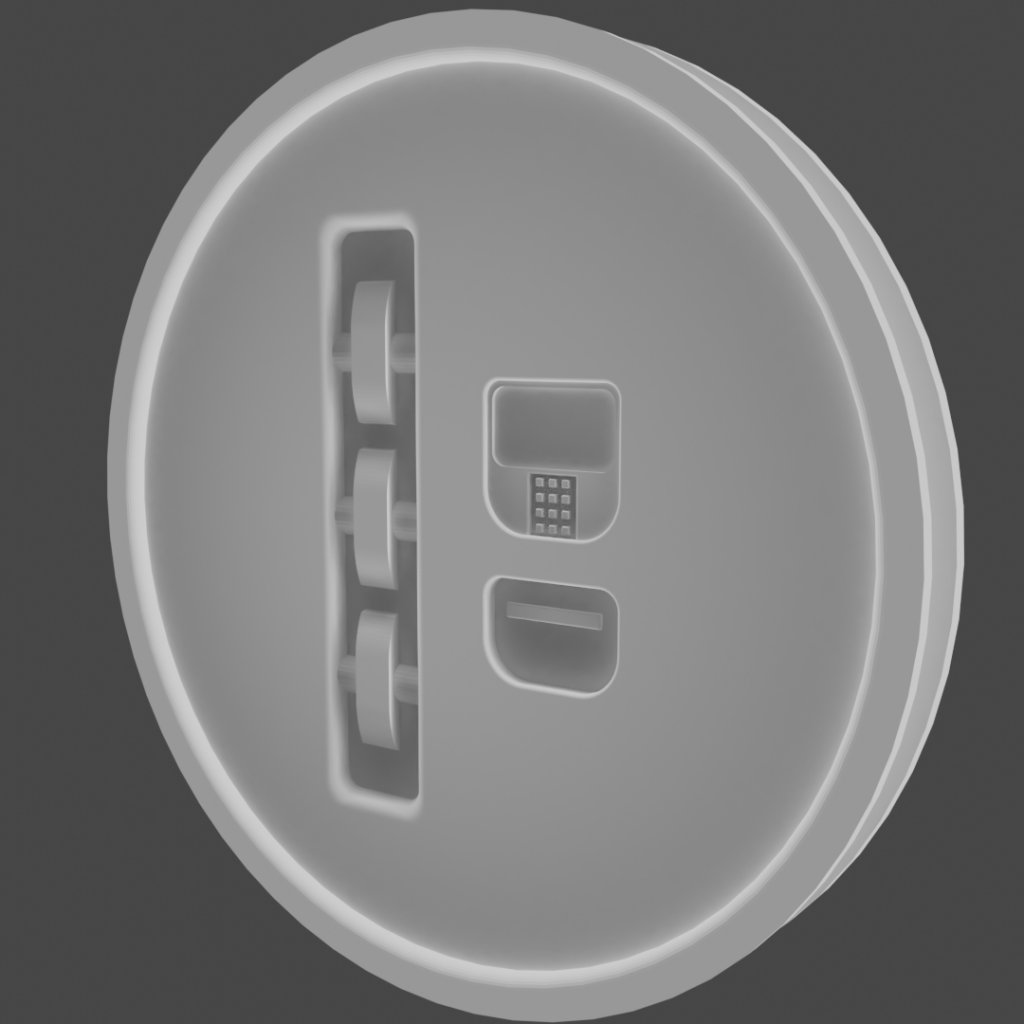
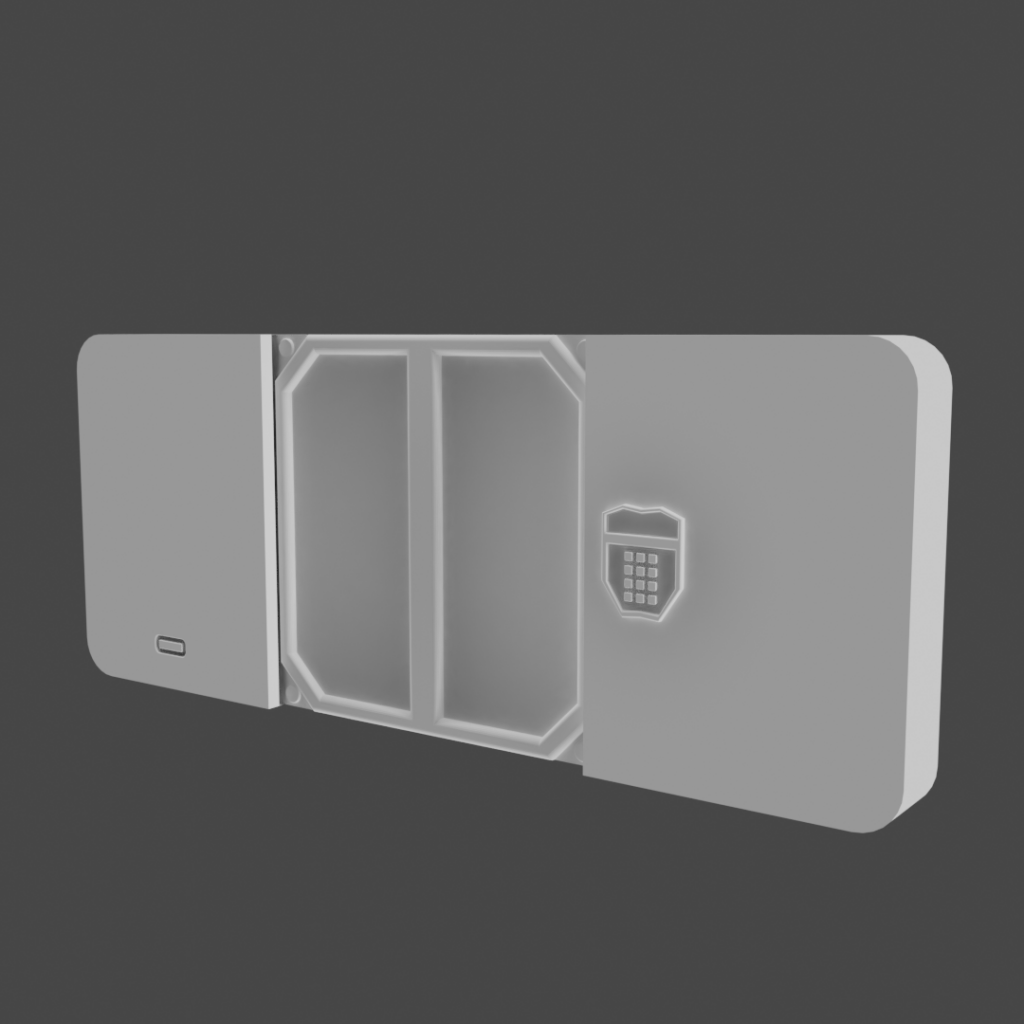
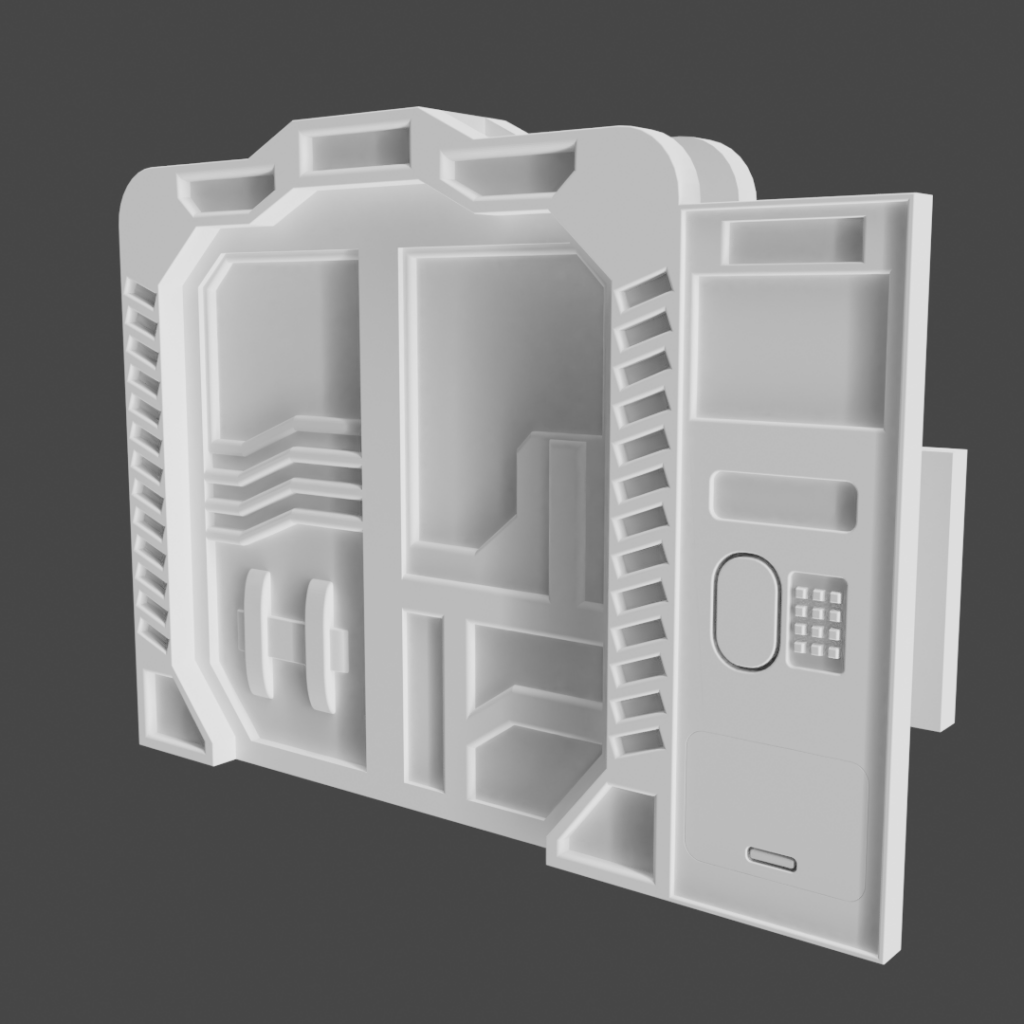
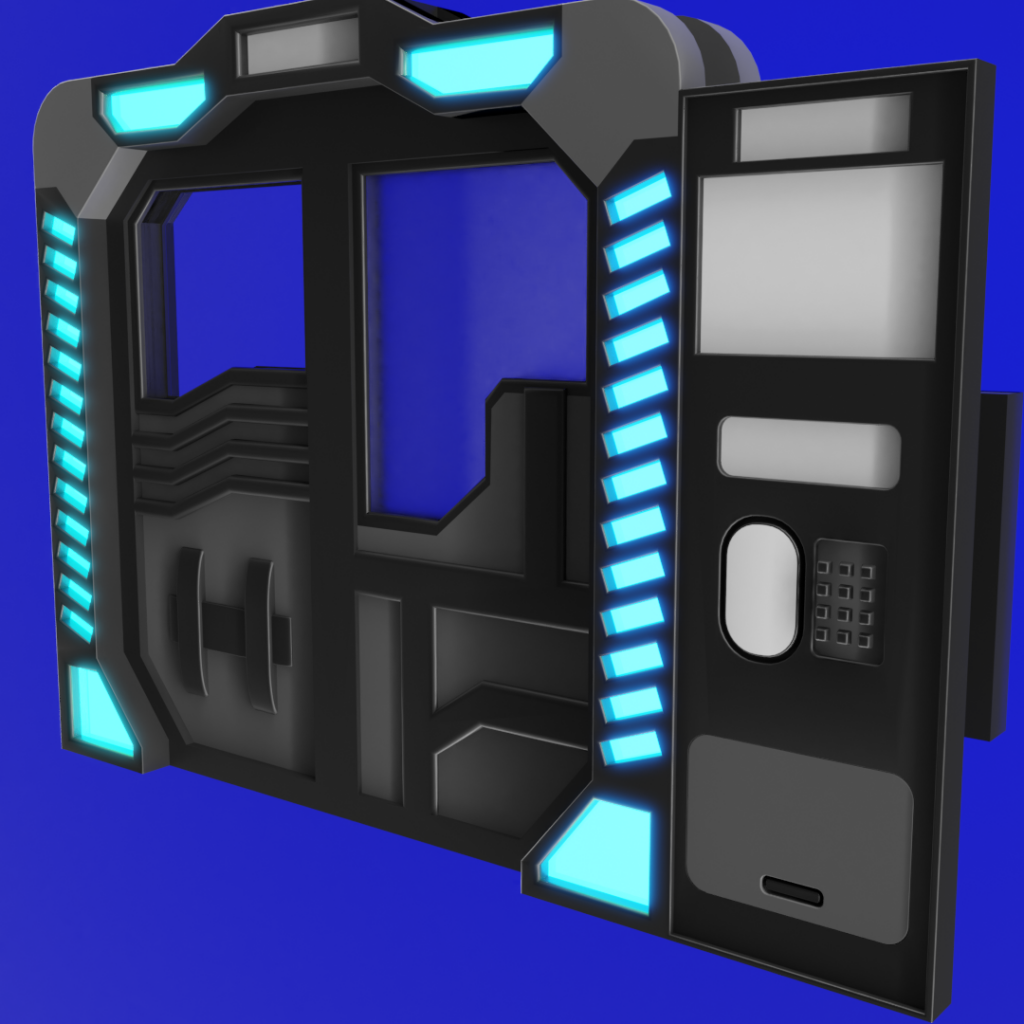
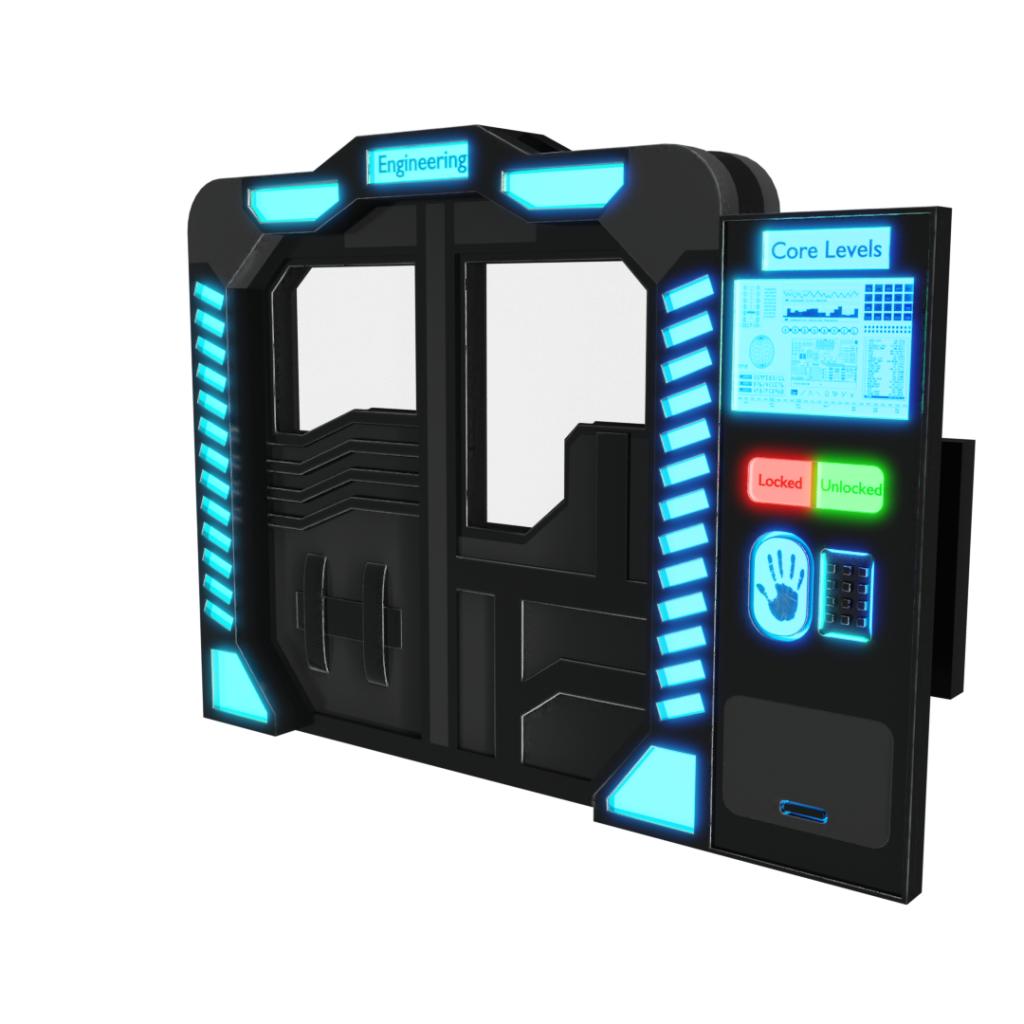
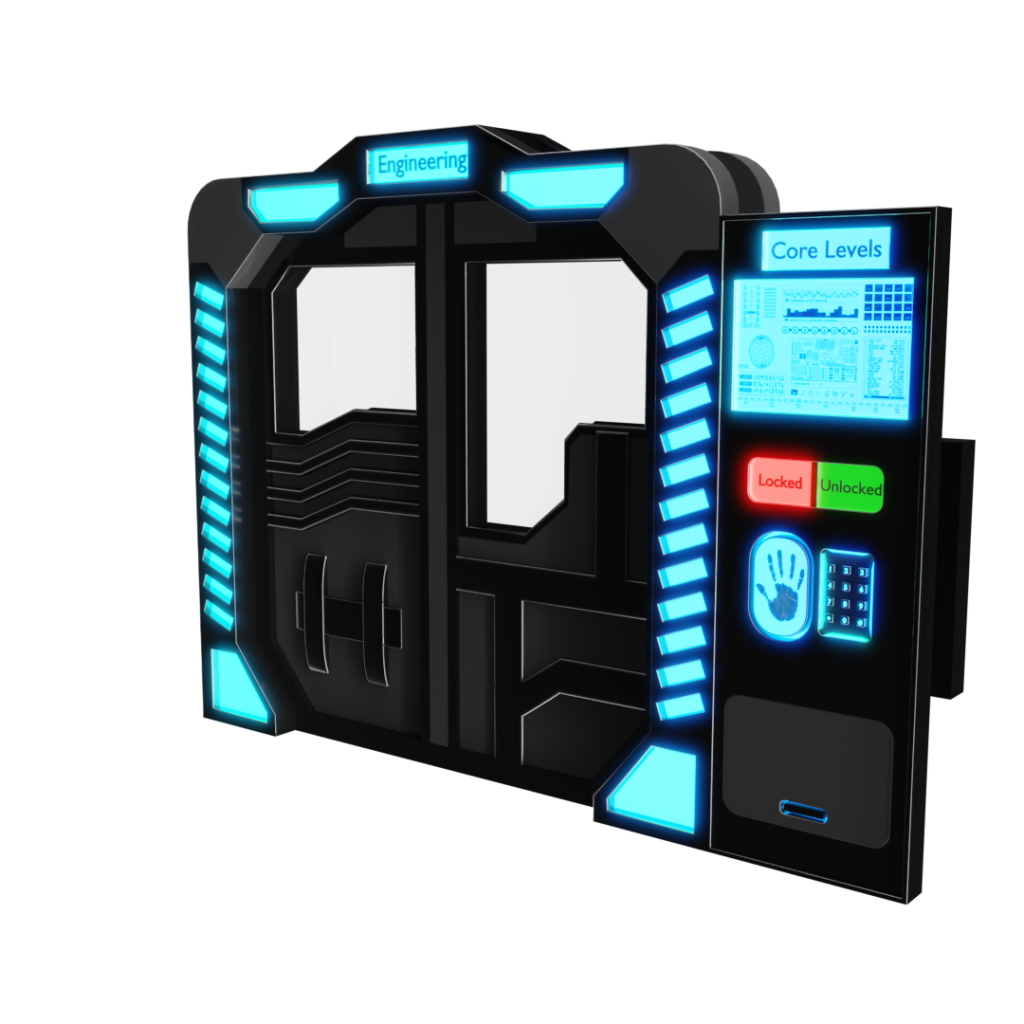
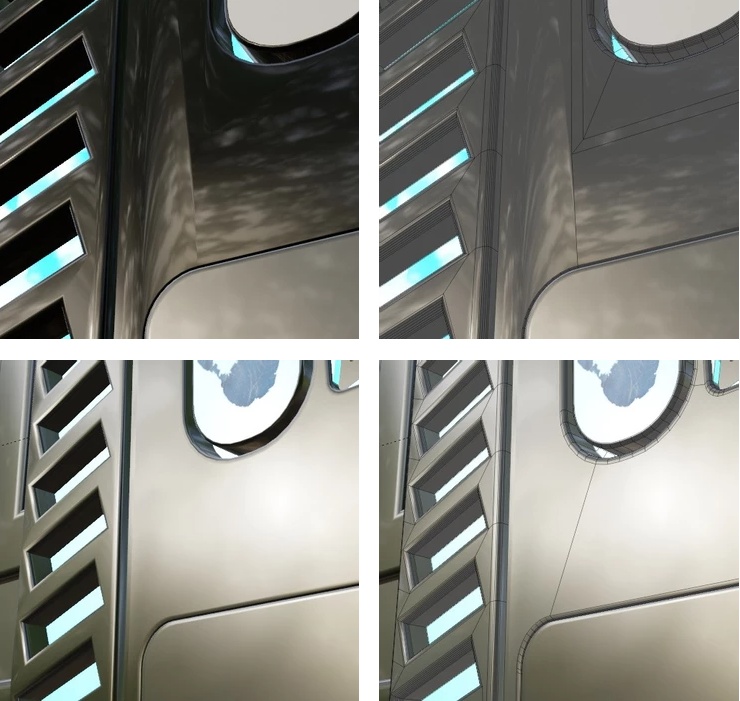
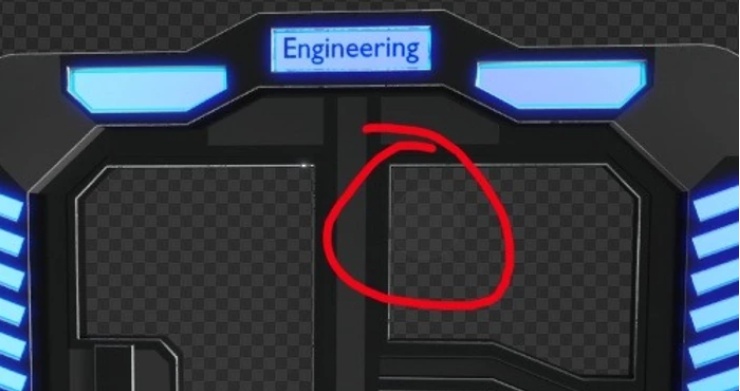
The forth and final door was the one I spent the most amount of time on since I wanted to make this one look the best out of the four because it had extra screens for “diagnostics” and a biometric hand scanner built into the side and I wanted it to really look the part so I spent about 3-4 days just working on this one model and I didn’t make my own textures I just put some basic materials onto it and applied some PNG’s for the screens.
An issue I ran into while making these models is one that I bumped into quite a lot during some of my previous project on a few of my models and especially in the “Kitchen” project.
The solution that I found to be most effective is to add in more geometry so that when the smooth shading is applied it has more points to smooth over rather than one or two.
For the Diagnostic and biometrics screen I went online and found two images that would suit my needs and tweaked them in Photoshop so that they where the right sort of color and then I made my lights the same sort of color.
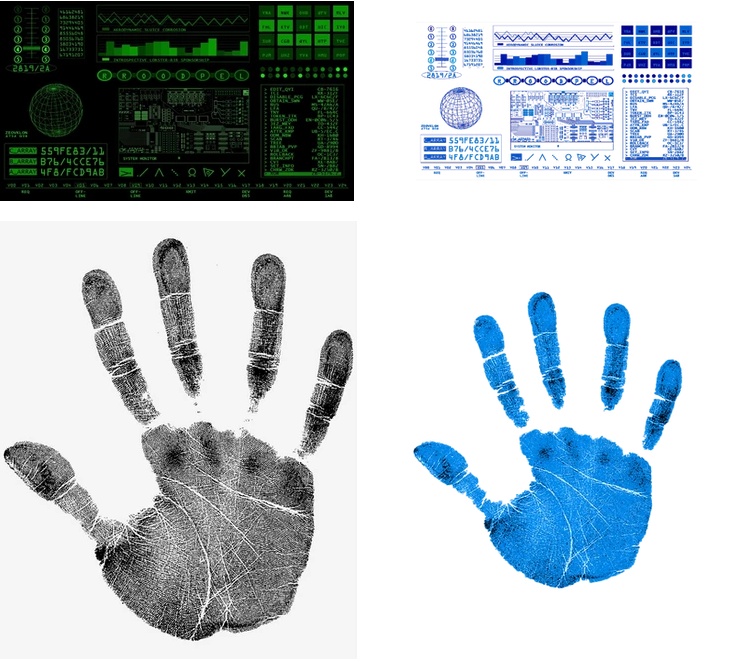
The first of the two images I tried to add was the biometric handprint and I set it up with a mix shader node that would blend both my light and my PNG together and it did the thing I wanted it to but I also wanted to be able to change the color of the handprint without affecting the color of the light seen in picture 2 and I tried for about an hour to fix the issue of it going pure white before I posted the problem on “The Blender Hub” Discord which someone pointed out that it was an easy fix of using the ALPHA channel as my factor input (Picture 3) and then inverting the Shaders (top and bottom of the mix shader Picture 4)
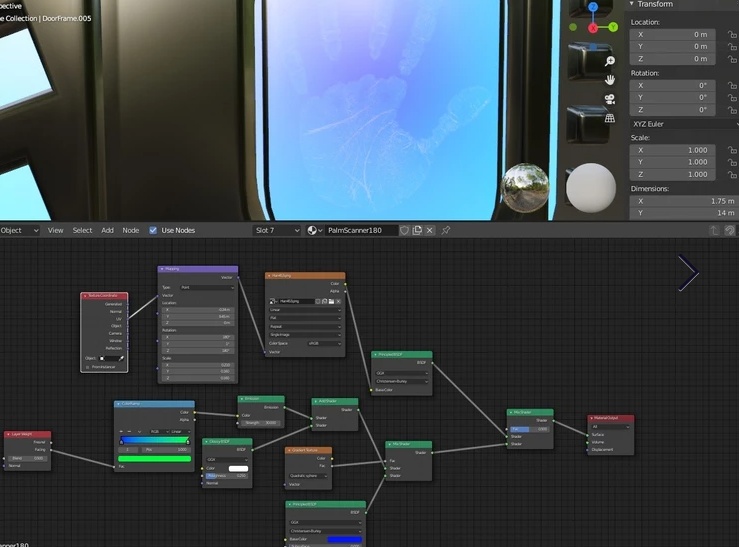
PIcture 1 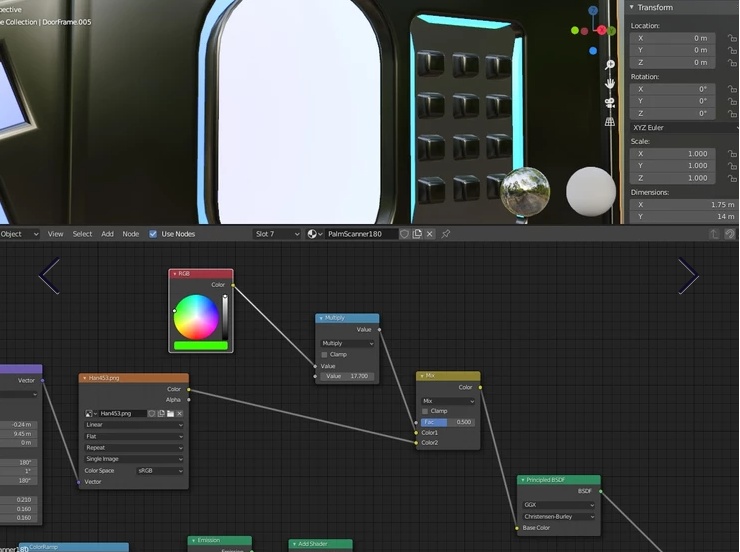
Picture 2 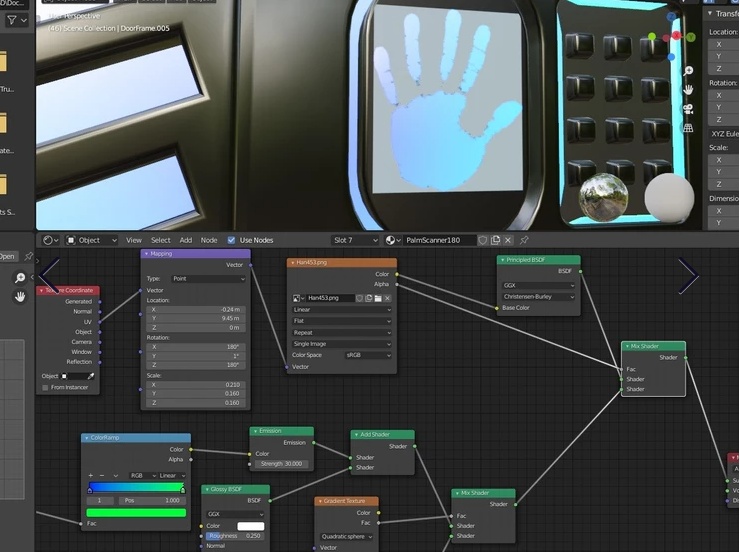
Picture 3 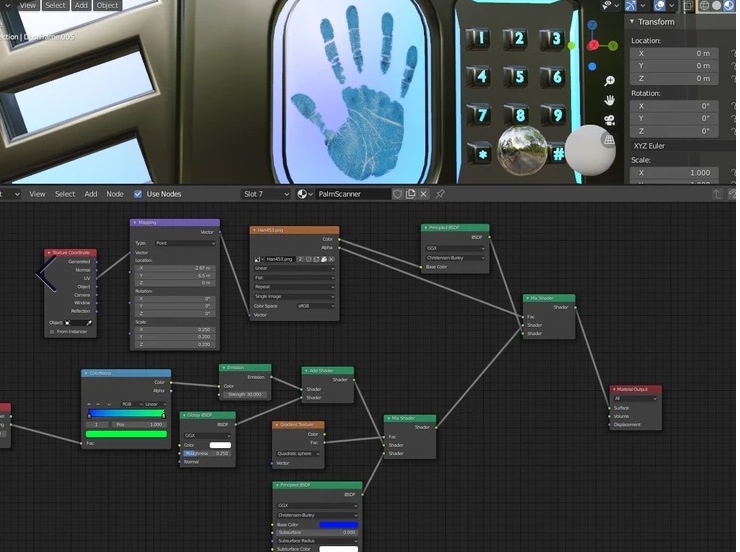
Picture 4
Another issue that I ran into was one I had seen before in the “Kitchen” Project random circles keep appearing even though there is nothing like that in my scene or so I thought at the time but it was in fact my Sunlight source causing me the issue and to fix it was quite simple I just needed to turn off the transmission and glossy in the ray viability settings so now I know and won’t have the issue anymore (and no I won’t rerender the kitchen)
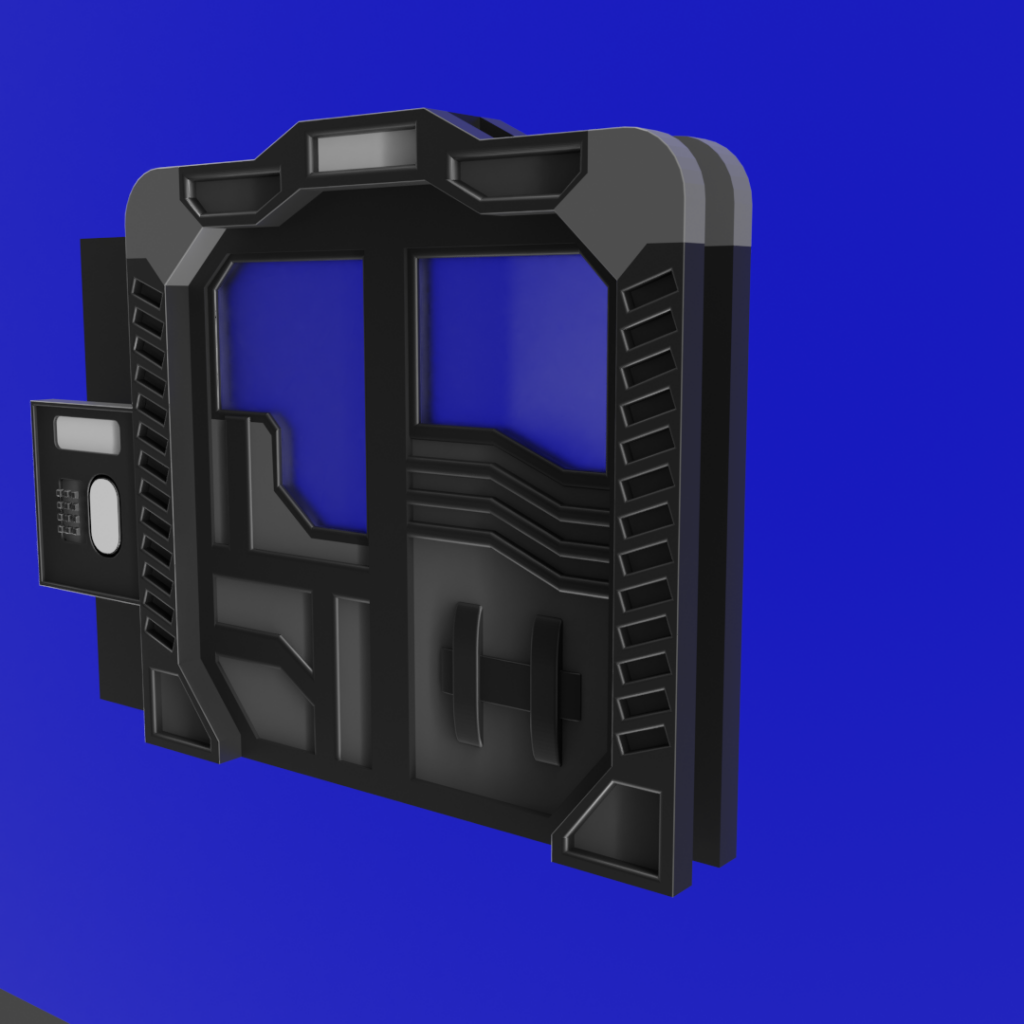
The rest of my renders during the project: