This projects Idea came about from another Blenderguru video which was all about a program called Fspy and this program allows you to take a random image and figure out the camera angle and all the other camera aspects for when you don’t know any of that information.
The rest of the video I watched taught me about Archipack which was a way to easily make windows, doors, and fences as well as an easy glass hack so you don’t create a noise trap.
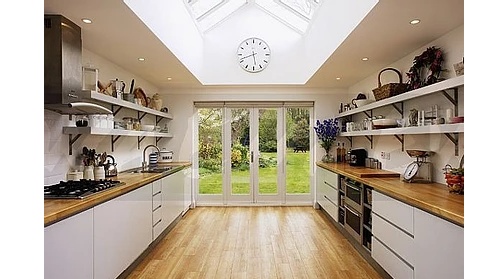
Before I started I had to find an image I wanted to use with Fspy and I could have used the same image as blenderguru if I wanted but I chose against this easy option and decided to find my own image so I could use some of the previous projects as assets such as the large tree with a rope swing that I could place into the back garden of this project so I looked for a decent image where the camera was looking out of a patio door into the garden and the one I found was perfect.
Link to The original post on my old WIX: https://taminaionanimation.wixsite.com/taminaion/post/kitchen
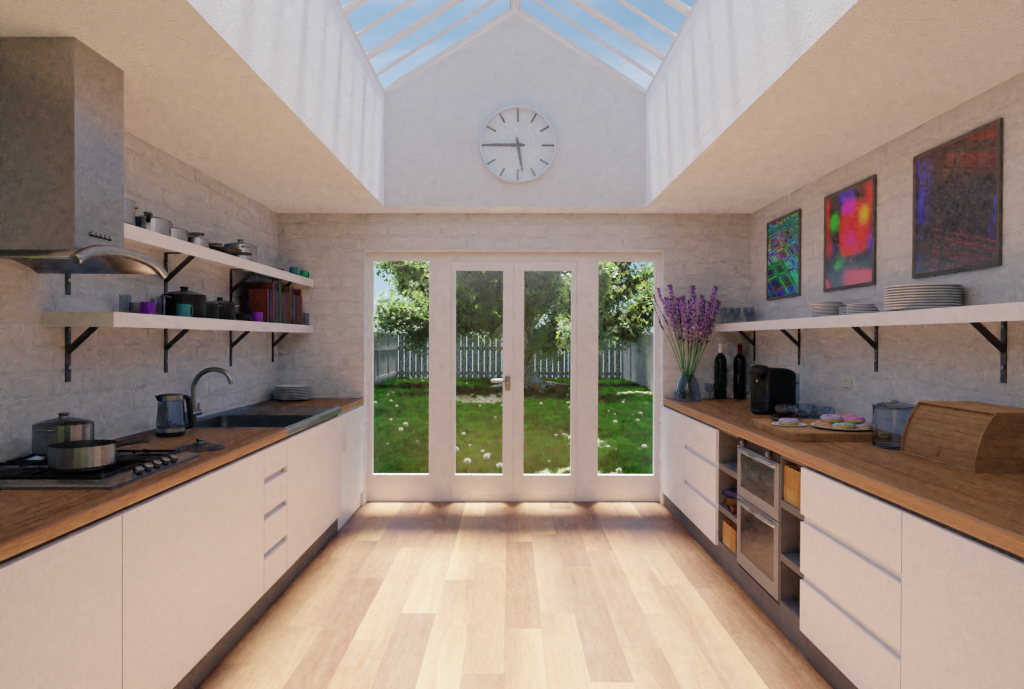
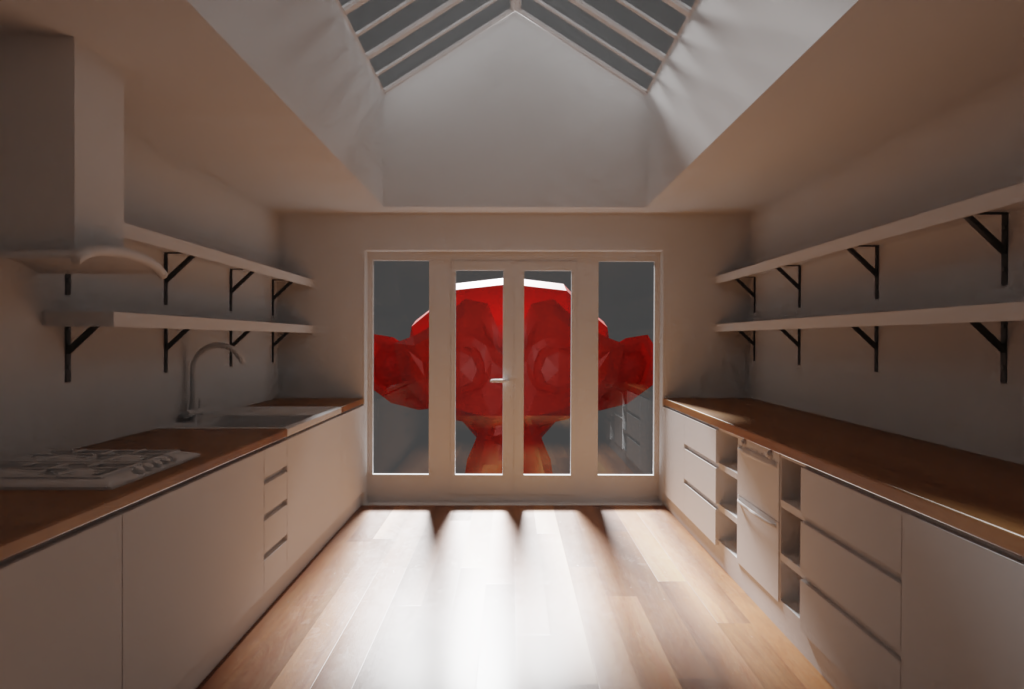
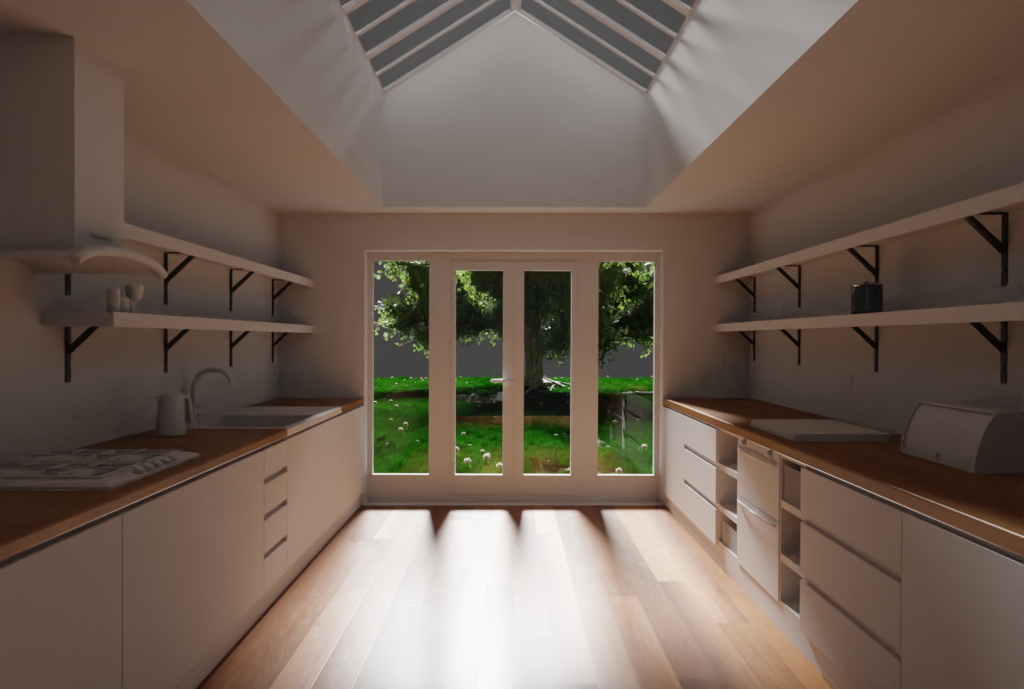
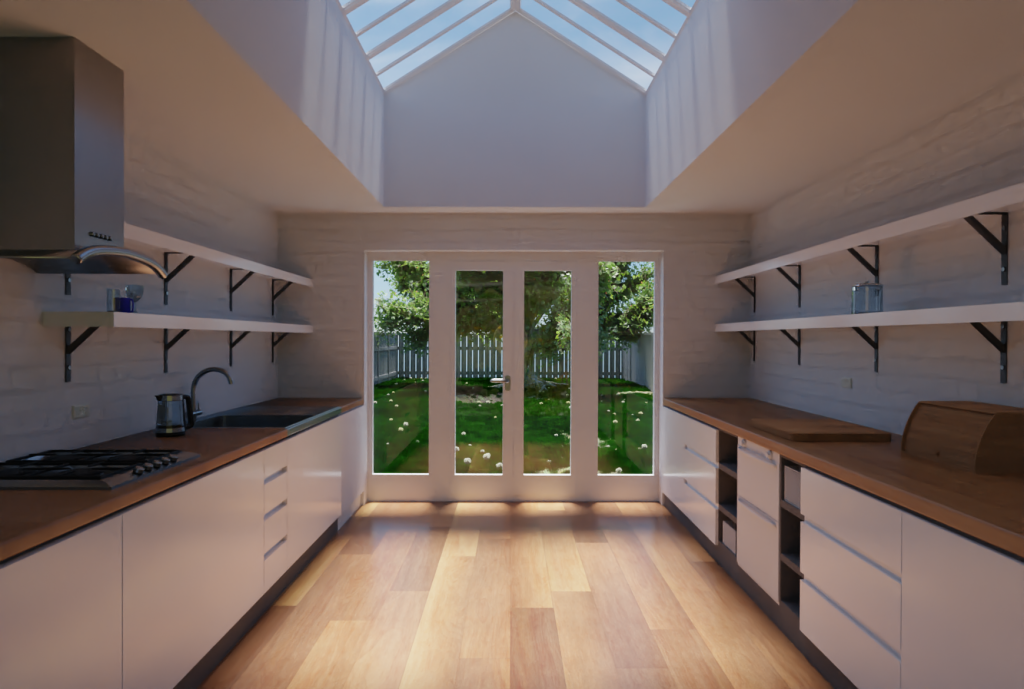
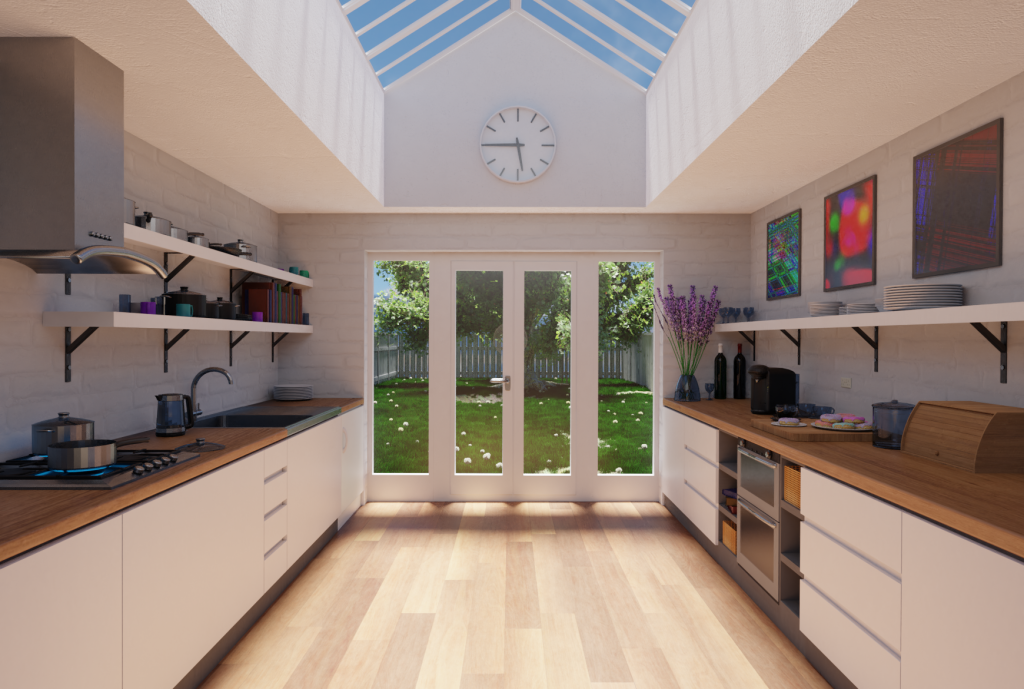
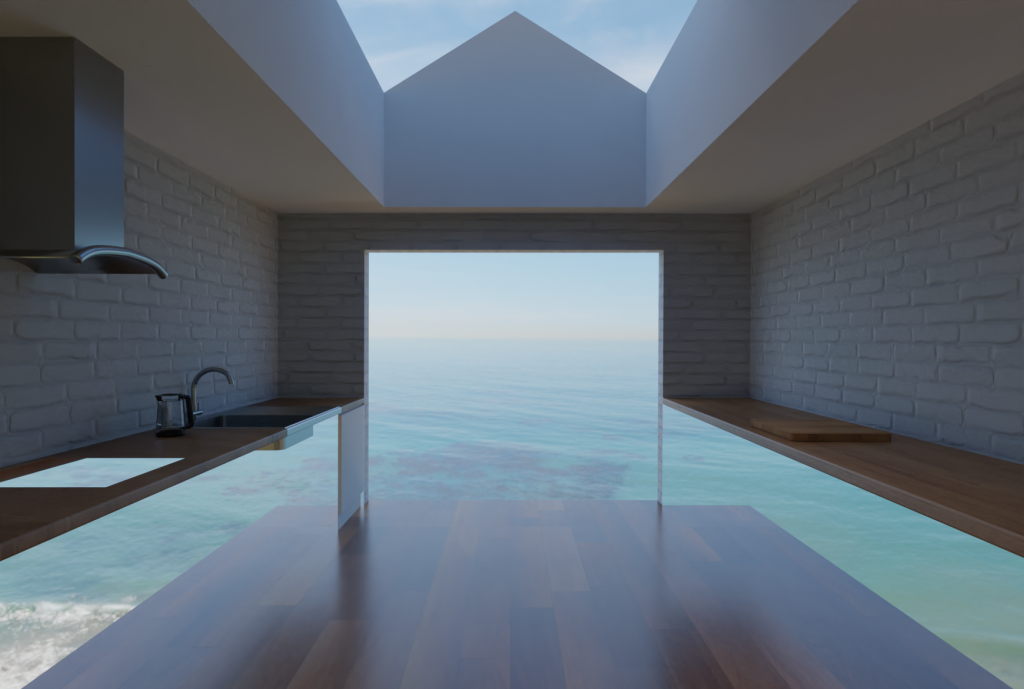
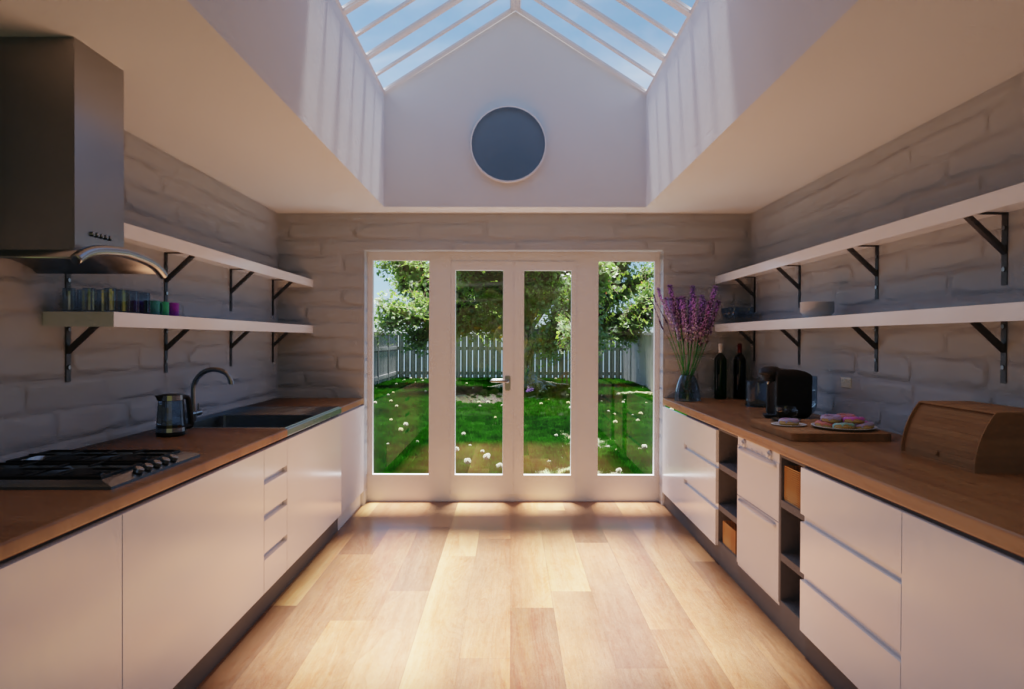
I think my kitchen came out pretty well with only a few problems and this image I rendered is in cycles at around 256 samples with the branched path tracing set at x2 and all in all the entire render took around 30 minutes with all its mistakes in plain view.
One of the mistakes that I made was that two of the lavender PNG’s where rotated the wrong direction so you could see they where just flat PNG images.
Another Mistake was that a large percentage of my models were not shaded smooth which left them looking flat and low resolution and if you look at the smoke collector above the cooker it looks as if there are two different materials but its just because it’s not smooth shaded and then there was also another issue that appeared as some of the smooth shaded objects actually developed artifacts such as my wall sockets.
The last issue was a random sphere appearing in my windows and at the time I had no idea how to fix this issue I couldn’t even figure out where the sphere was coming from but in a later project I realized that it was being caused by my SUN and all I needed to do was turn off Transmission and Glossy in the ray visibility settings.
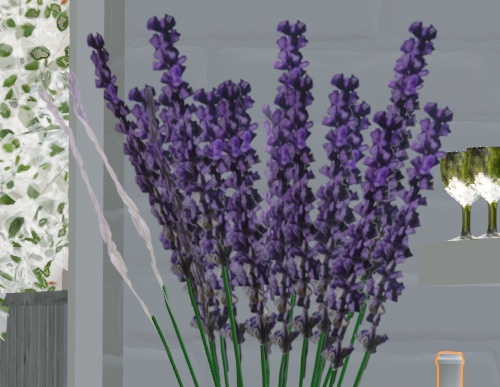
Lavender Issue 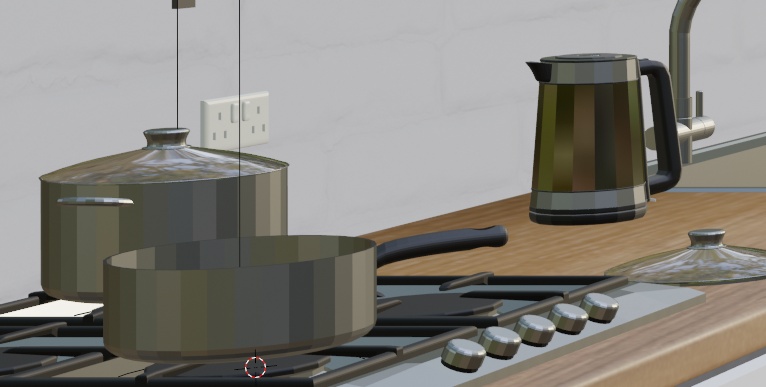
Smooth Shade Issue 1 
Smooth Shade Issue 2 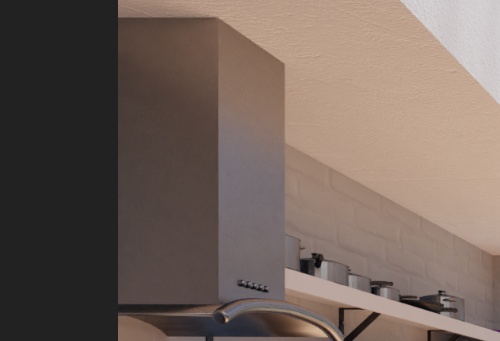
Smooth Shade Issue 3 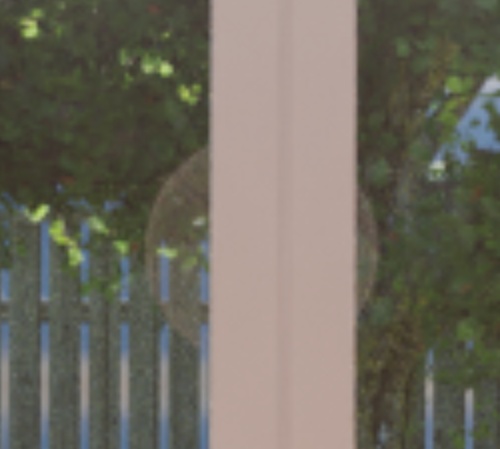
Sphere Issue
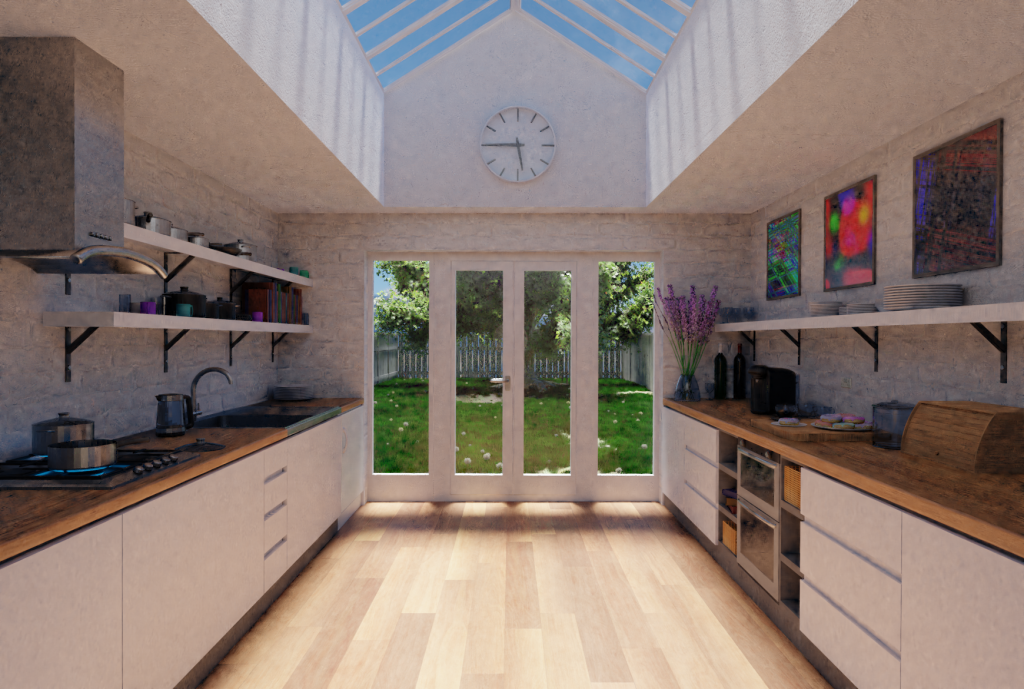
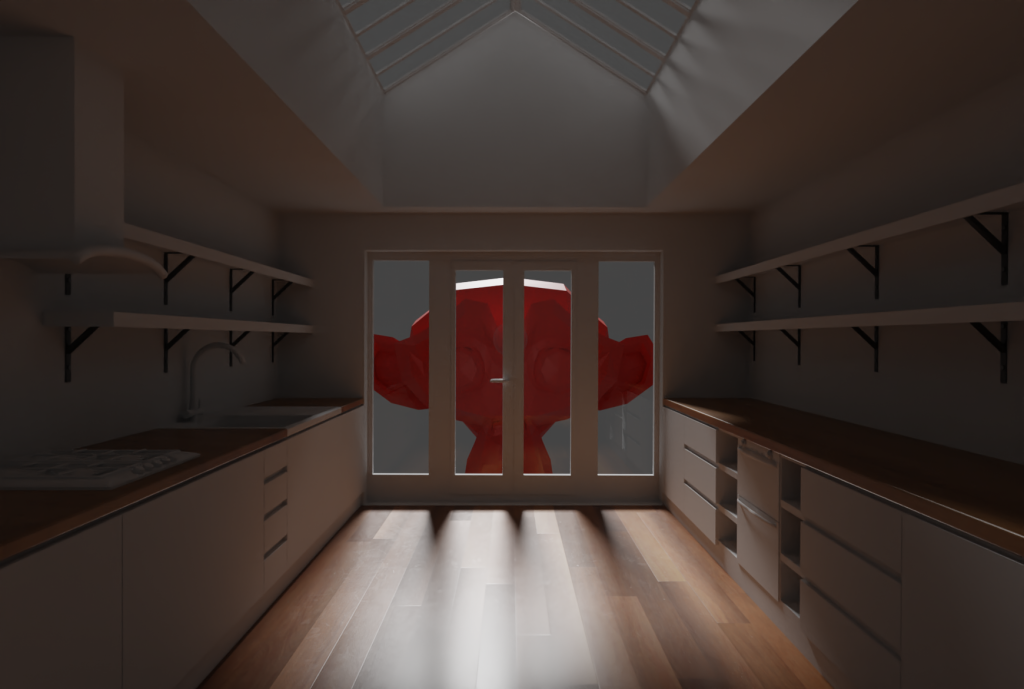
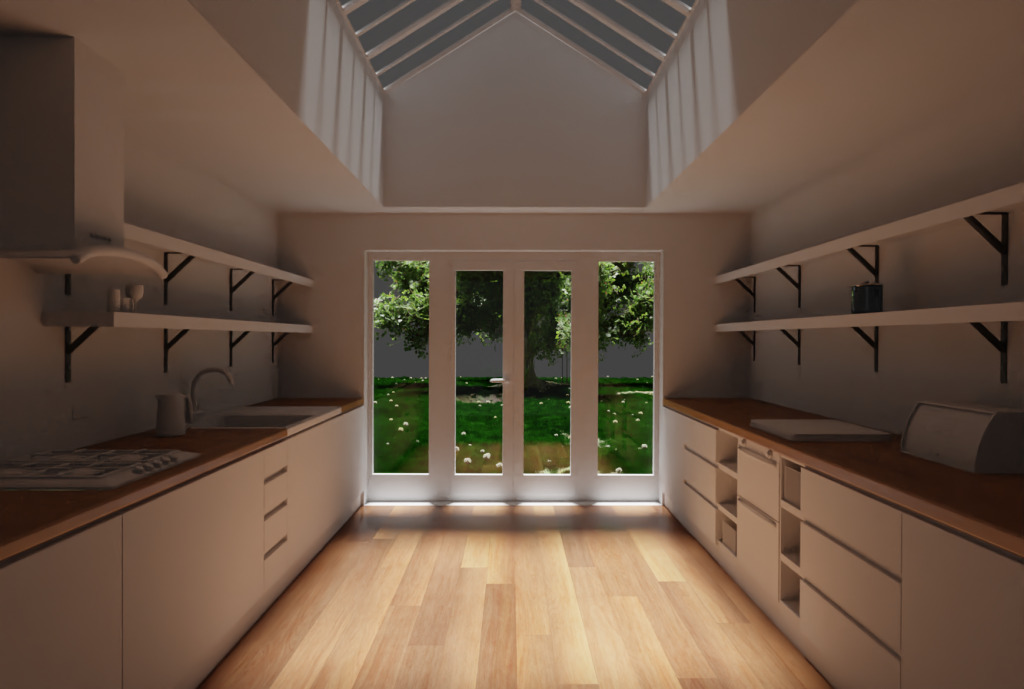
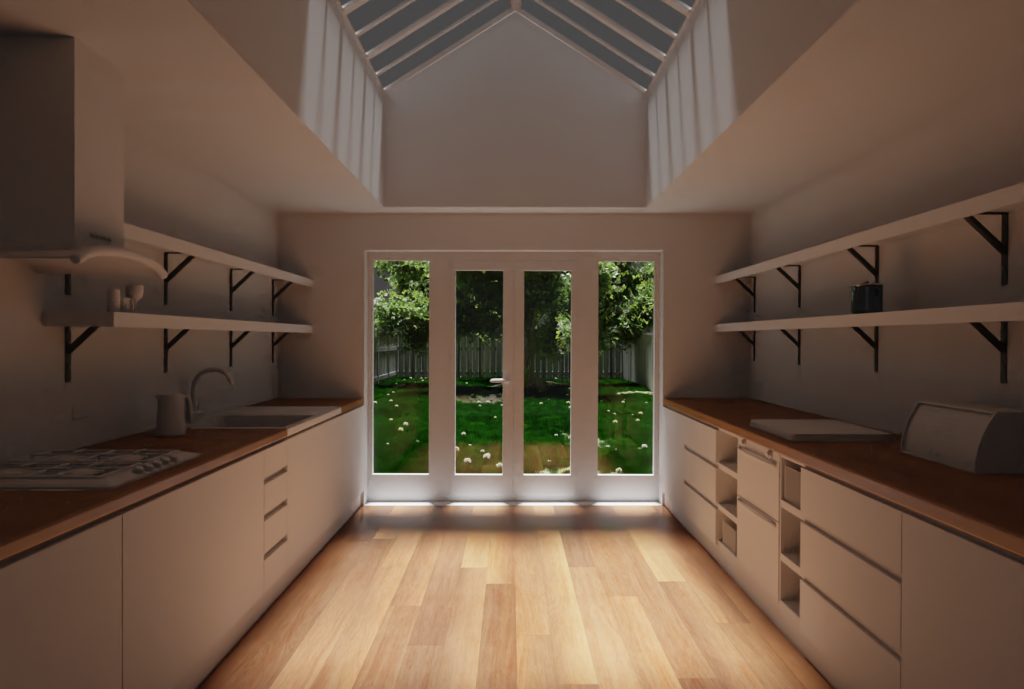
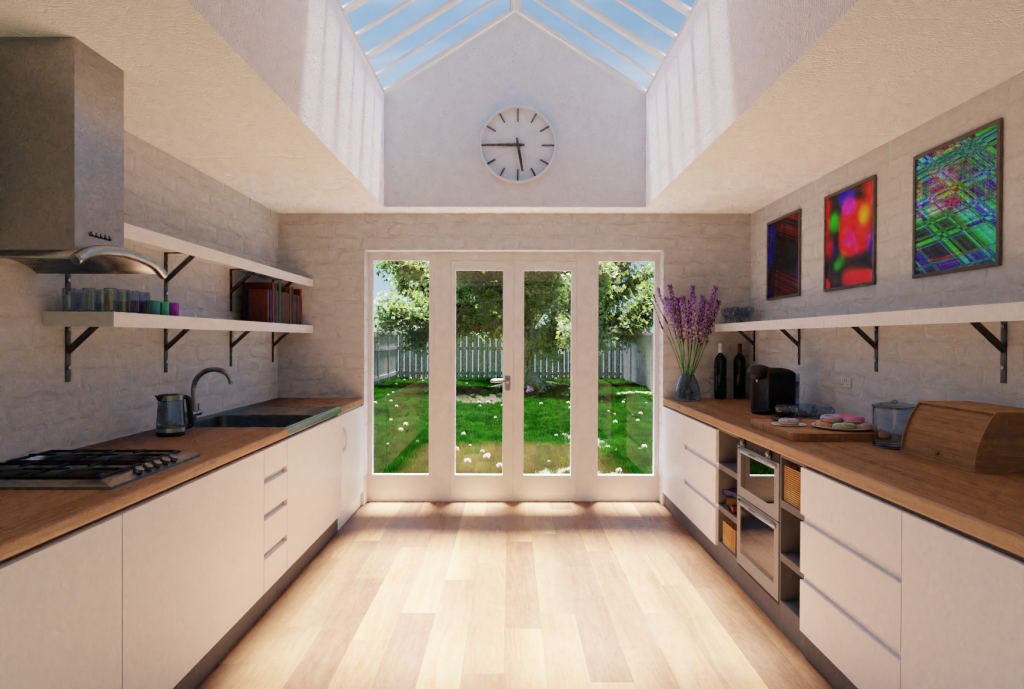
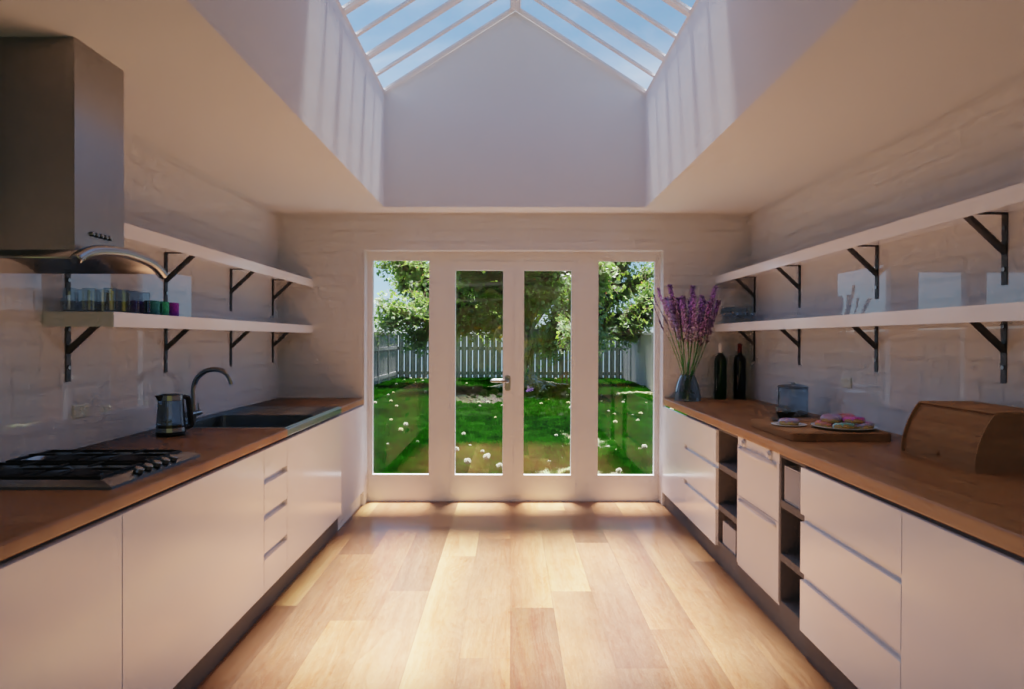
I fixed most of the issues with my next render and I only rendered it at 128 x2 Branched Paths since At the time it was 1am when I finally finished working on the project even though there were still a few gaps here and there that needed to be fixed.
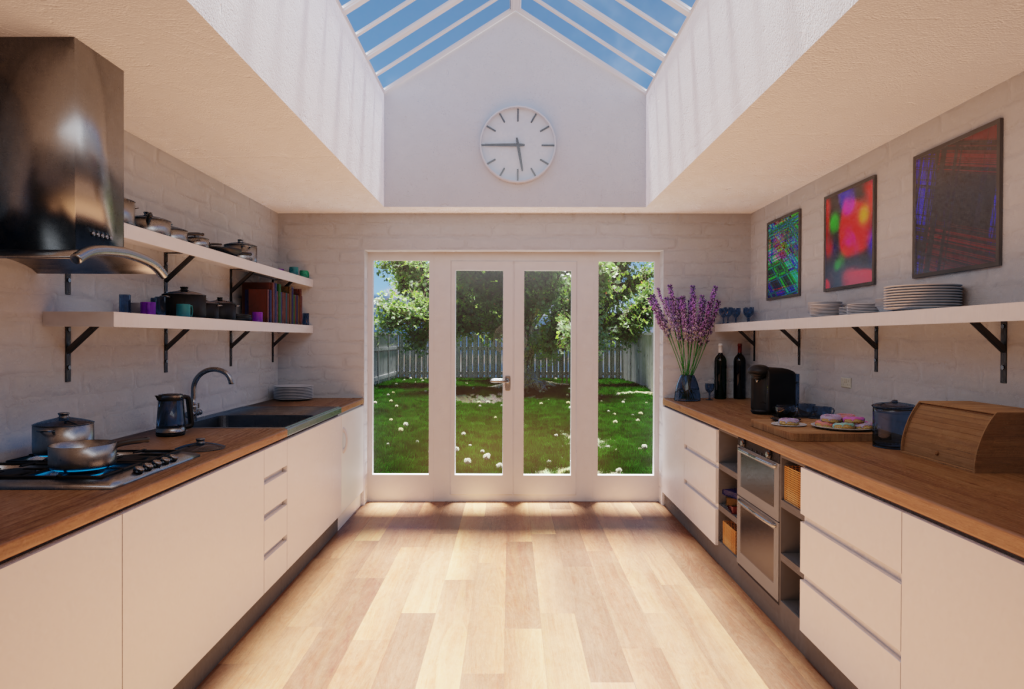
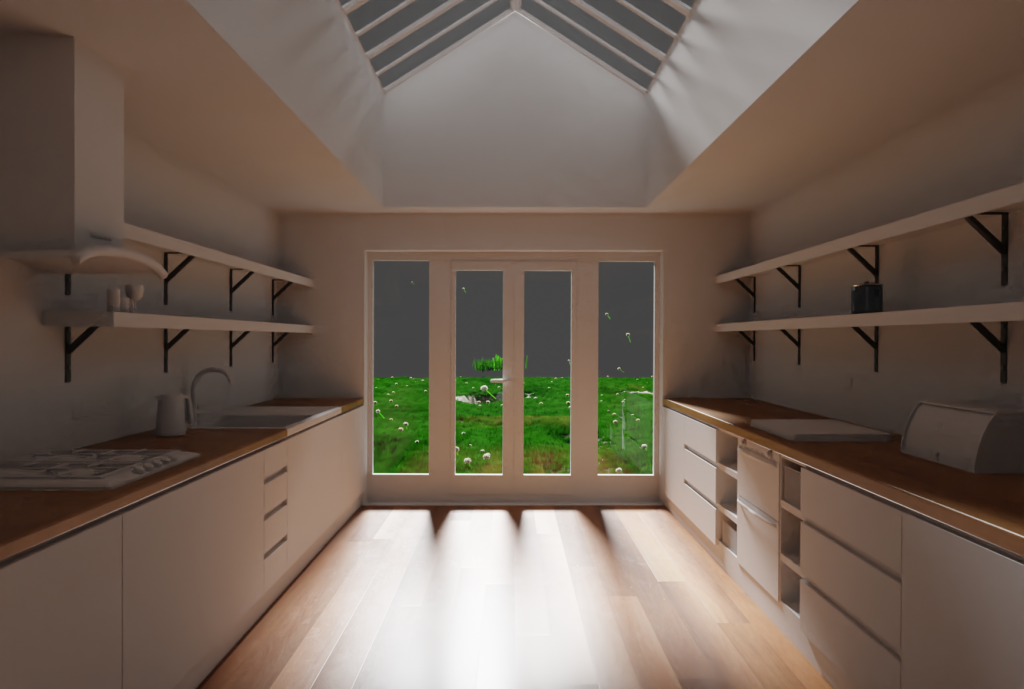
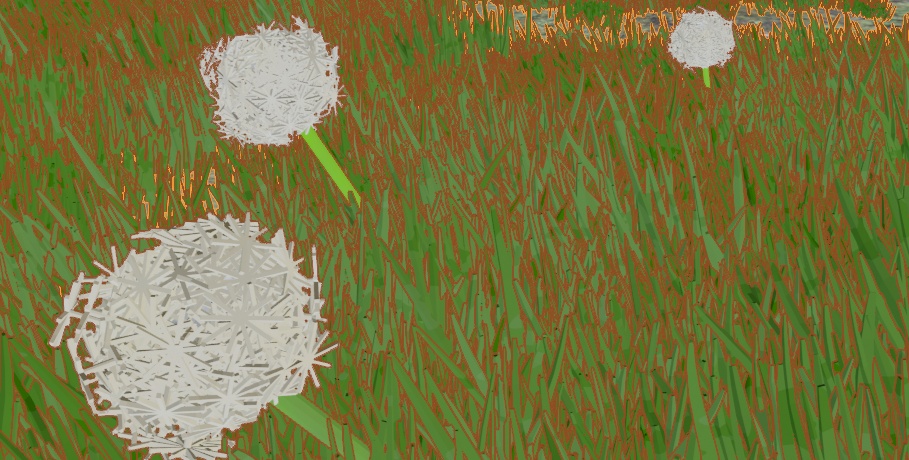
The grass and dandelions that I placed outside the window look great from a distance that Is because when you get up close you can see them for what they really are an illusion designed to make you think it looks good when in fact its all terribly made thanks to another CG Matter tutorial on creating low poly Grass with particles and using the knowledge from that tutorial I also made the low poly dandelions but far less of them than the grass.
To be honest I’m surprised my dandelions worked the t time since I was just messing around with shapes and trying them to look like a dandelion and in fact the dandelions themselves have another particle system scattering the shape I used around a sphere and I still can’t believe it looks this good.
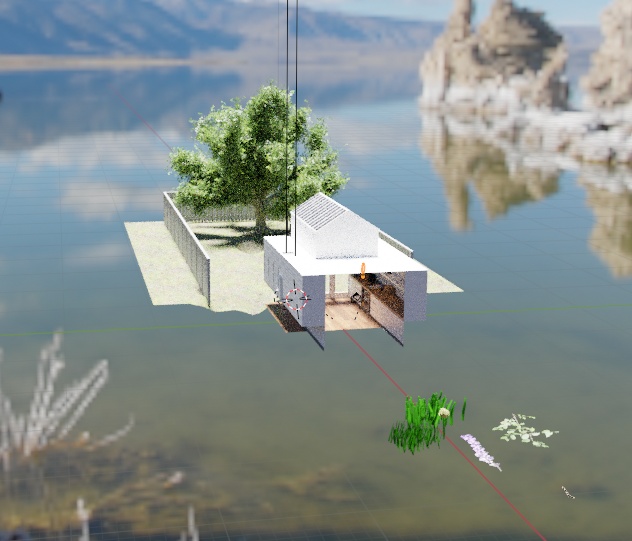
For creating the illusion of the sky and surrounding area I used a HDR for the background and this also helped with the lighting since everything looks better with a HDR and the one that I chose was of a lake and those objects in the bottom left are my particle reference objects such as grass, lavender, branches and the like.
During the project, I ran into a very large problem That I spent around 4+ hours trying my hardest to fix I even dropped into a few Blender discords such as the Blender Hub to ask for assistance, and at first I did not get much help or advice that worked, however, someone did tell me why the wall were blurry but not how to fix it.
I did fix it in the end and the cause of the blurry walls was down to the denoiser I was using but thankfully for me Blender has more than one way to denoise when rendering the one I was using added denoising during compositing which after a render denoises it all at once and that was the whole reason why my walls were blurry.
To fix that I switched from the compositor denoiser over to a denoiser in the view layer which denoises as you render in small chunks giving you more details in the overall render and it removed the blurriness from my walls.
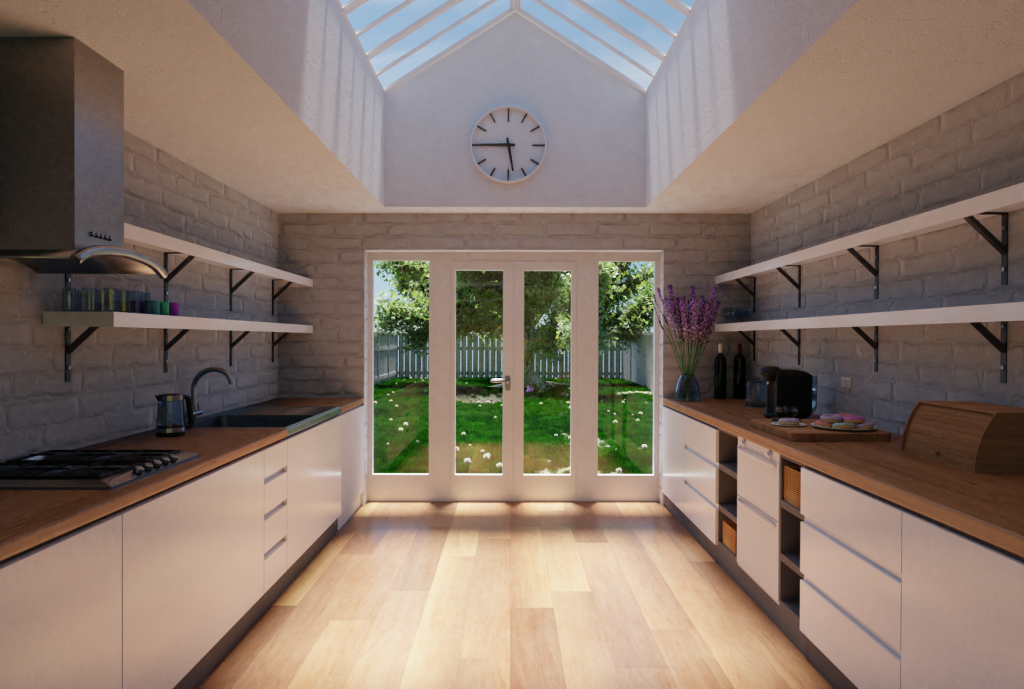
For fun I tried rendering the scene in Eevee instead of cycles and well it looks horrible since I was not using materials suitable for Eevee.
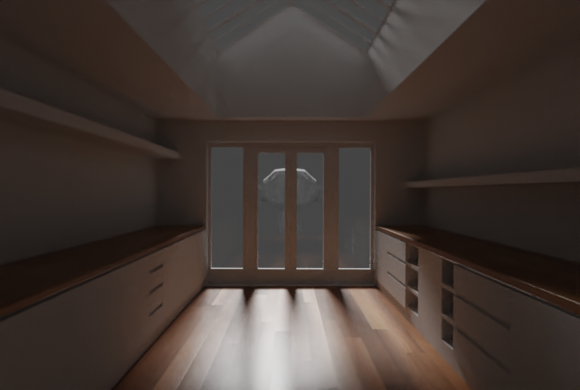
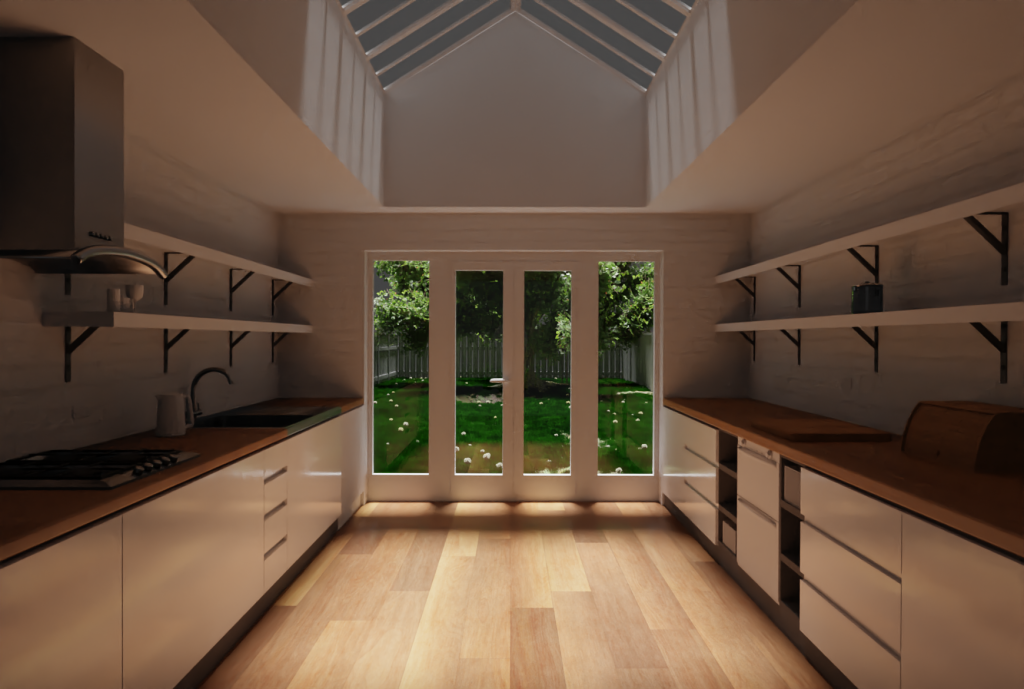
Some of the other Renders I did during the project in no particular order: