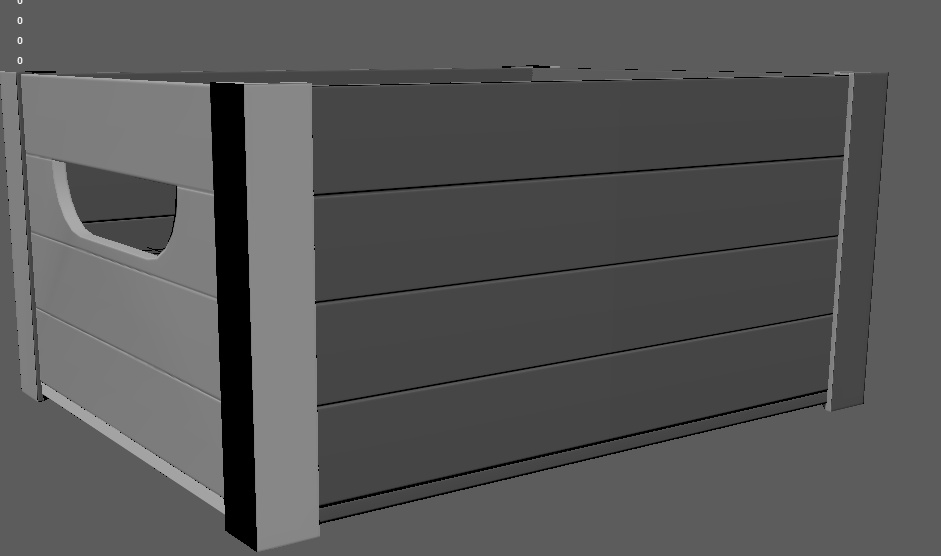
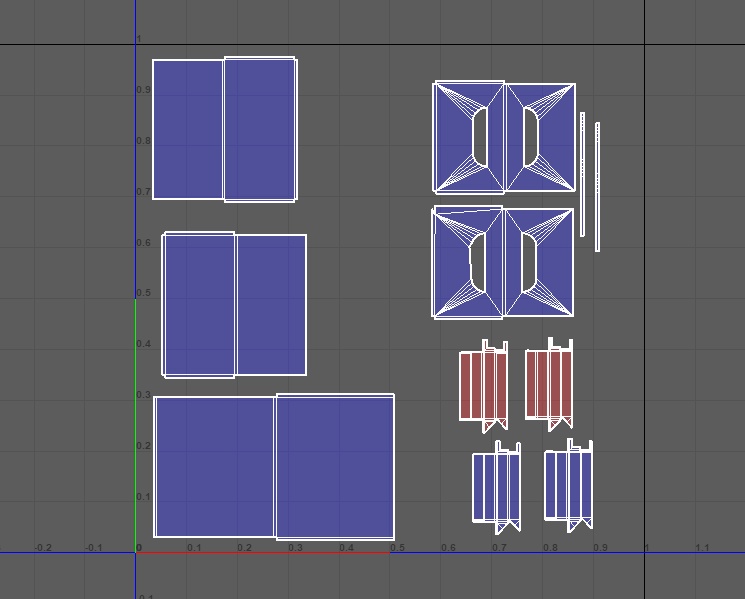
This week we were tasked with UV Unwrapping the low poly crate we had made previously and since I already possess the knowledge of why we UV unwrap and how to do it all I really needed to learn this week was where the tools are and which tool does what.
I did watch the tutorials on how to do it just in case there were a few small nuggets of wisdom I could absorb that I didn’t already know most of which was what tool does what.
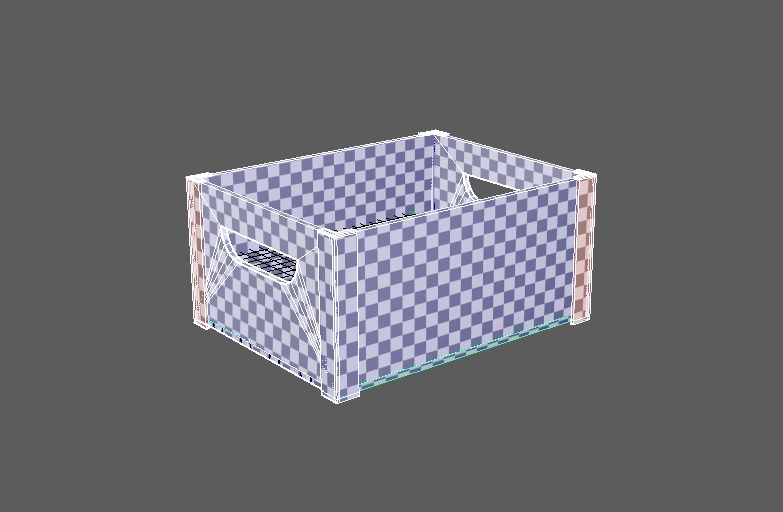
Although there is no need to unwrap the High Poly Model I just wanted to see the squares on it as well and play around with things.
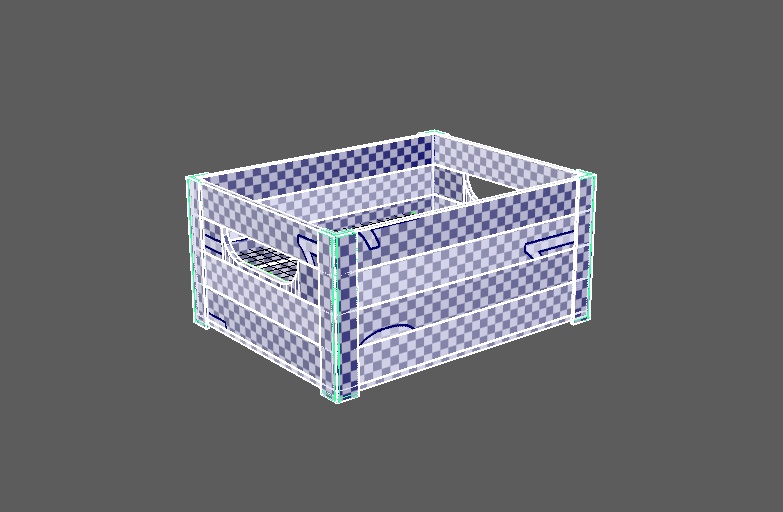
I decided I wanted to go further this week and try my hand at baking in MAYA although I hear its not the best but I still tried It anyway.
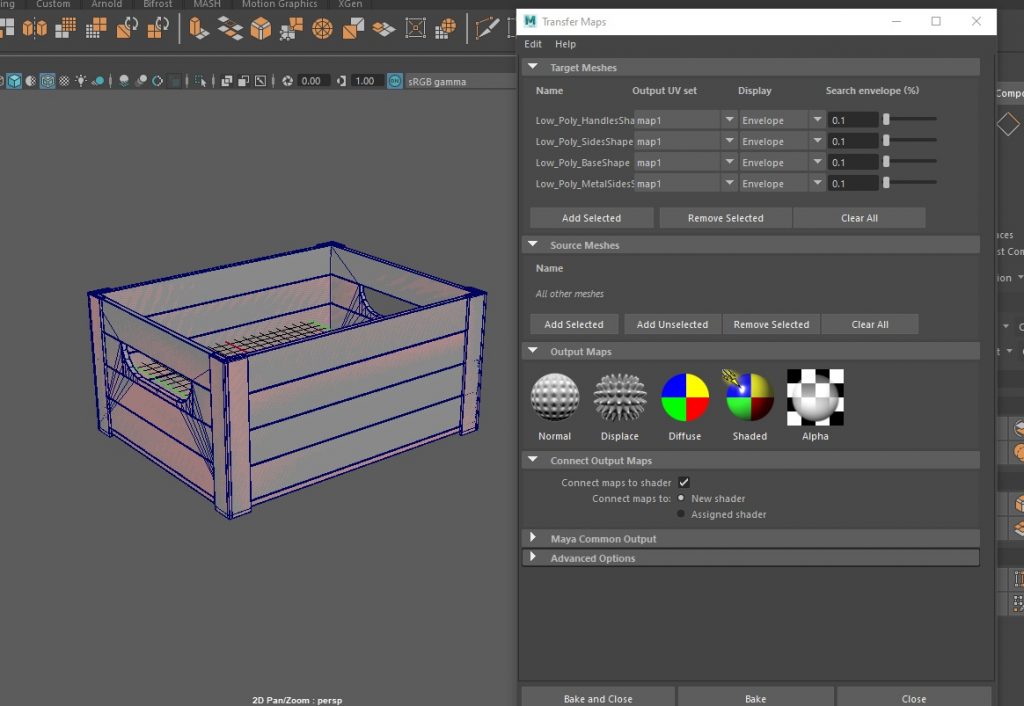
Using the transfer maps menu I started fiddling around baking the High Poly onto the Low Poly.
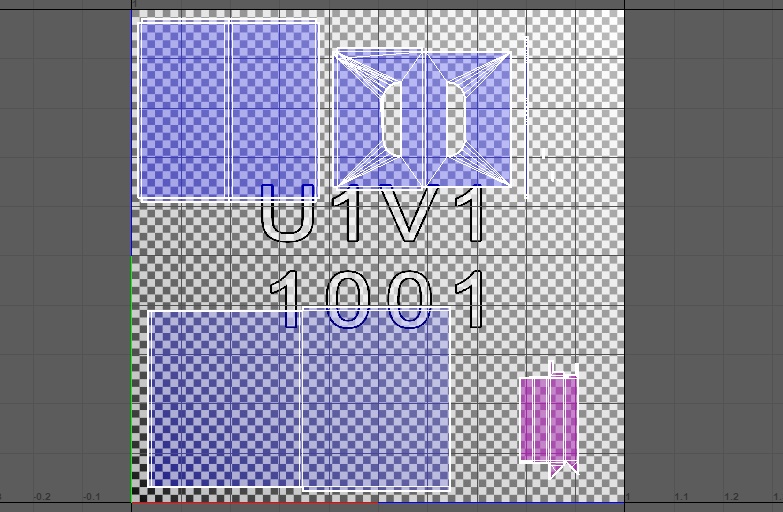
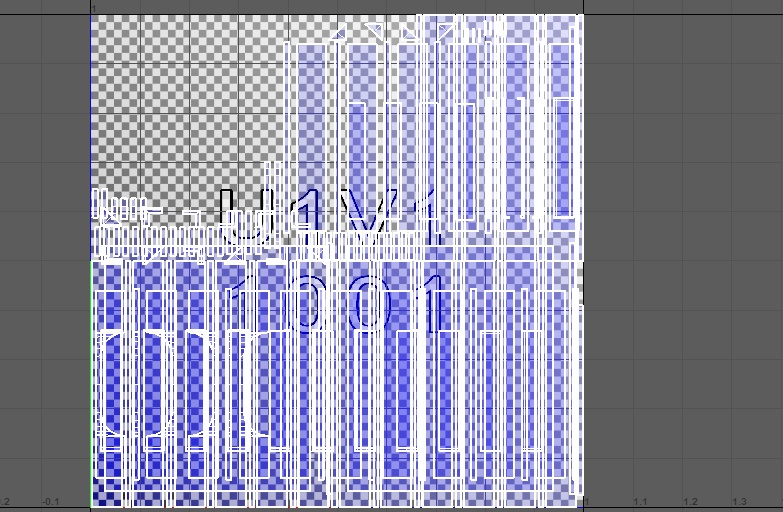
The first time I unwrapped the low poly model I stacked shells that where identical to save space however this was a mistake because I decided to bake a normal map and well it ended up looking like a clown tent
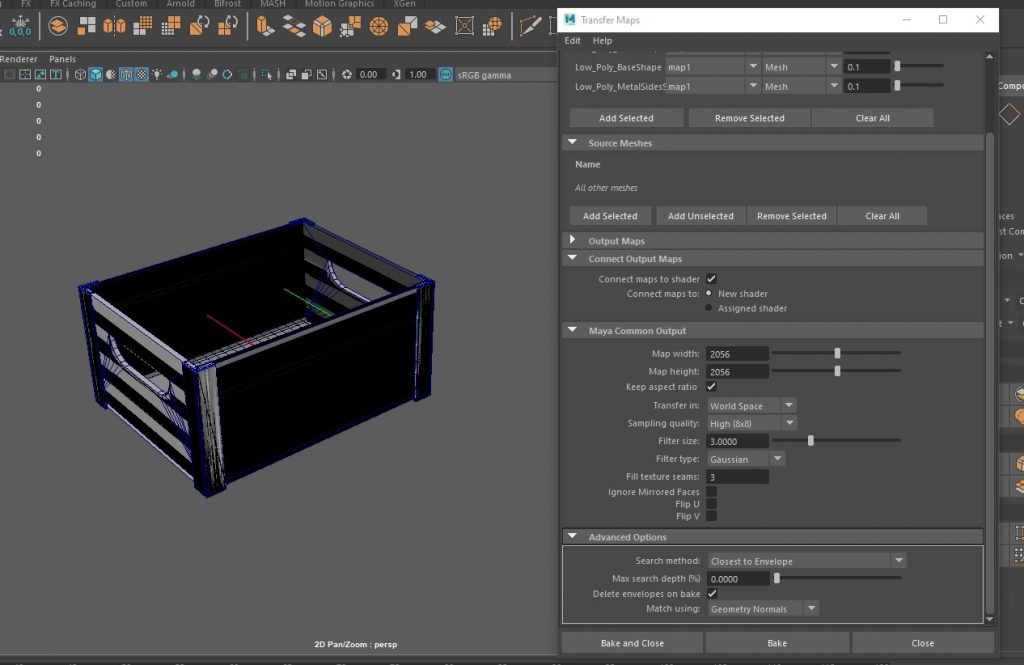
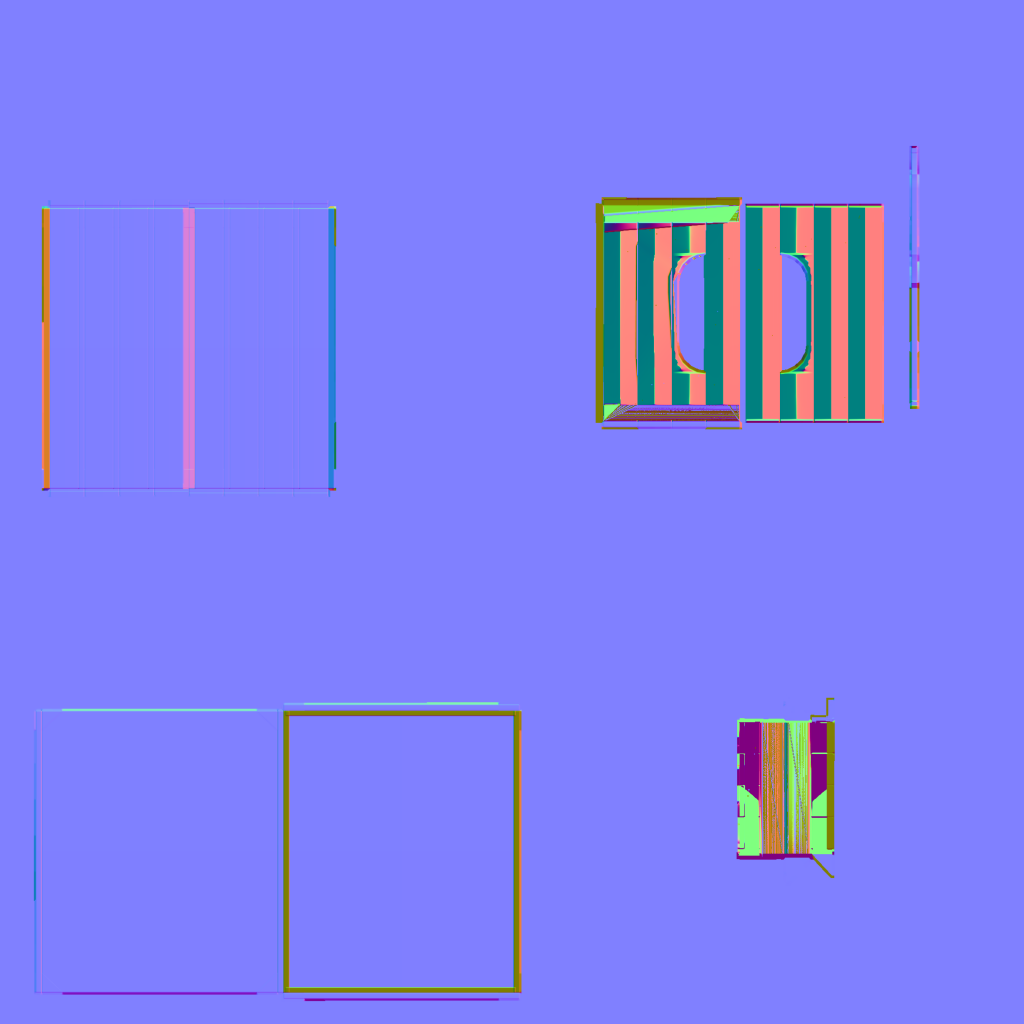
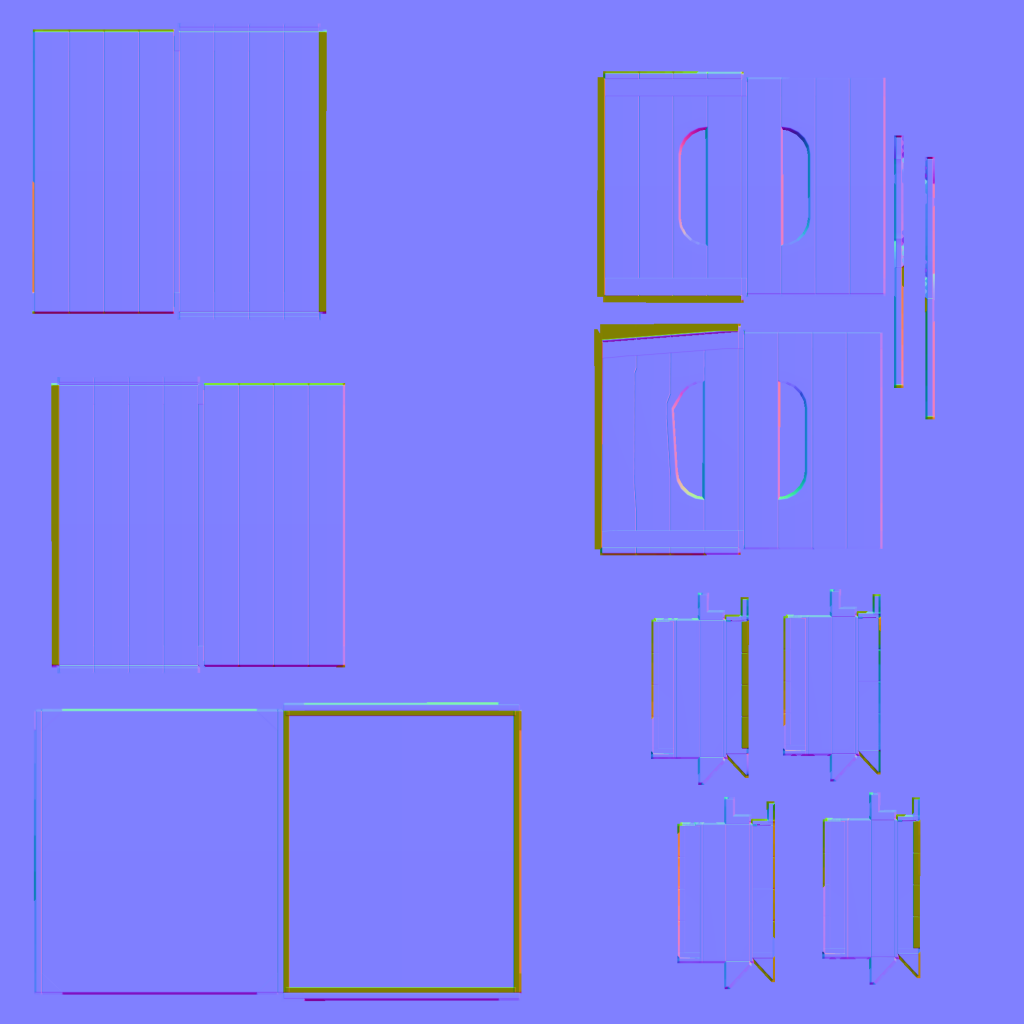
Though this map has green and dark purple I’m not 100% sure what causes it other than the distance of the rays and Mayas settings are not all that great unless I’m wrong about it being the ray distance.
