Abalon
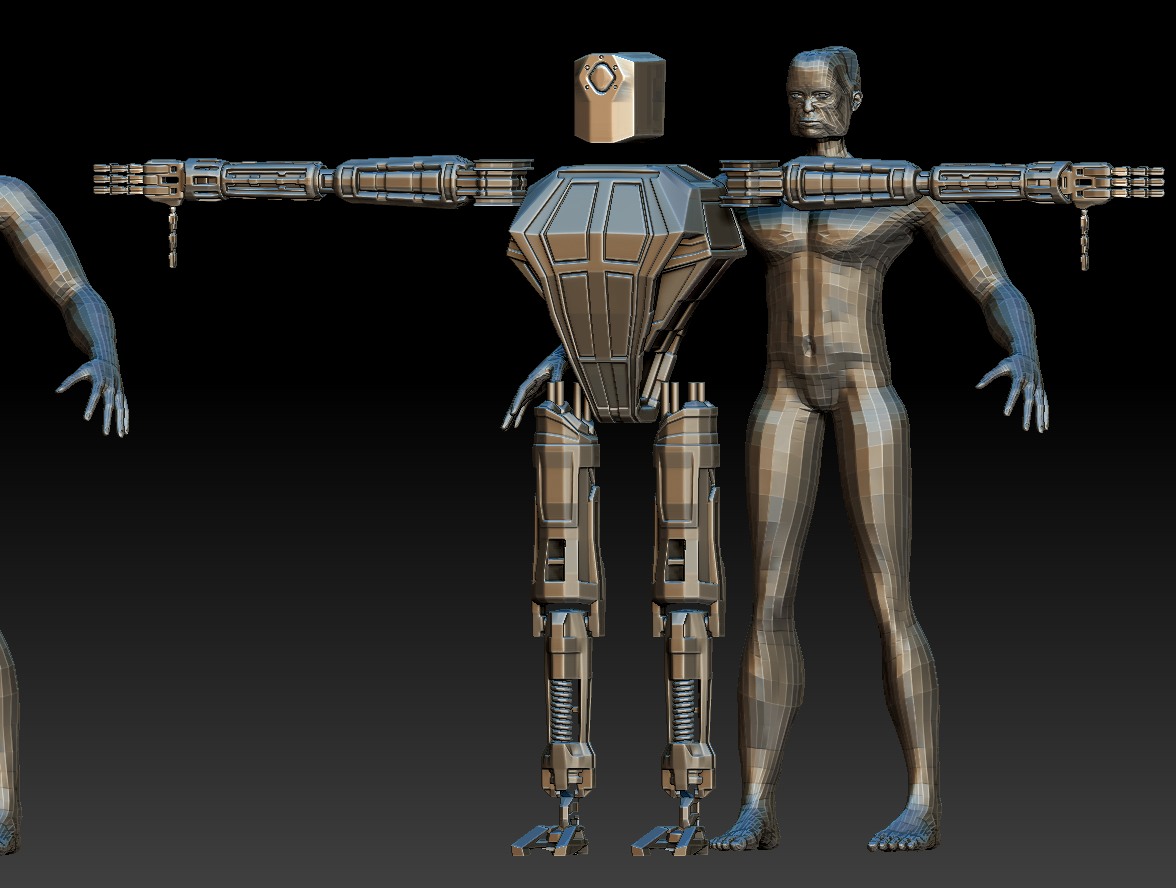
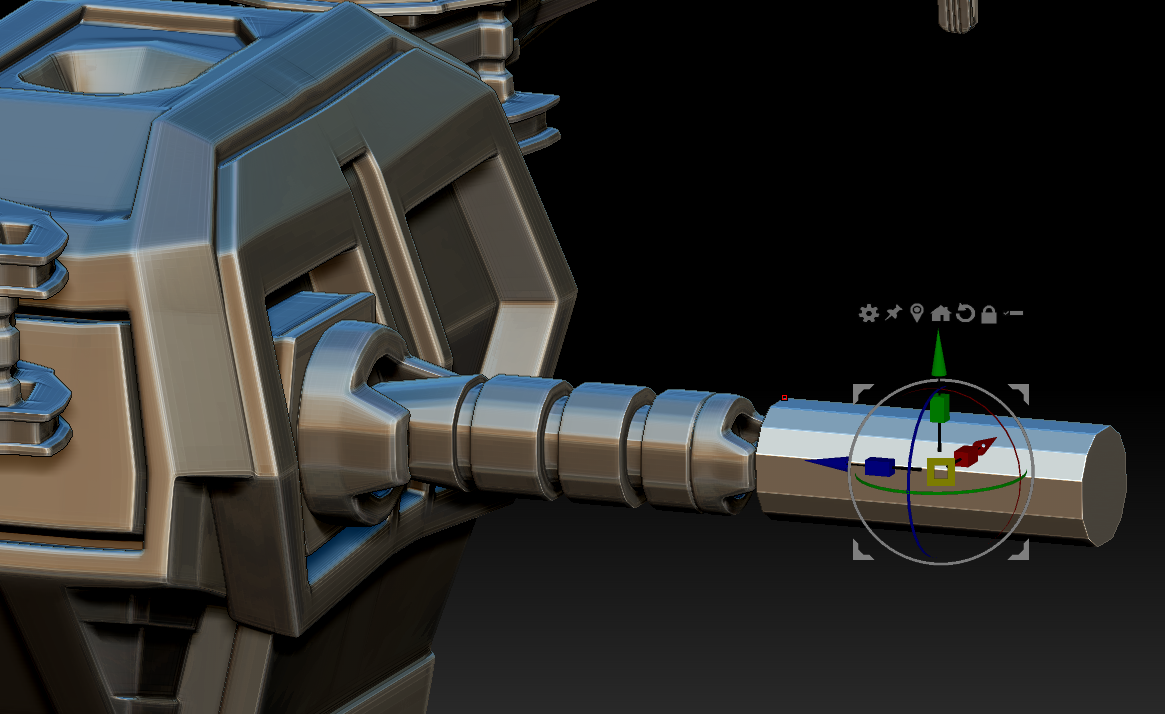
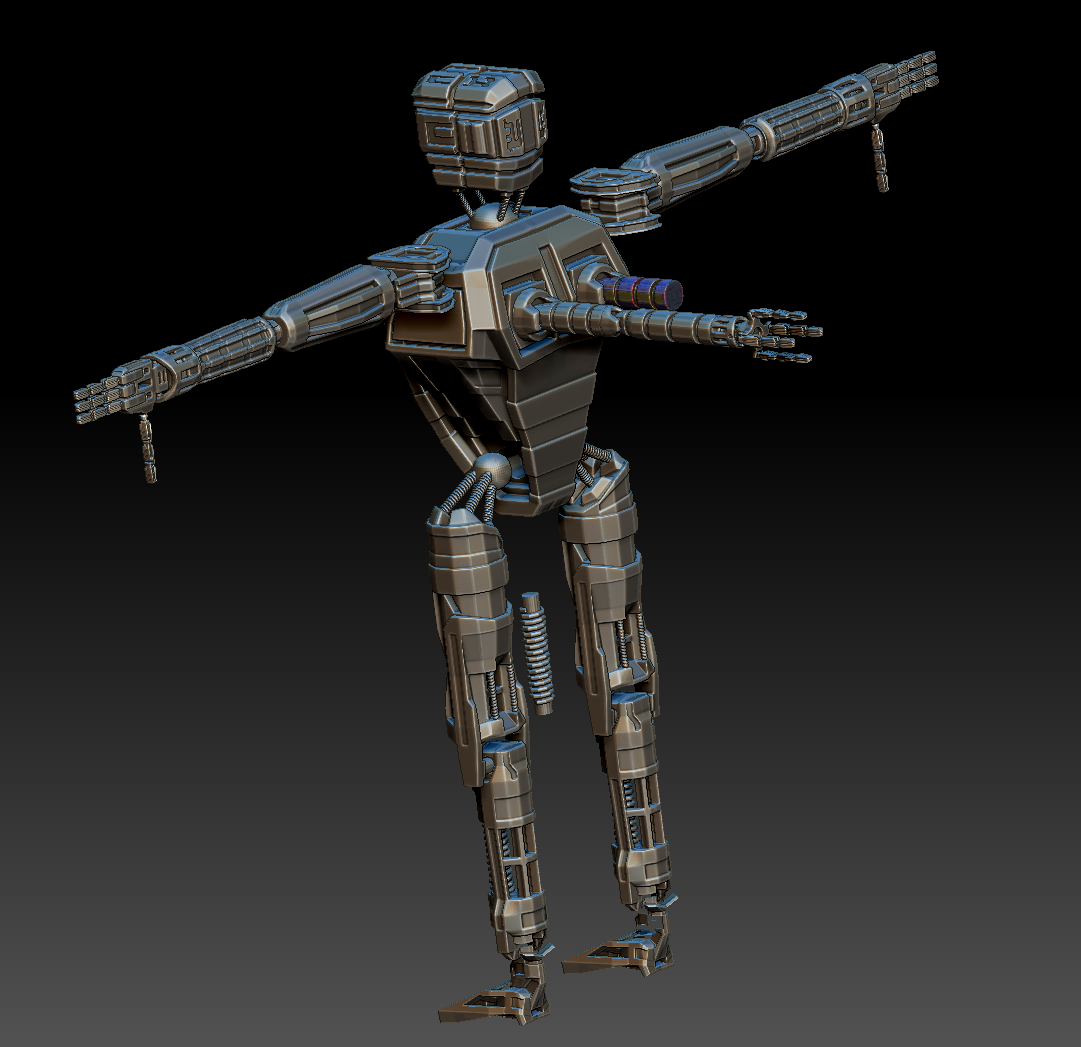
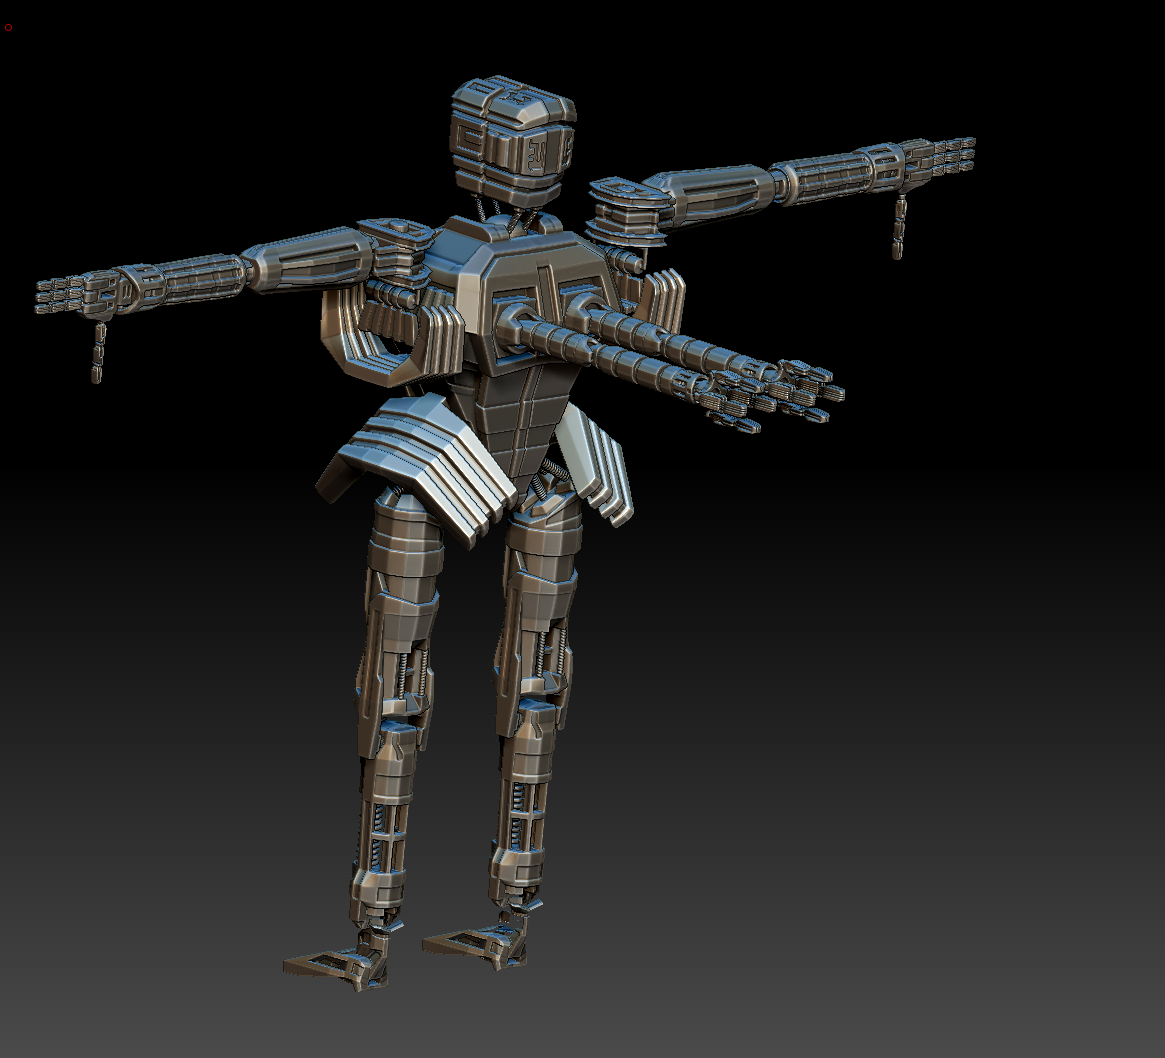
The creation of my character Abalon was at first a confusing one because I didn’t know where to start or how to start building them I first needed to learn the Zmodeler brush as I was not really sculpting a character and more of modeling one since it was a hard surface robot that I was planning to create.
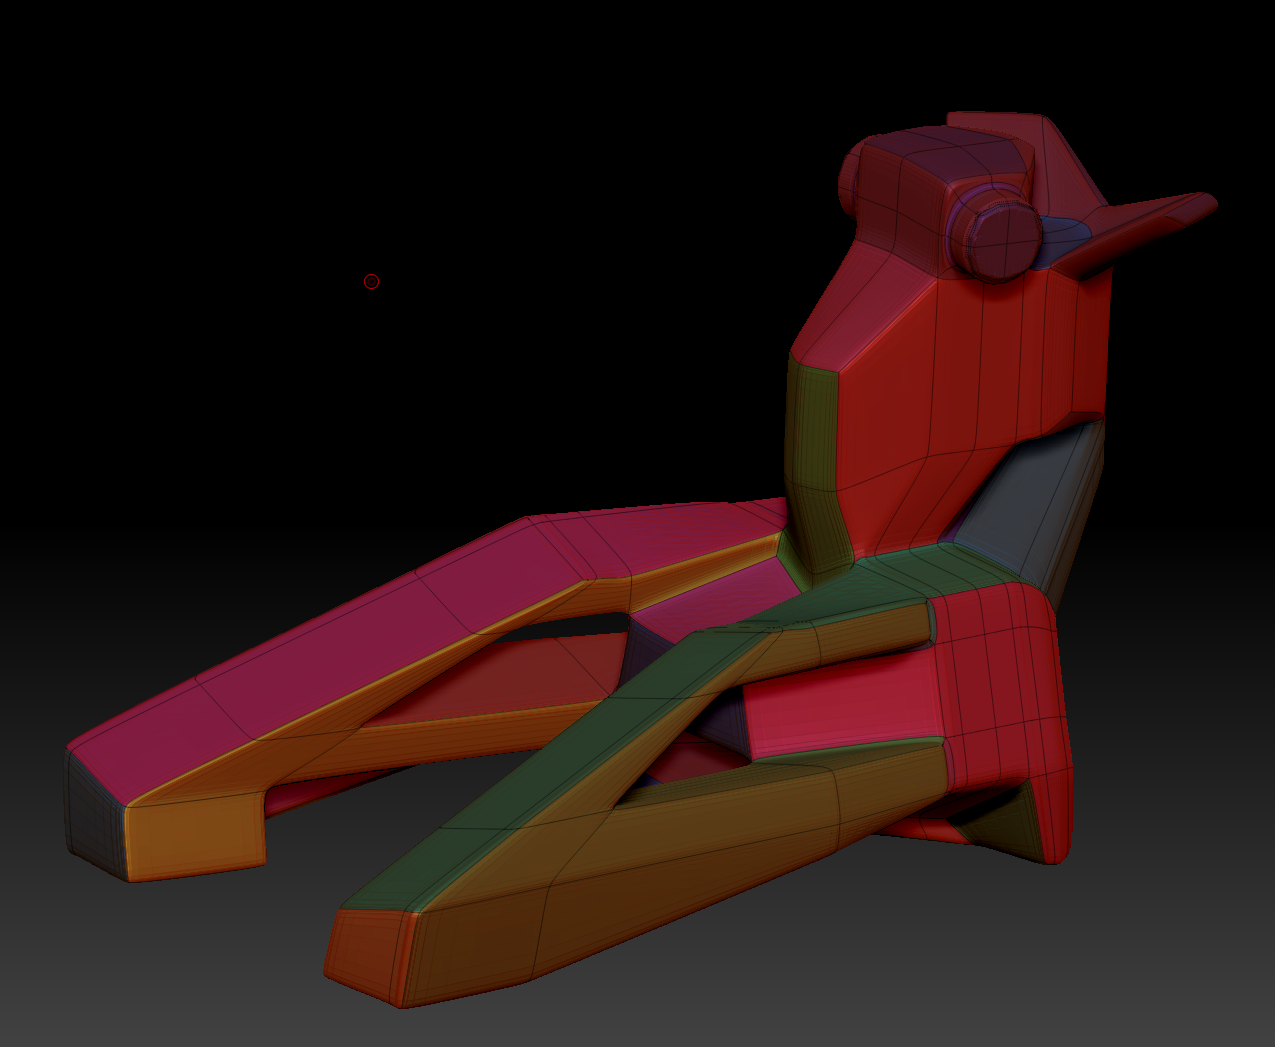
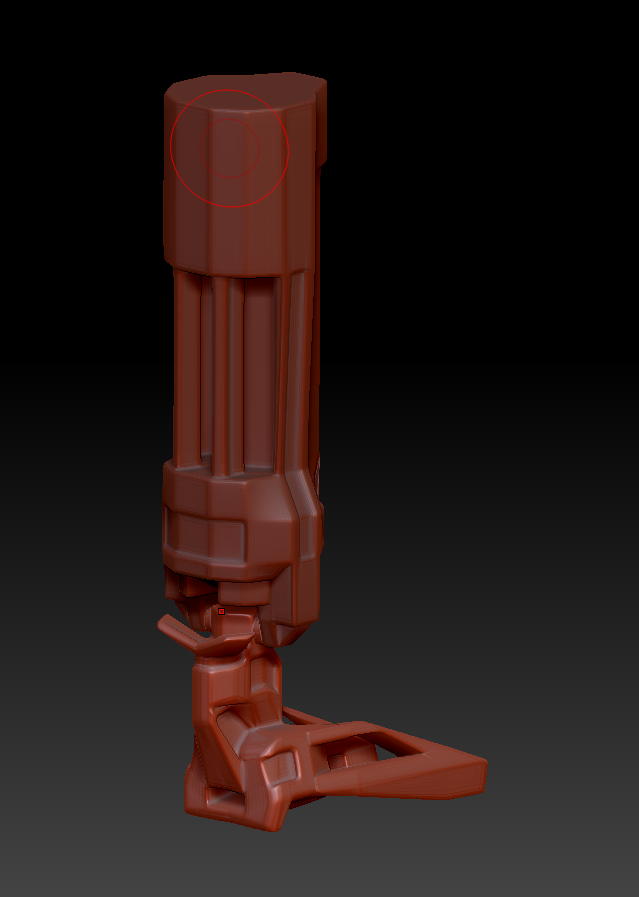
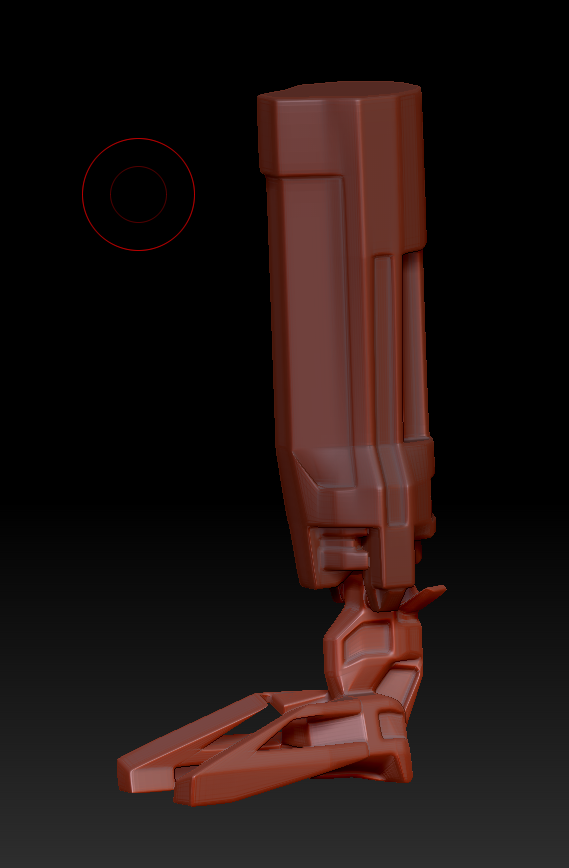
So my first thought was should I build from the head and work down from there or from the ground upwards and I thought the foot was the first thing that should be created and I looking back at it now its the worst in my eyes now that the model is finished however it did give me an understanding of how the Zmodeler tool works in Zbrush
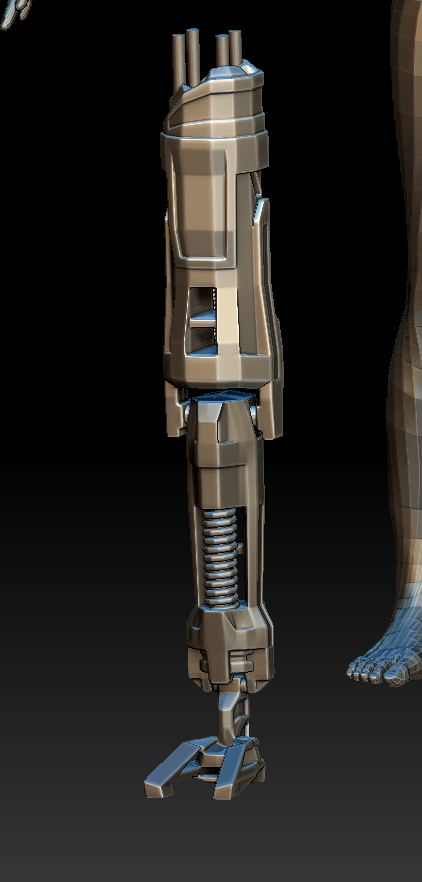
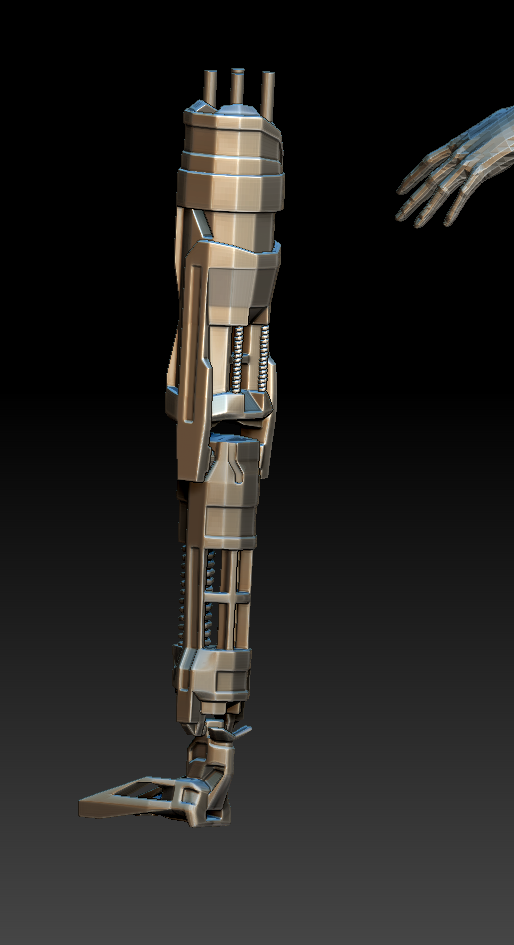
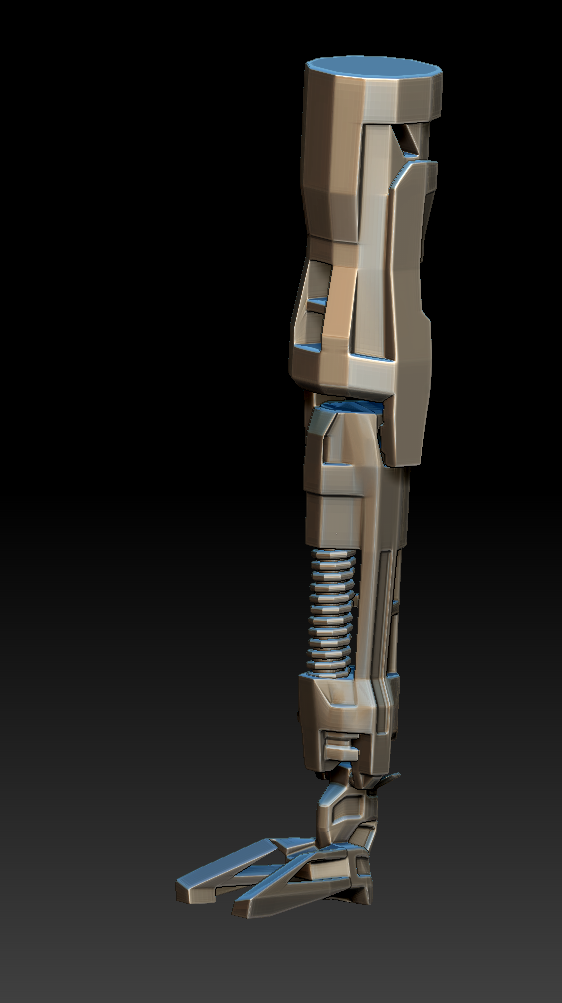
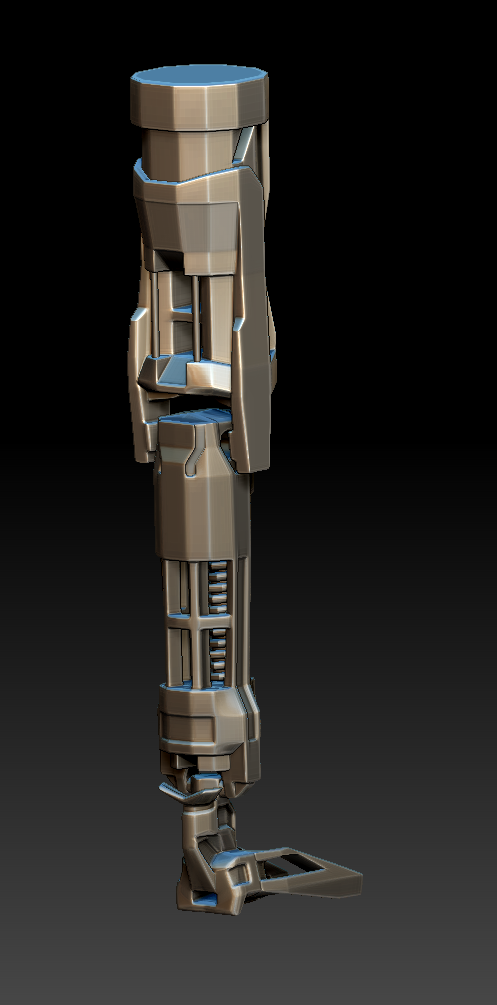
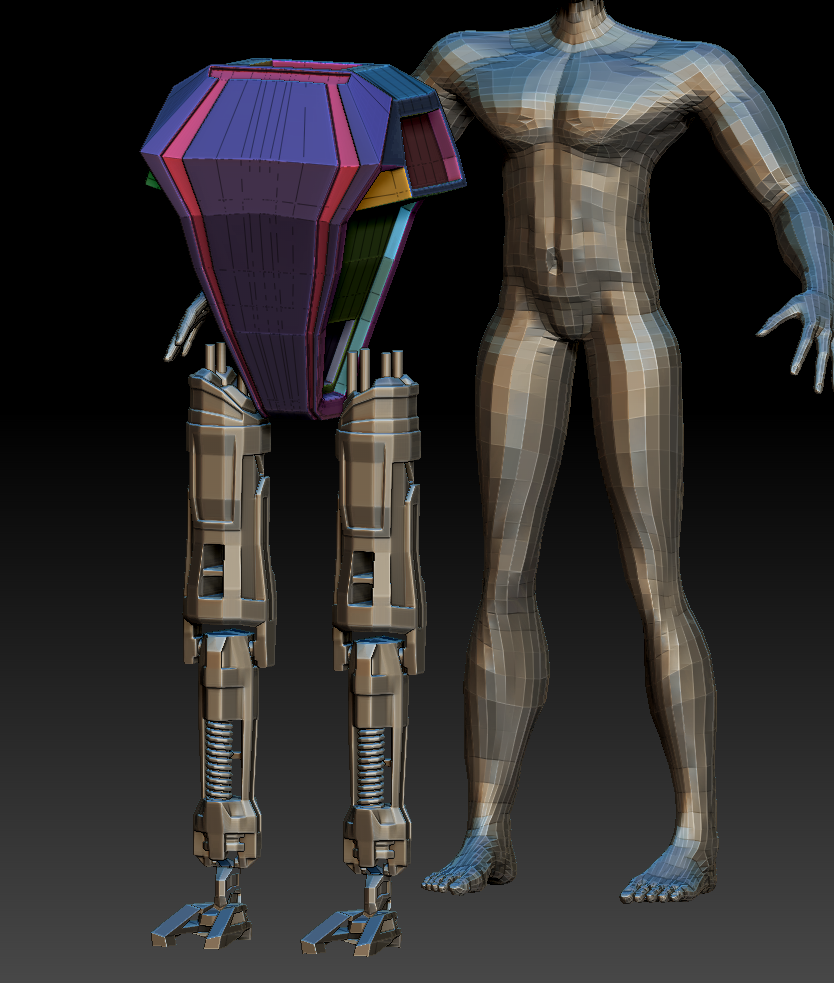
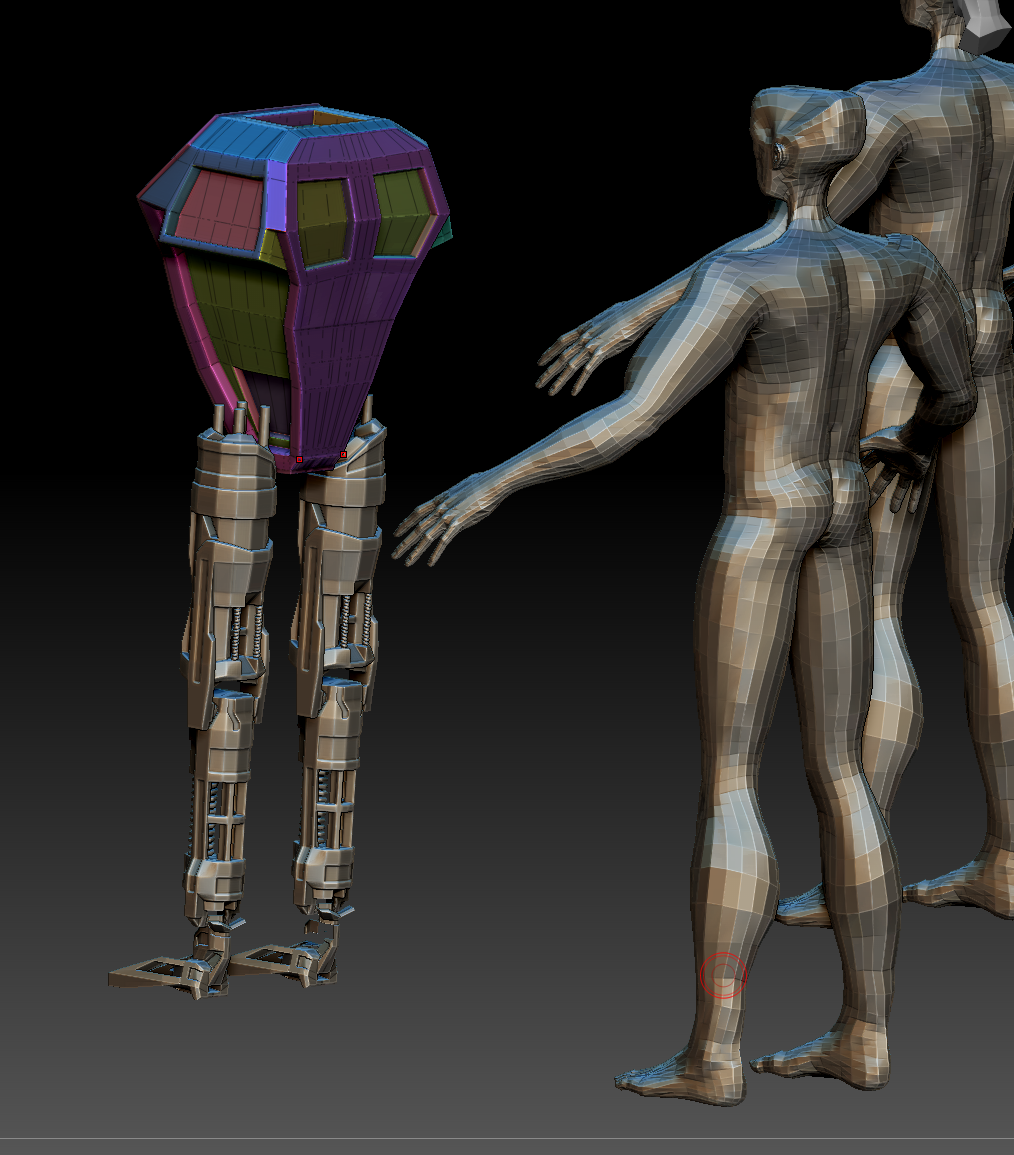
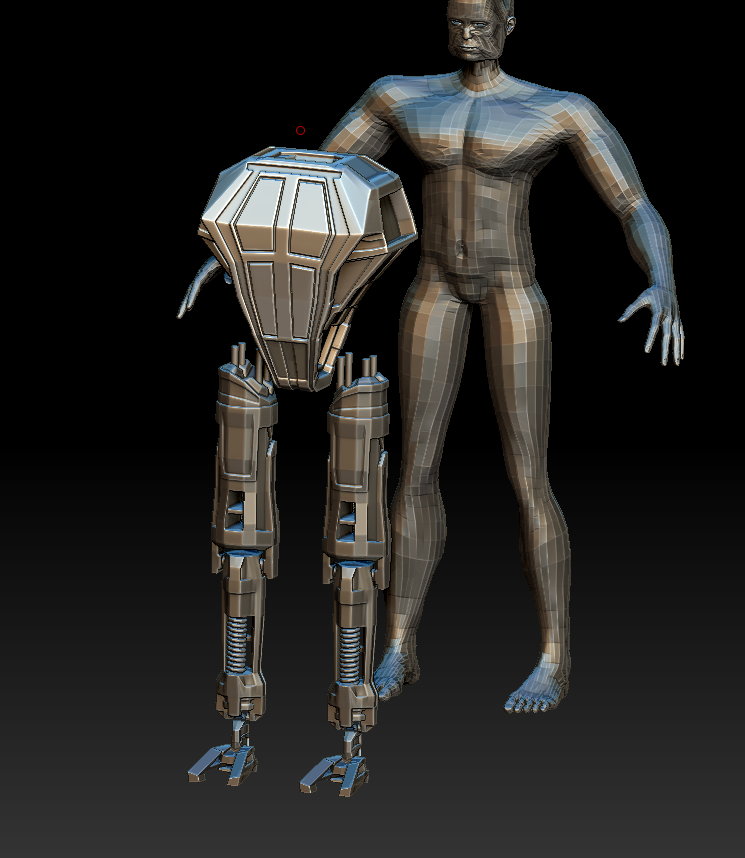
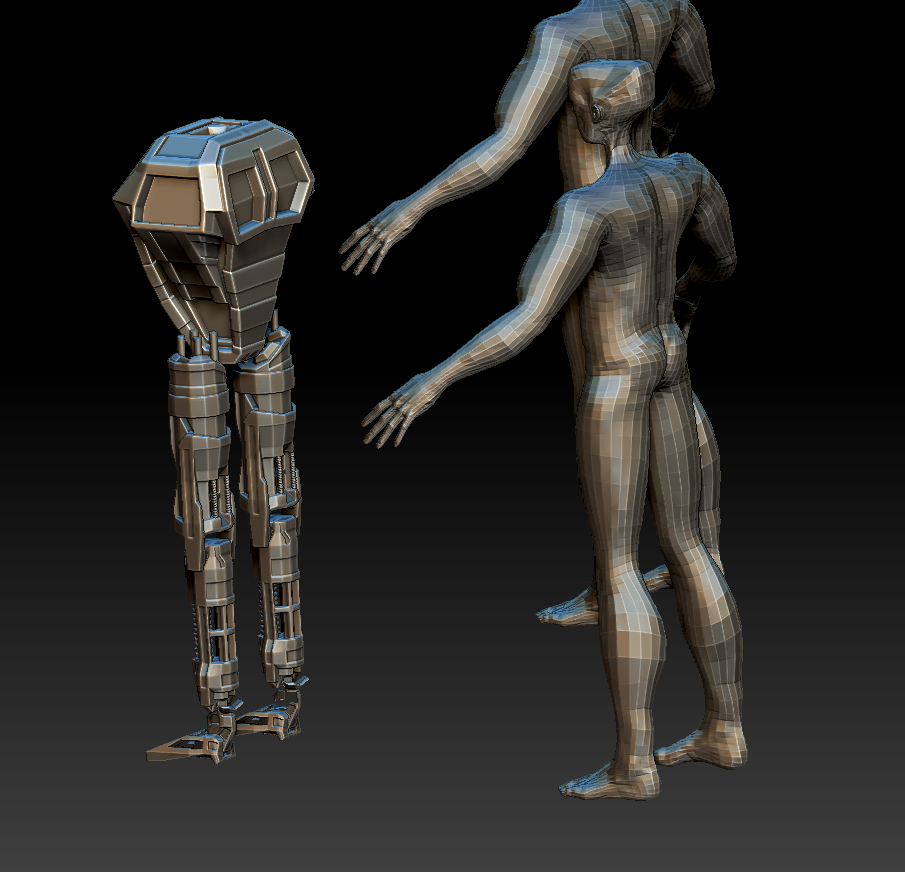
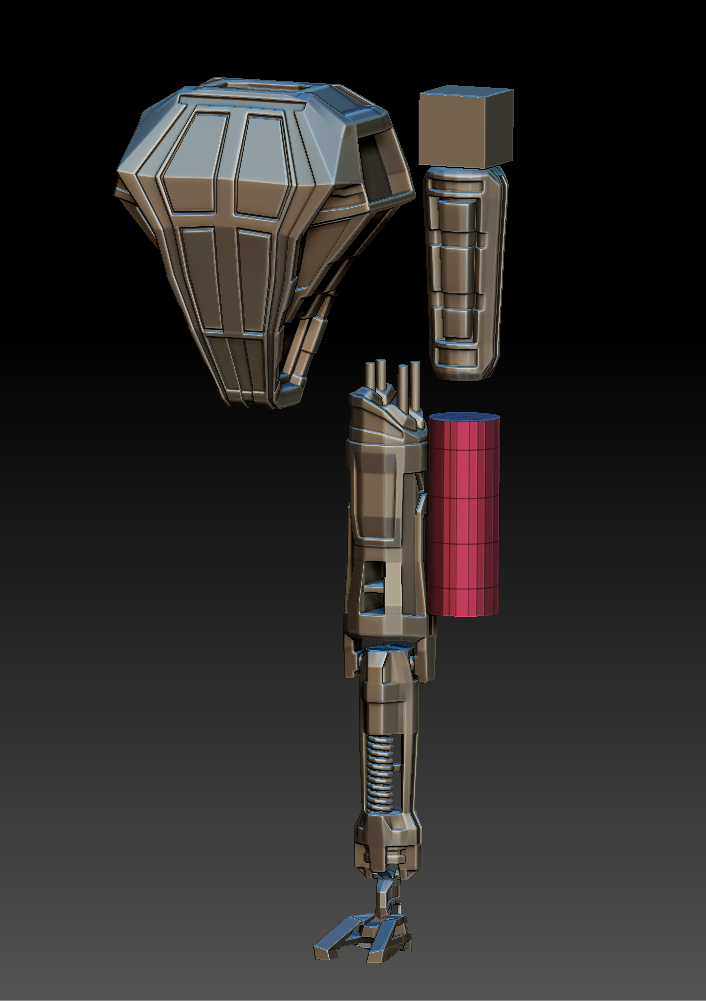
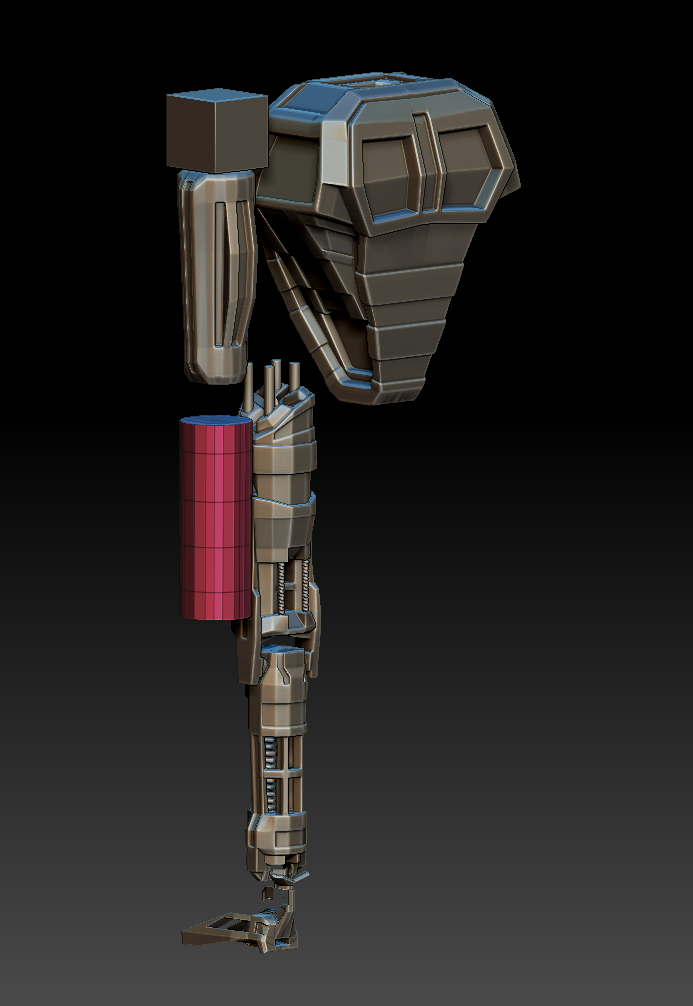
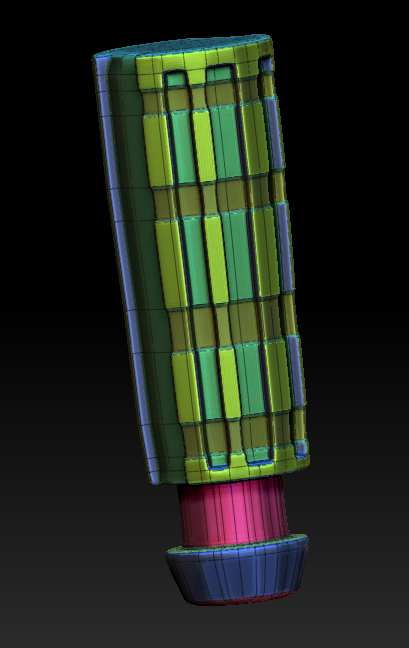
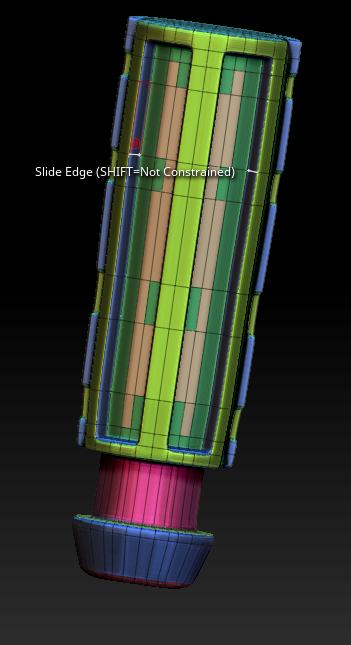
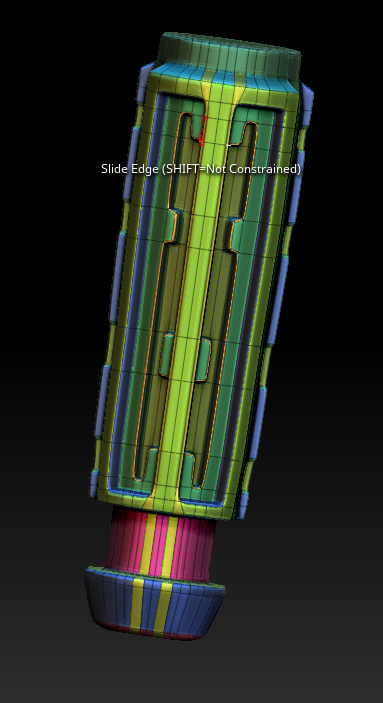
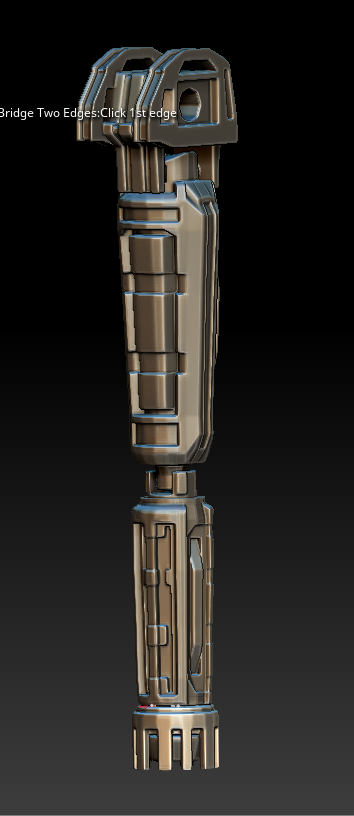
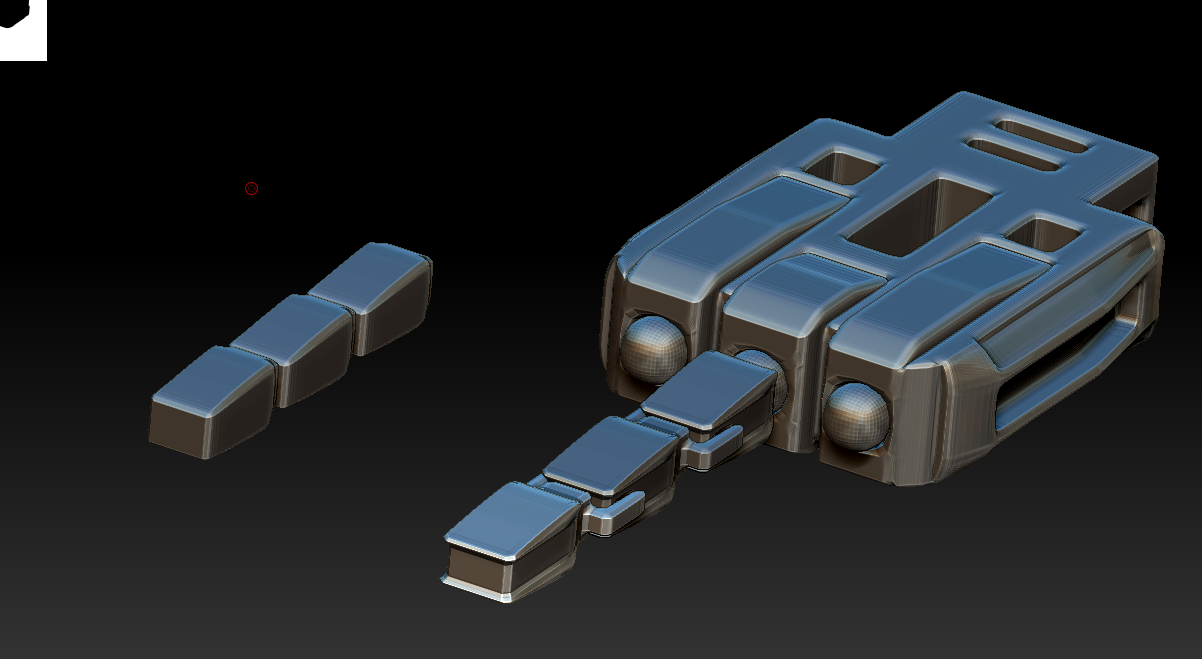
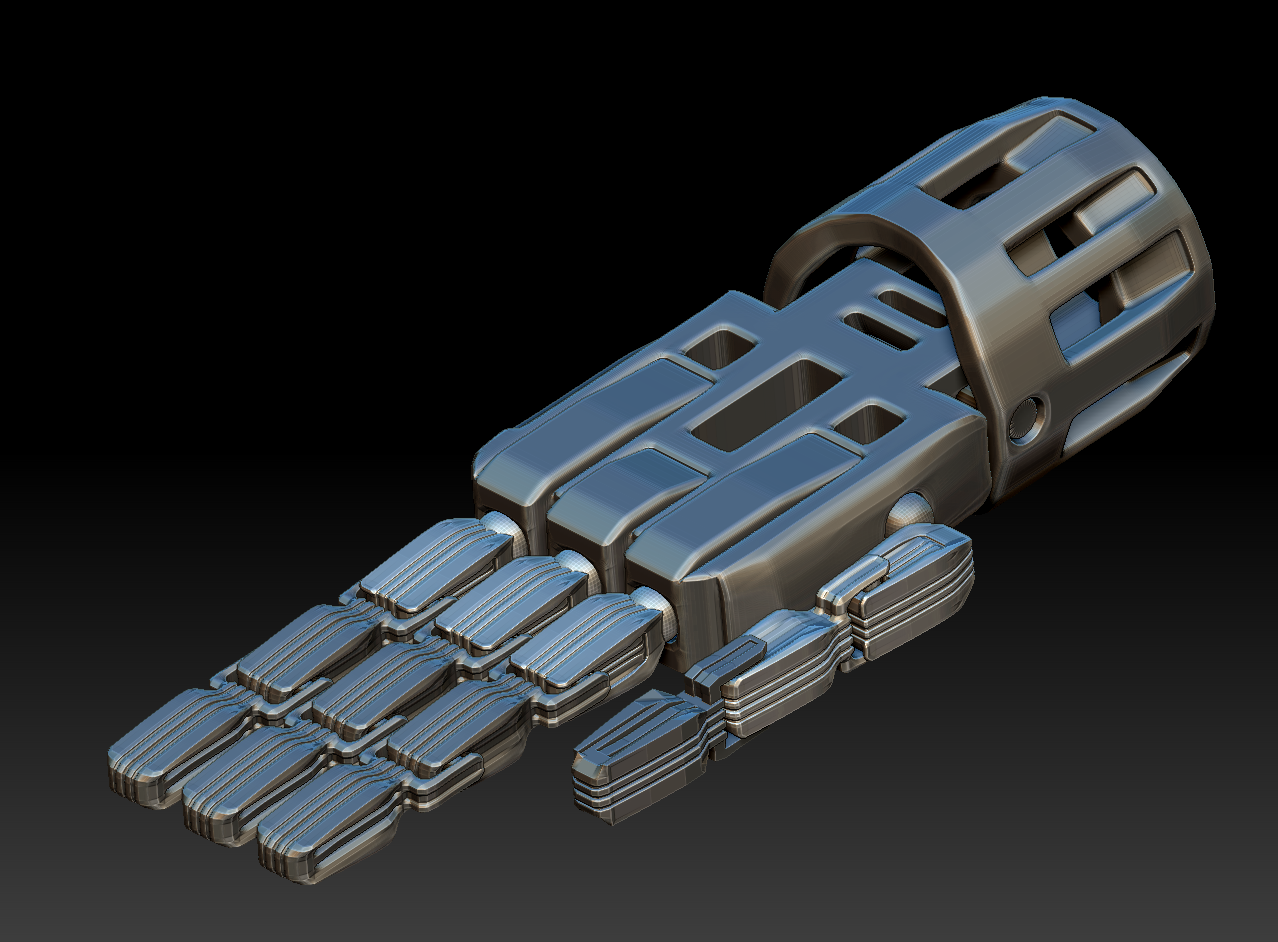
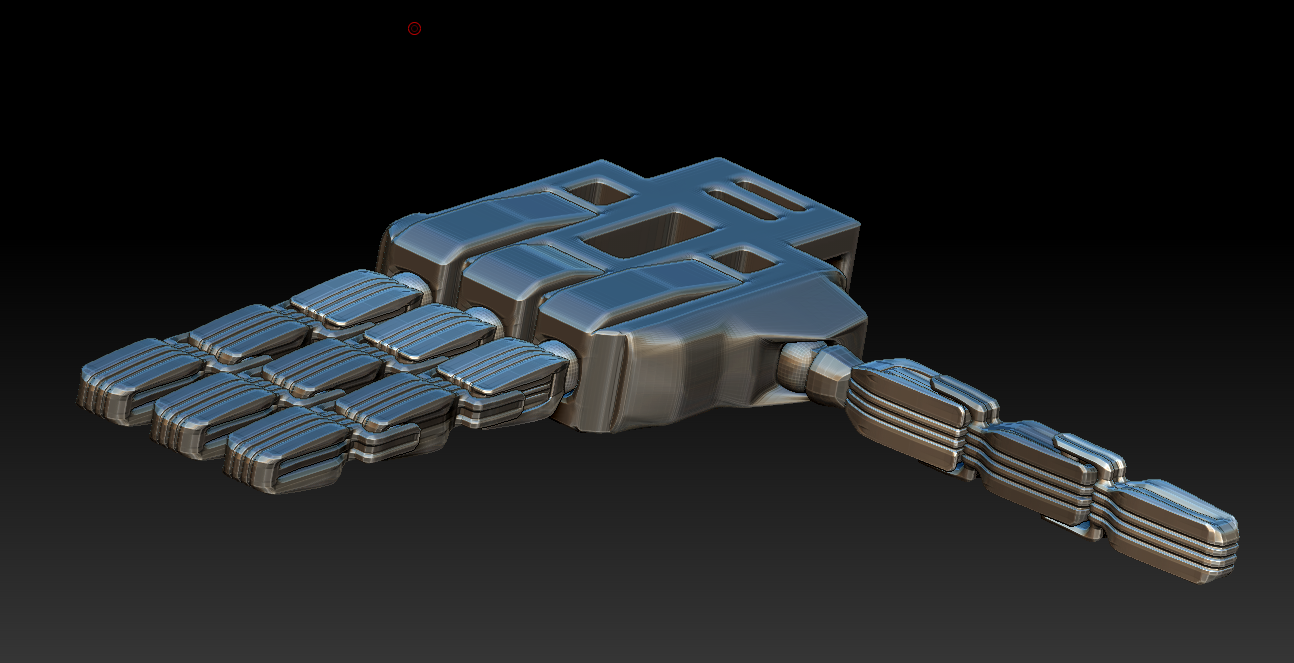
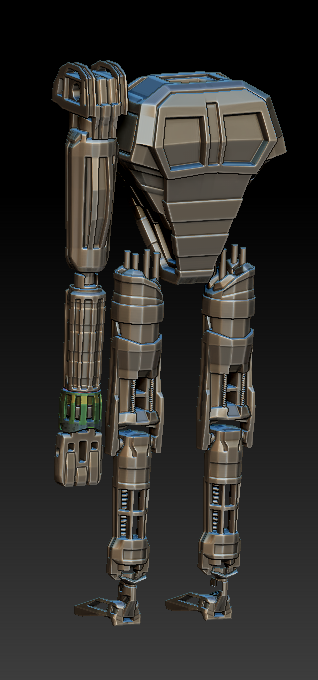
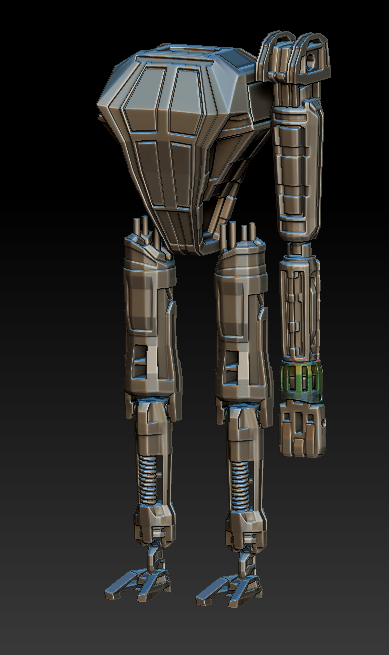
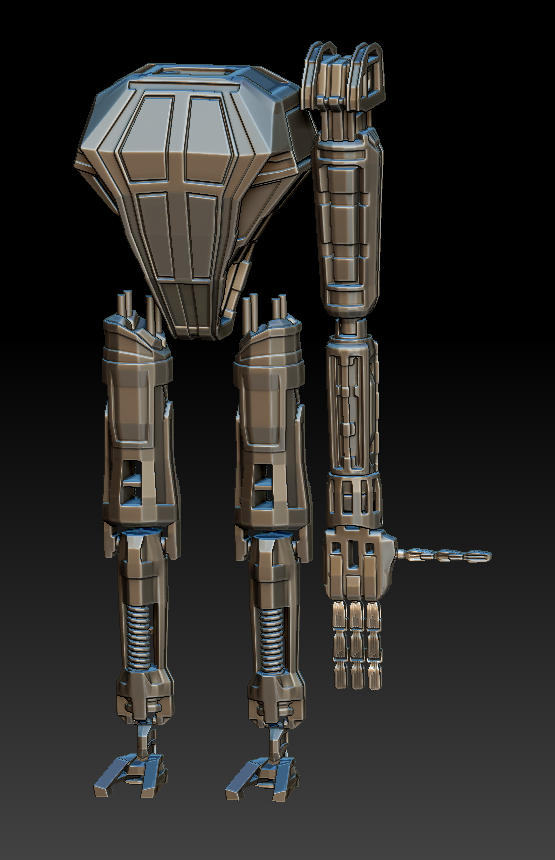
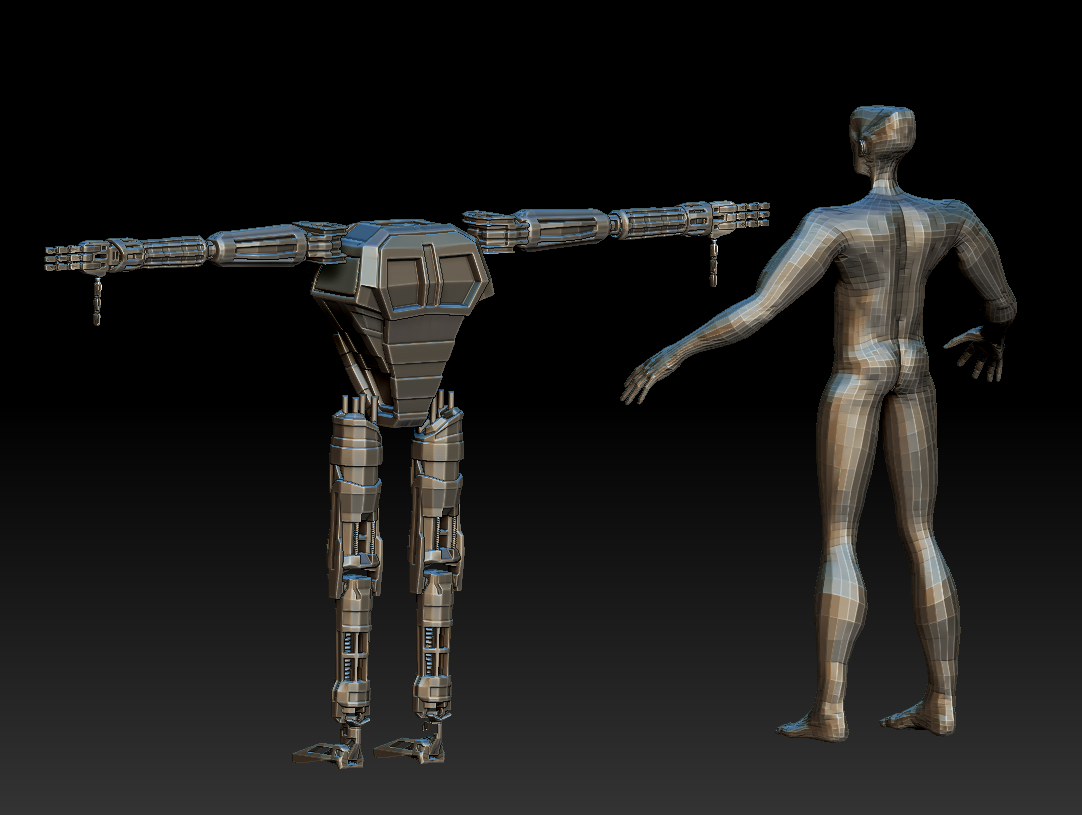
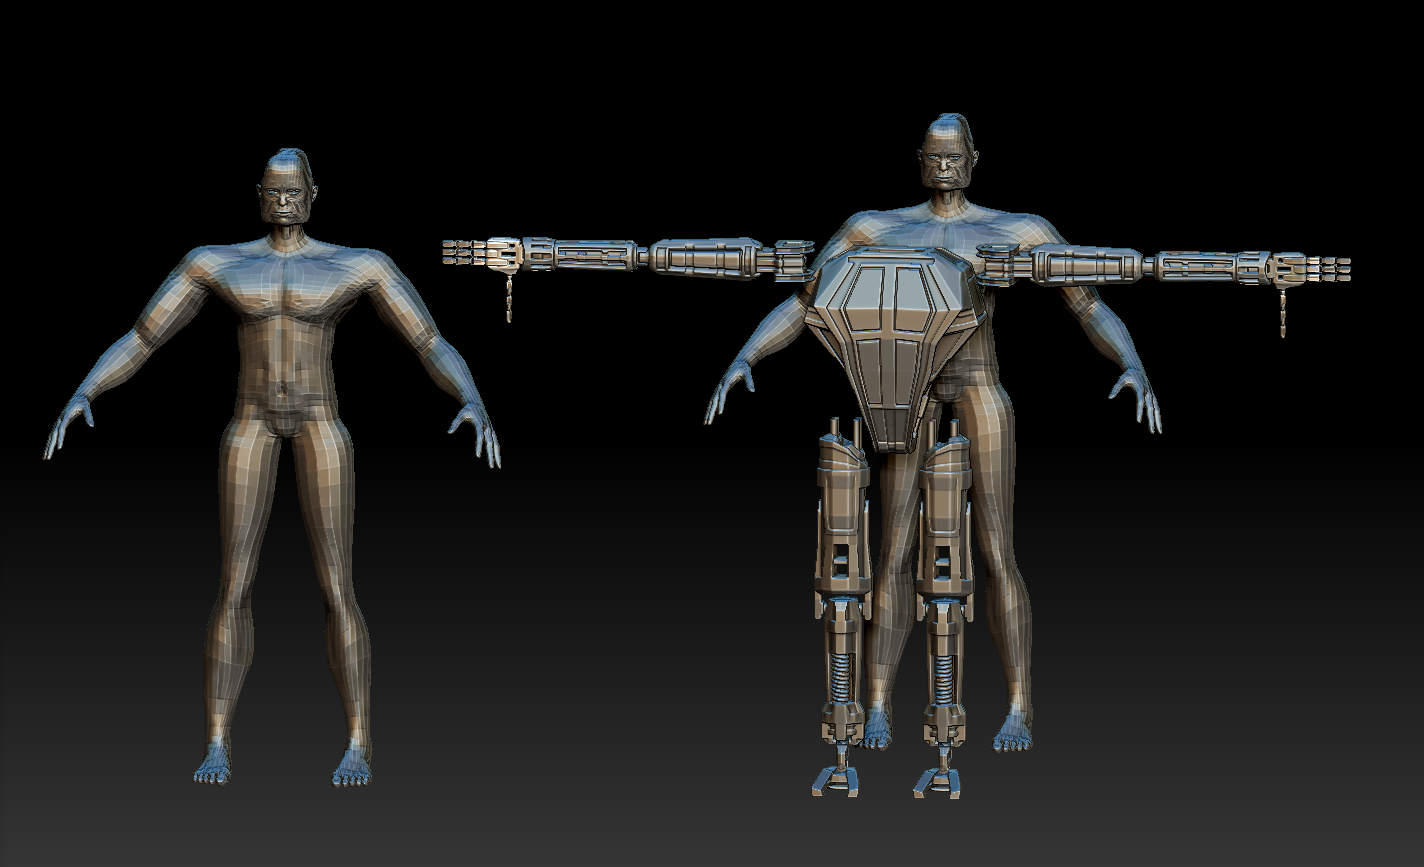
To Document the process I worked from I have put all the screenshots I took during the creation of my model into this carousel in order of creation this is also so that all the images don’t clog up this post too much that’s also why I have not taken screenshots for every like major change I made to my model nor made time-lapses for each item not that there is any undo history to make time-lapses out of since Zbrush didn’t save that for some reason it was turned off for quite some time.
It was a slow process working on this model but I found the Zmodeler brush to be one of the best modeling tools I have ever come across It literally does most of the hard work for you rather than you having to do 10 times as much effort to create simple shapes it was perfect for creating a robot that’s for sure.
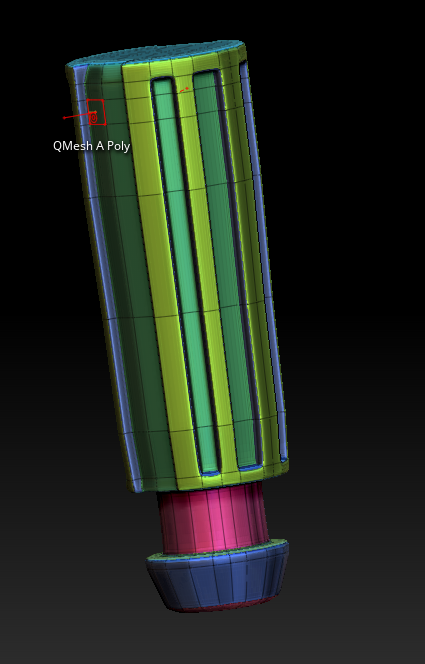
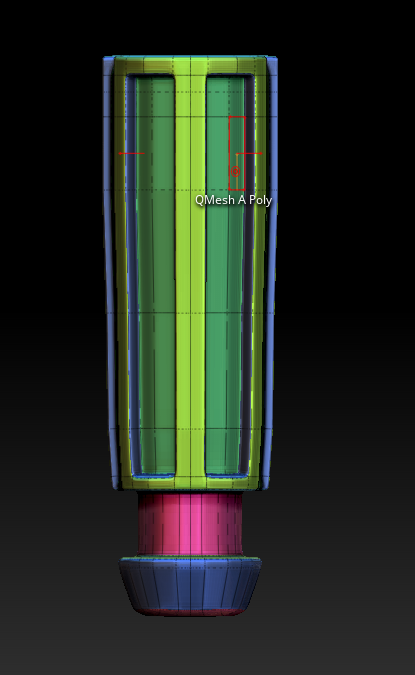
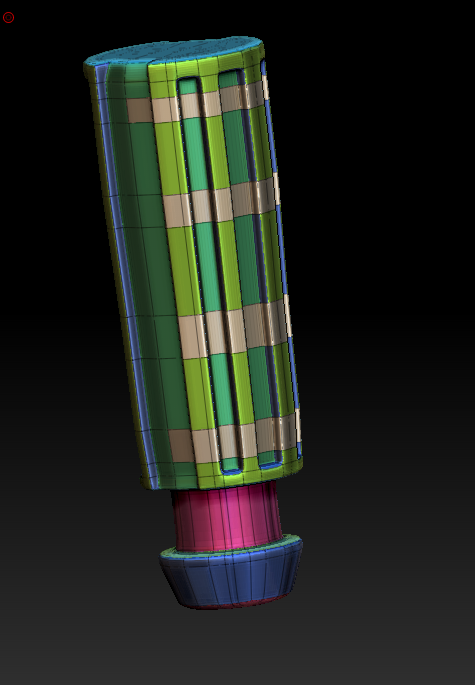
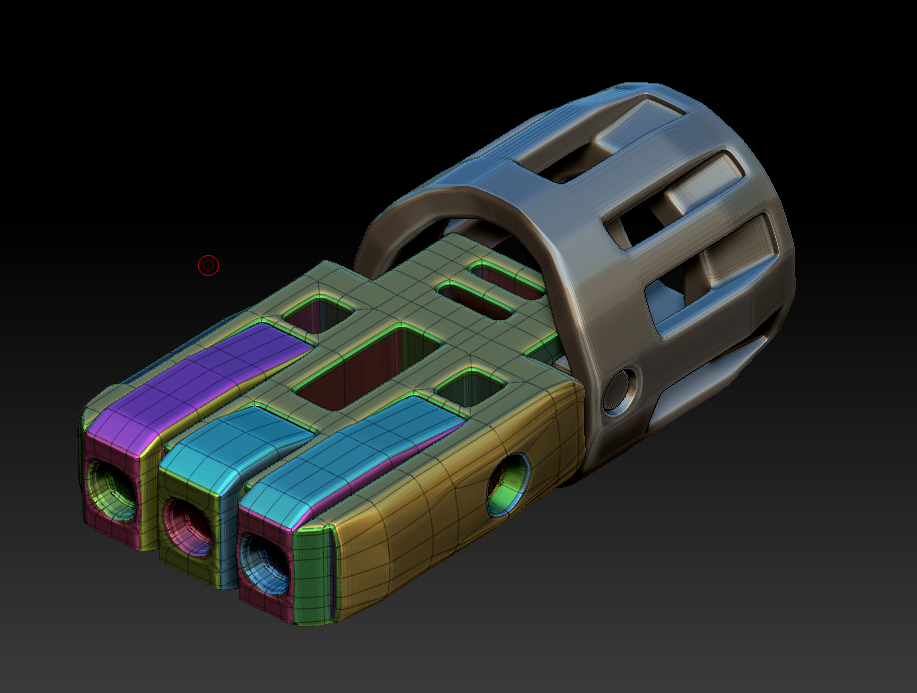
I mostly used the Qmesh brush and was impressed by it as it calculates everything for you so you don’t have to do each part individually Though I found it limiting as well though I’m sure there are ways to fix the issue I was having where I couldn’t rotate anything in the direction I wanted that was one of the main issues I and I battled against it a lot having to manually move verts and edges so it was at an angle I need to use this brush more and get to grips with the workflow.
Modeling
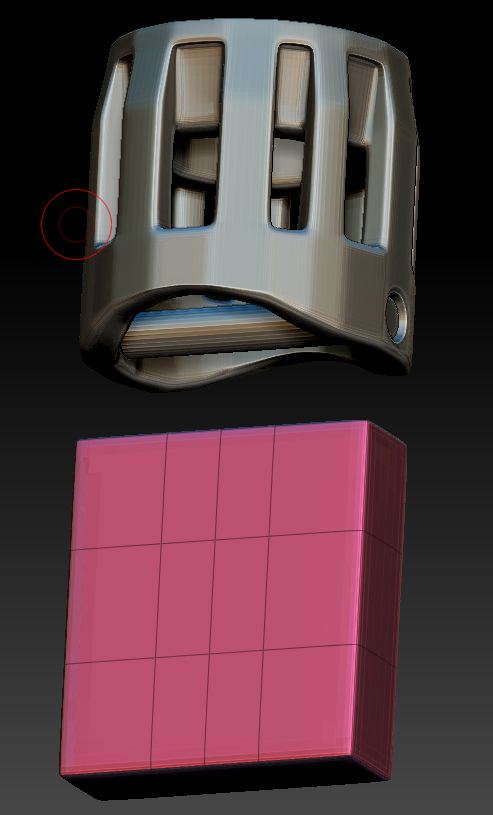
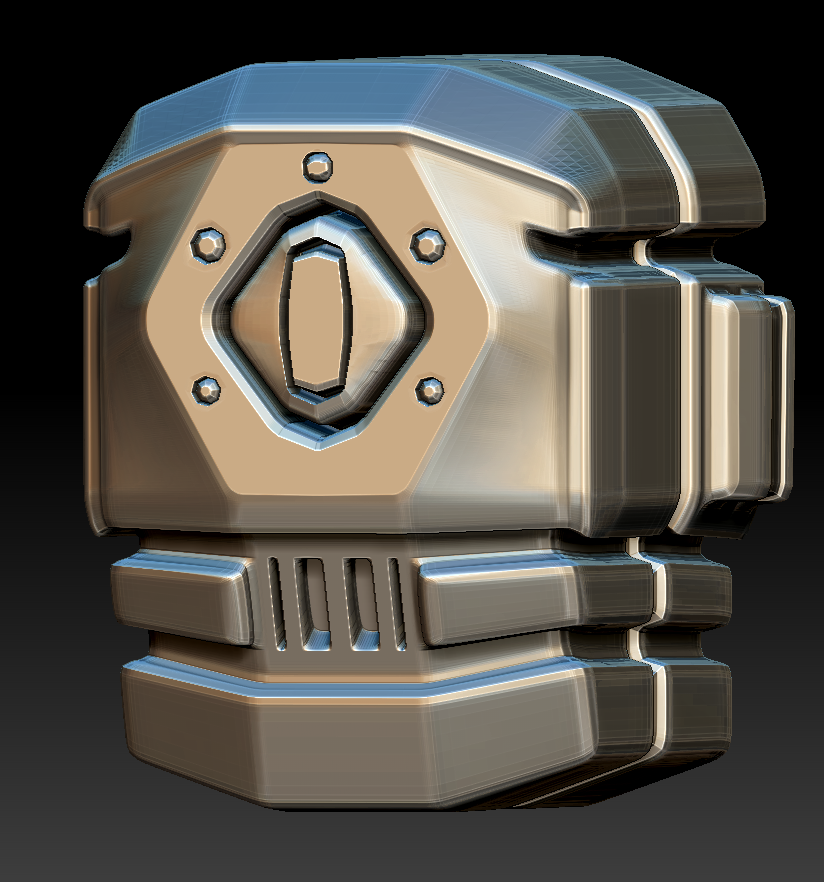
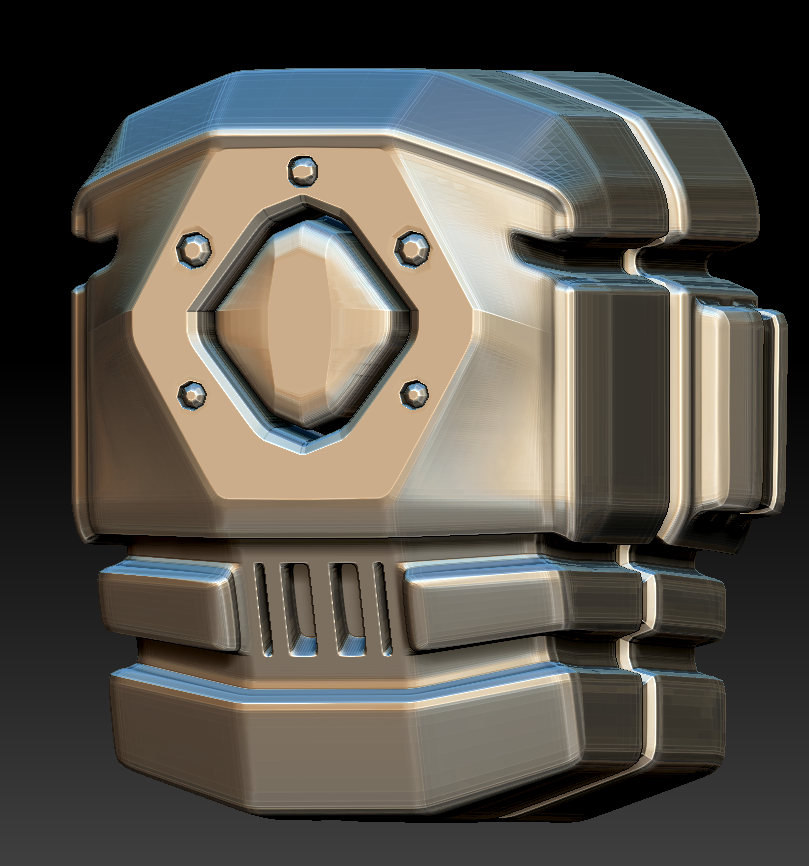
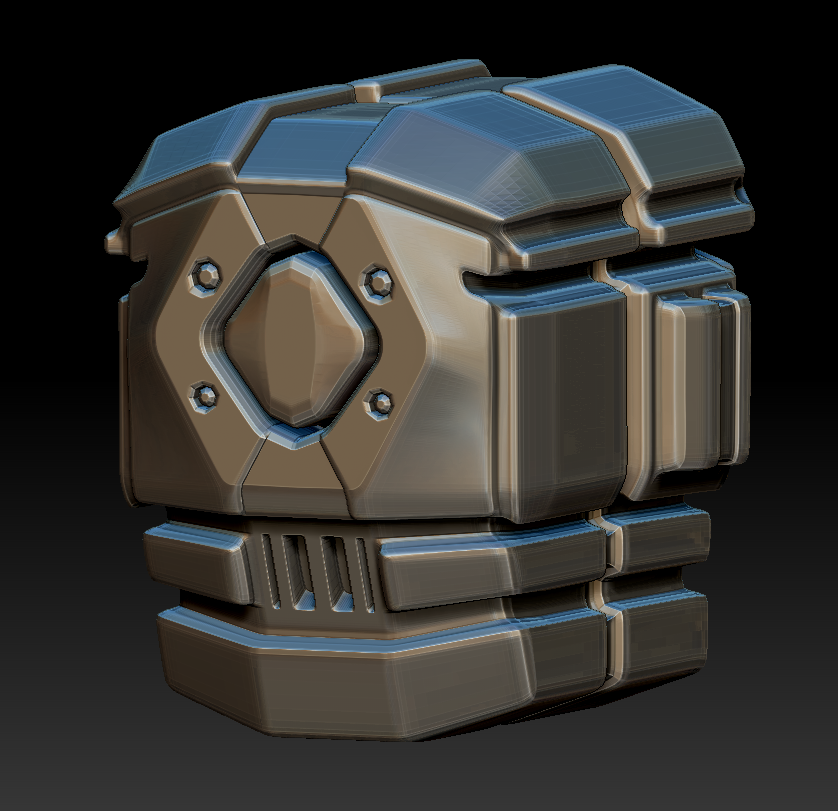
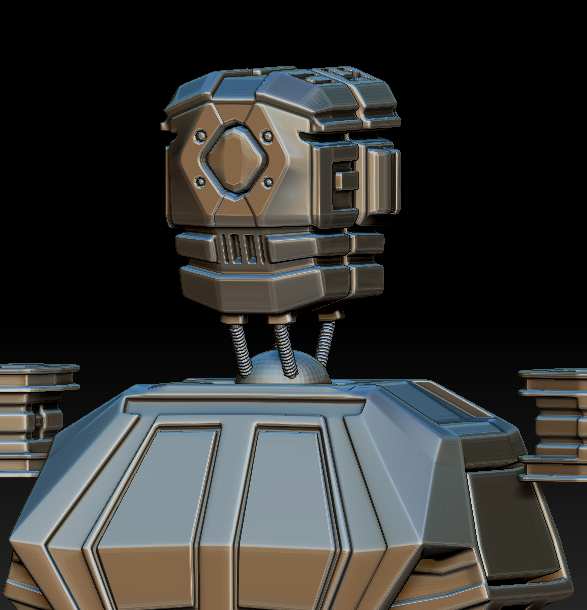
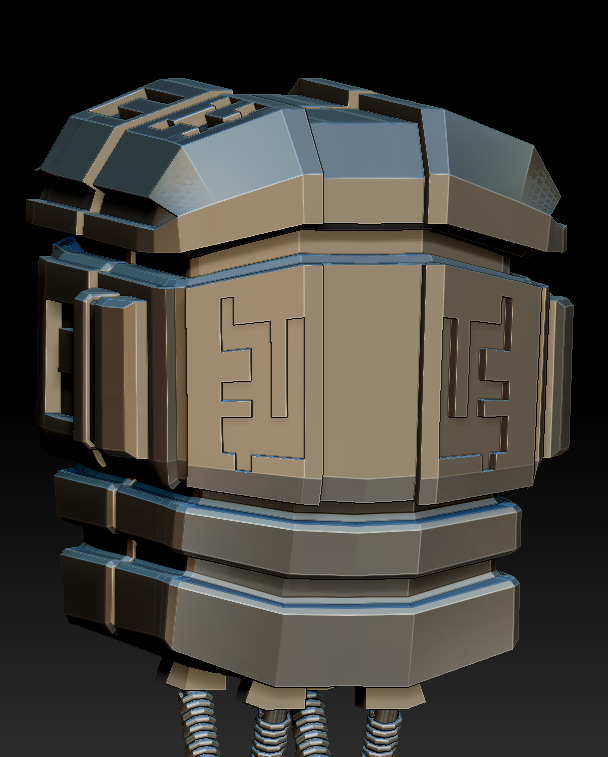
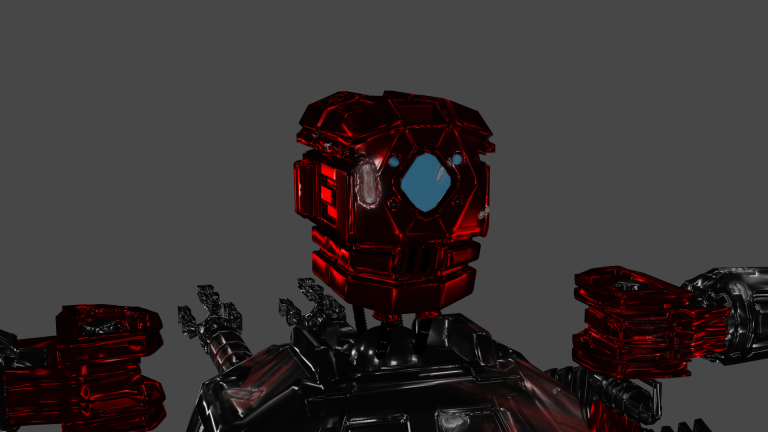
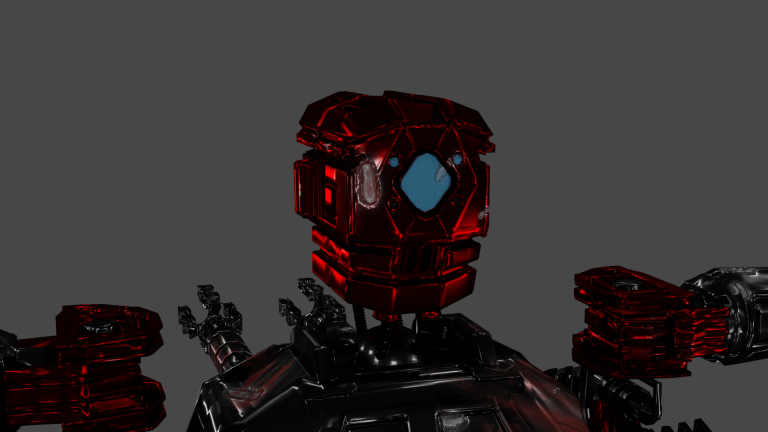
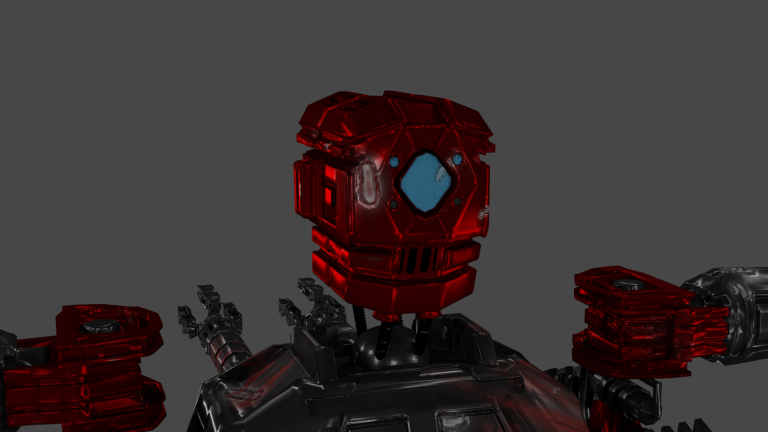
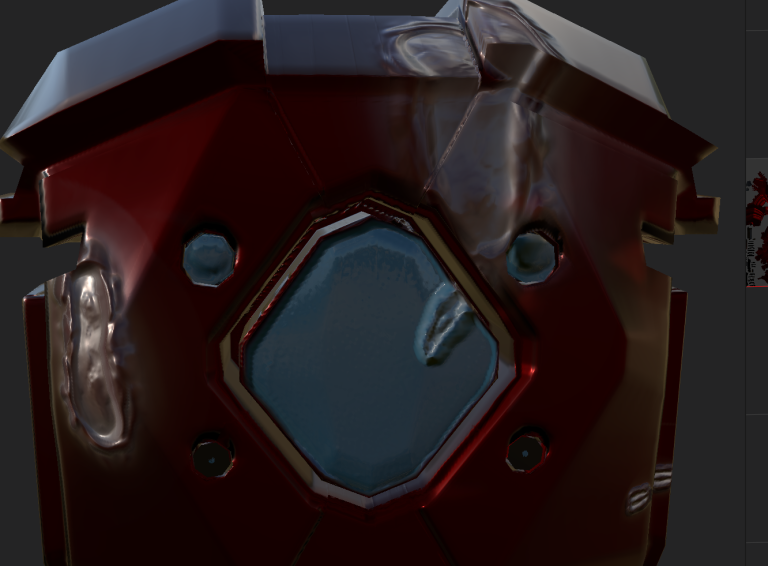
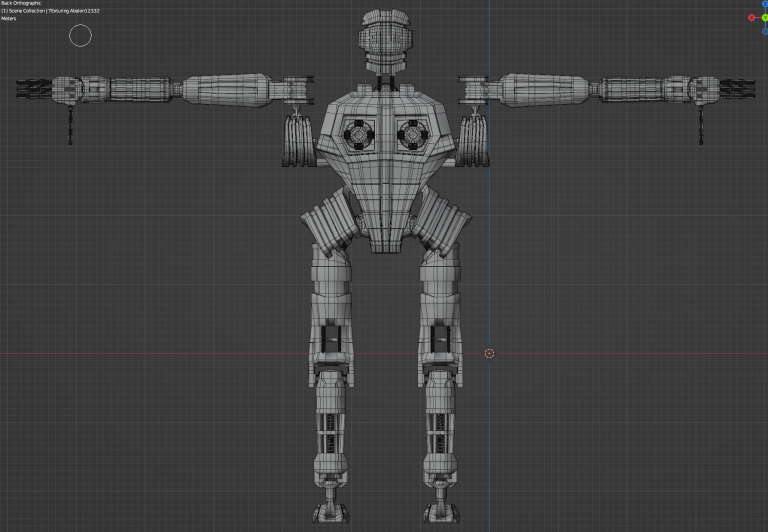
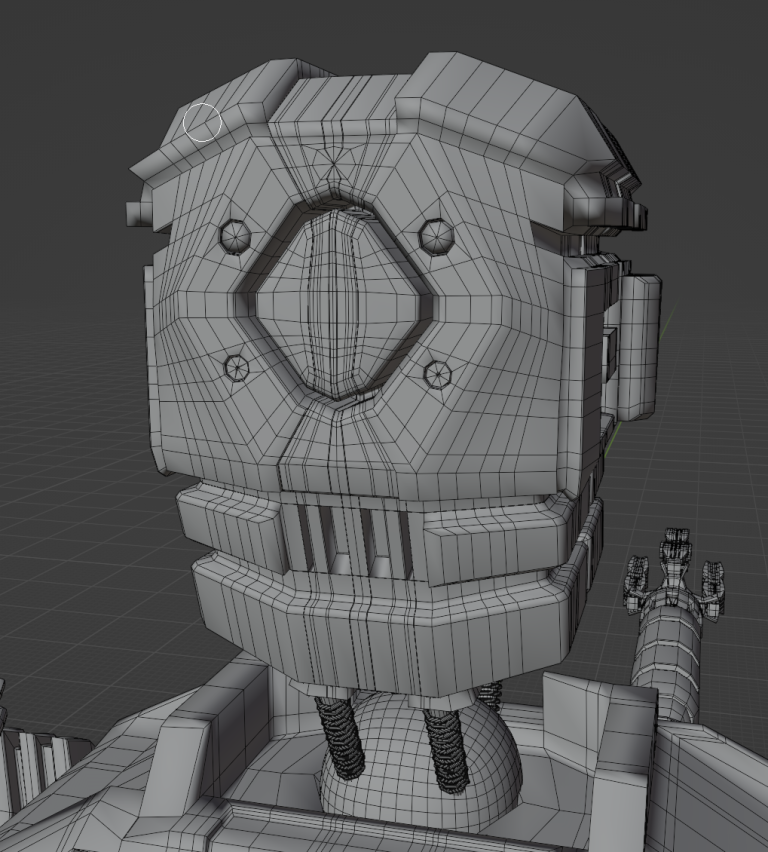
When creating the head it originally had 5 small eyes around the Main one in the middle these smaller ones are there to counteract bad depth perception which all cyclopses have although I’m not sure how much this would affect a robot it’s still a good idea to have more than one eye especially if your creating military robot however the middle small eye caused me some issues so I had to remove it but I couldn’t get rid of the topology of it so that’s why it can be seen on any of the wireframes.
I tried to make the main eye pop out more by creating a ridge in the middle of it but I don’t think it looks very good so I reverted it back to not having one.
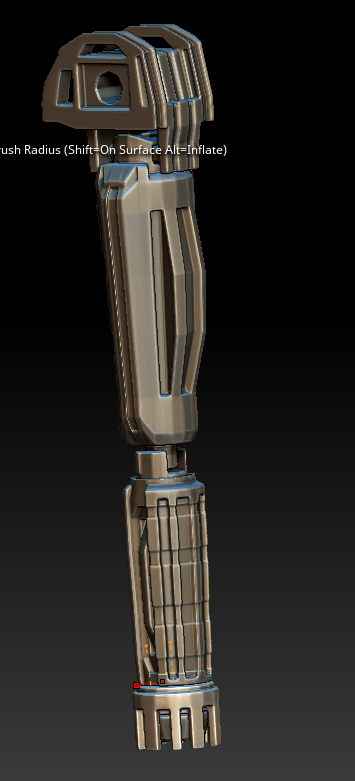
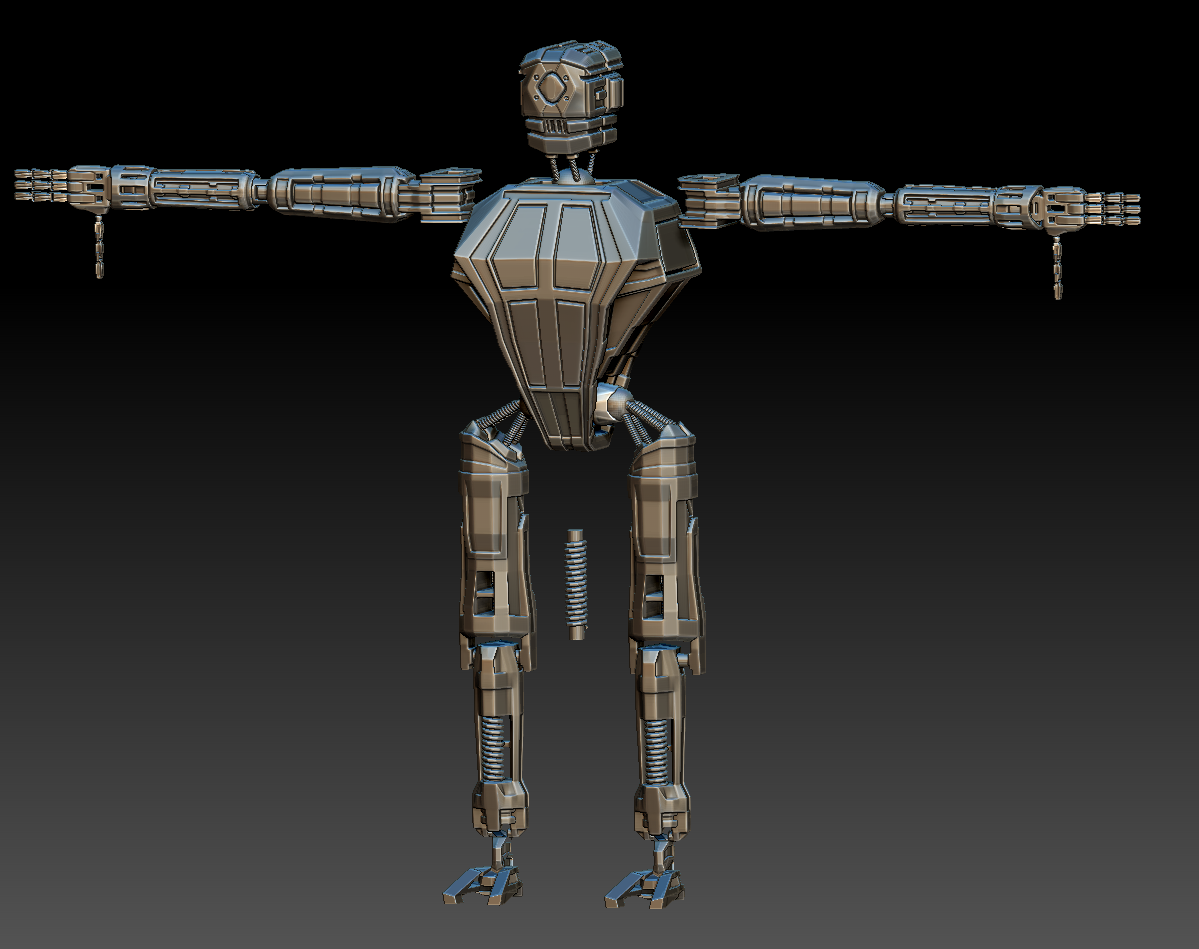
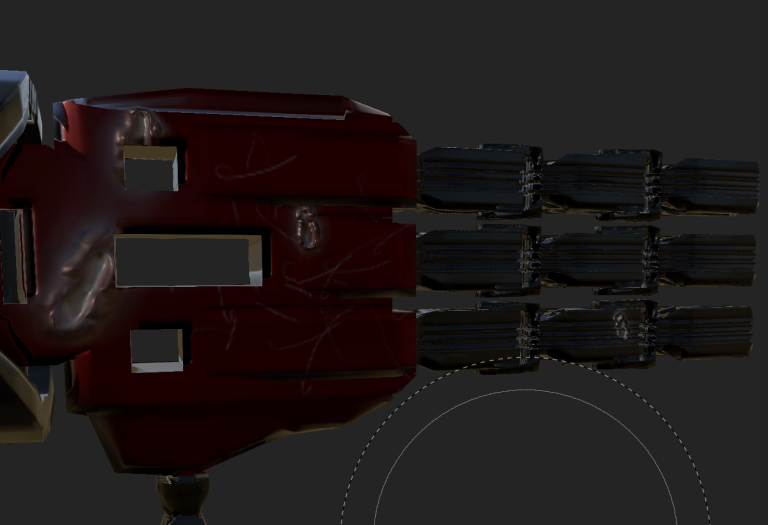
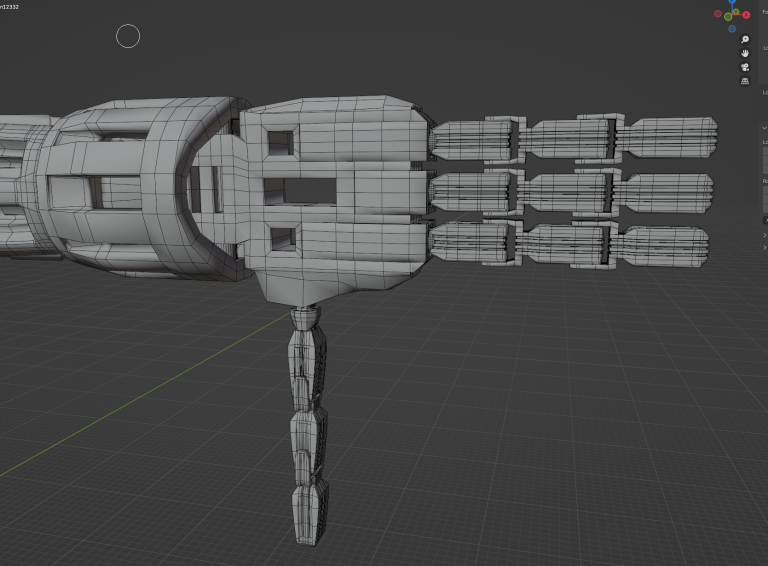
When I made the hand I had the rest of the body hidden so when I brought it back the hand was way too big compared to the rest of the arm this has a certain charm to it and if that’s the style I was going for I wouldn’t change it however it was disproportionate so I had to change it and not only that but the entire arm was way too big since I was trying to keep it to average human sizes in this case a 7 foot tall human.
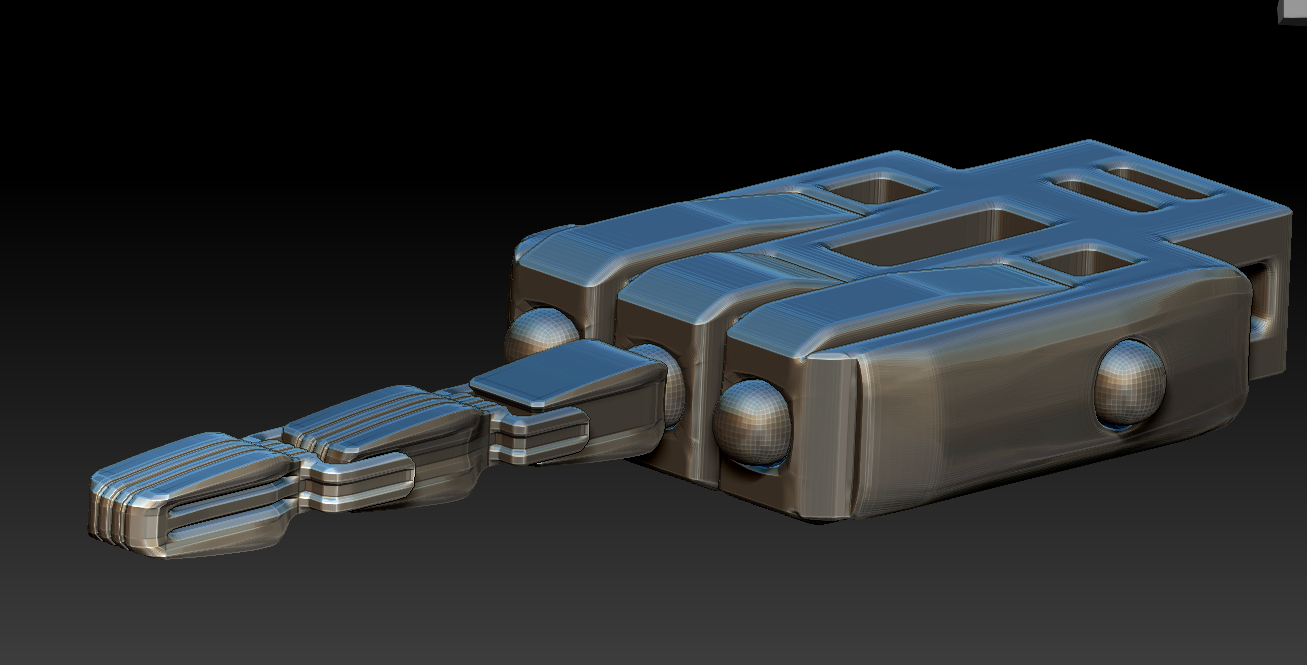
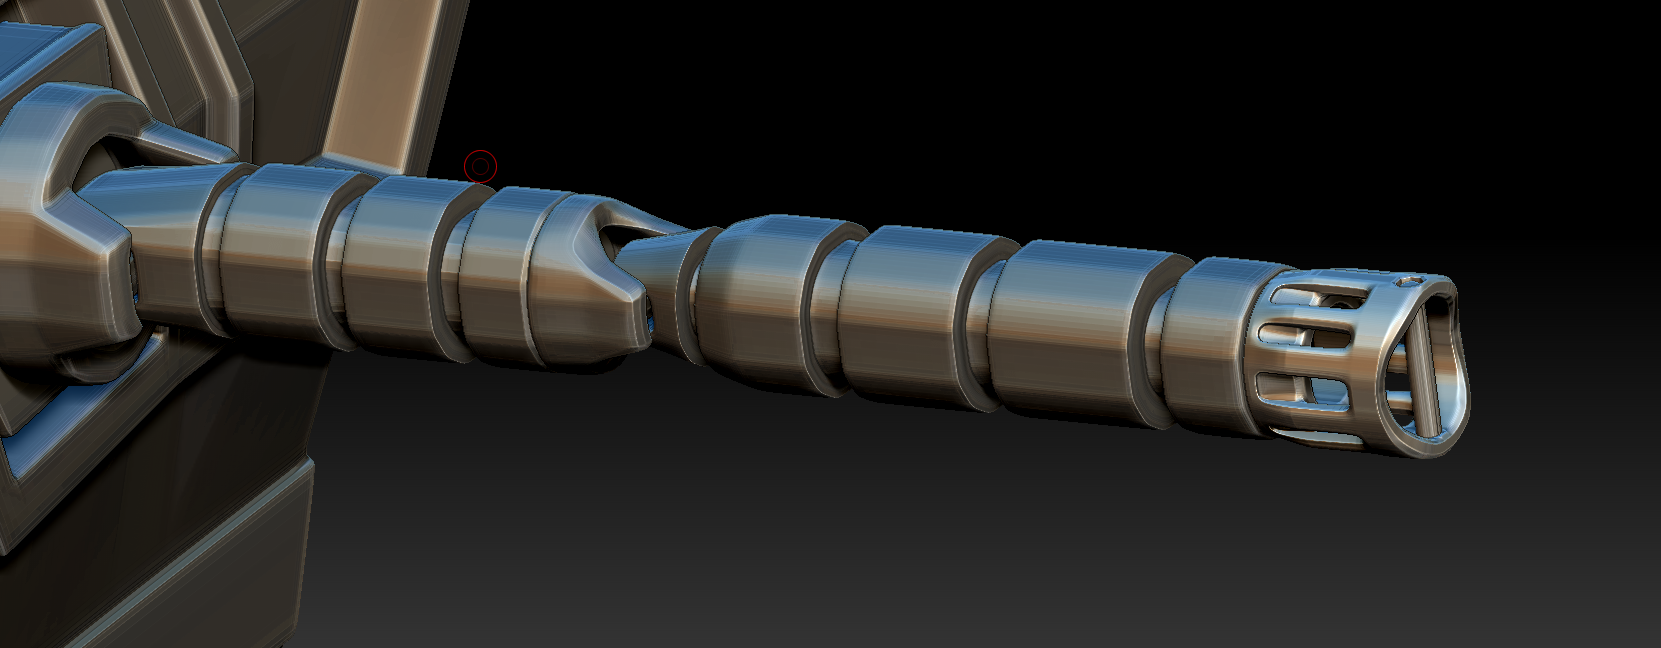
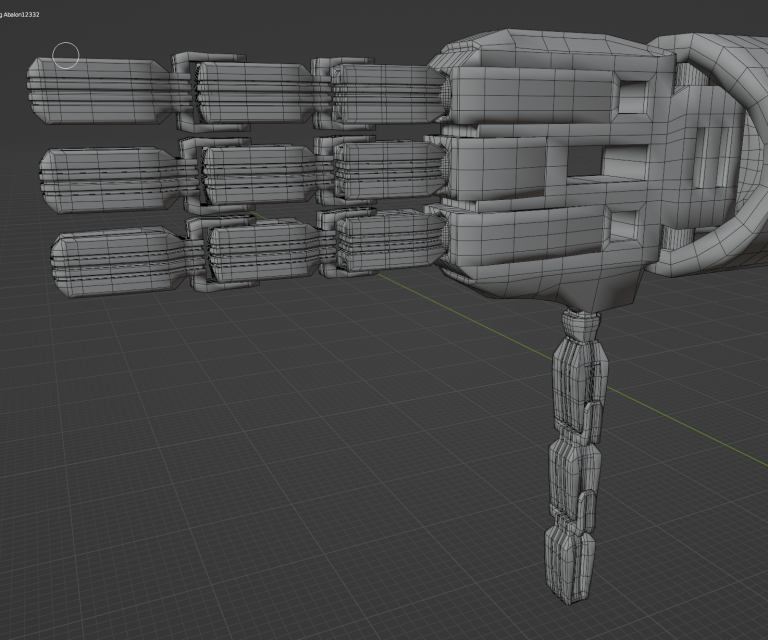
The palm of Abalon was the best part of the model I especially likes the way the hand, wrist and lower arm connected together rather than having to use ball joints its connected in a way that makes it unique.
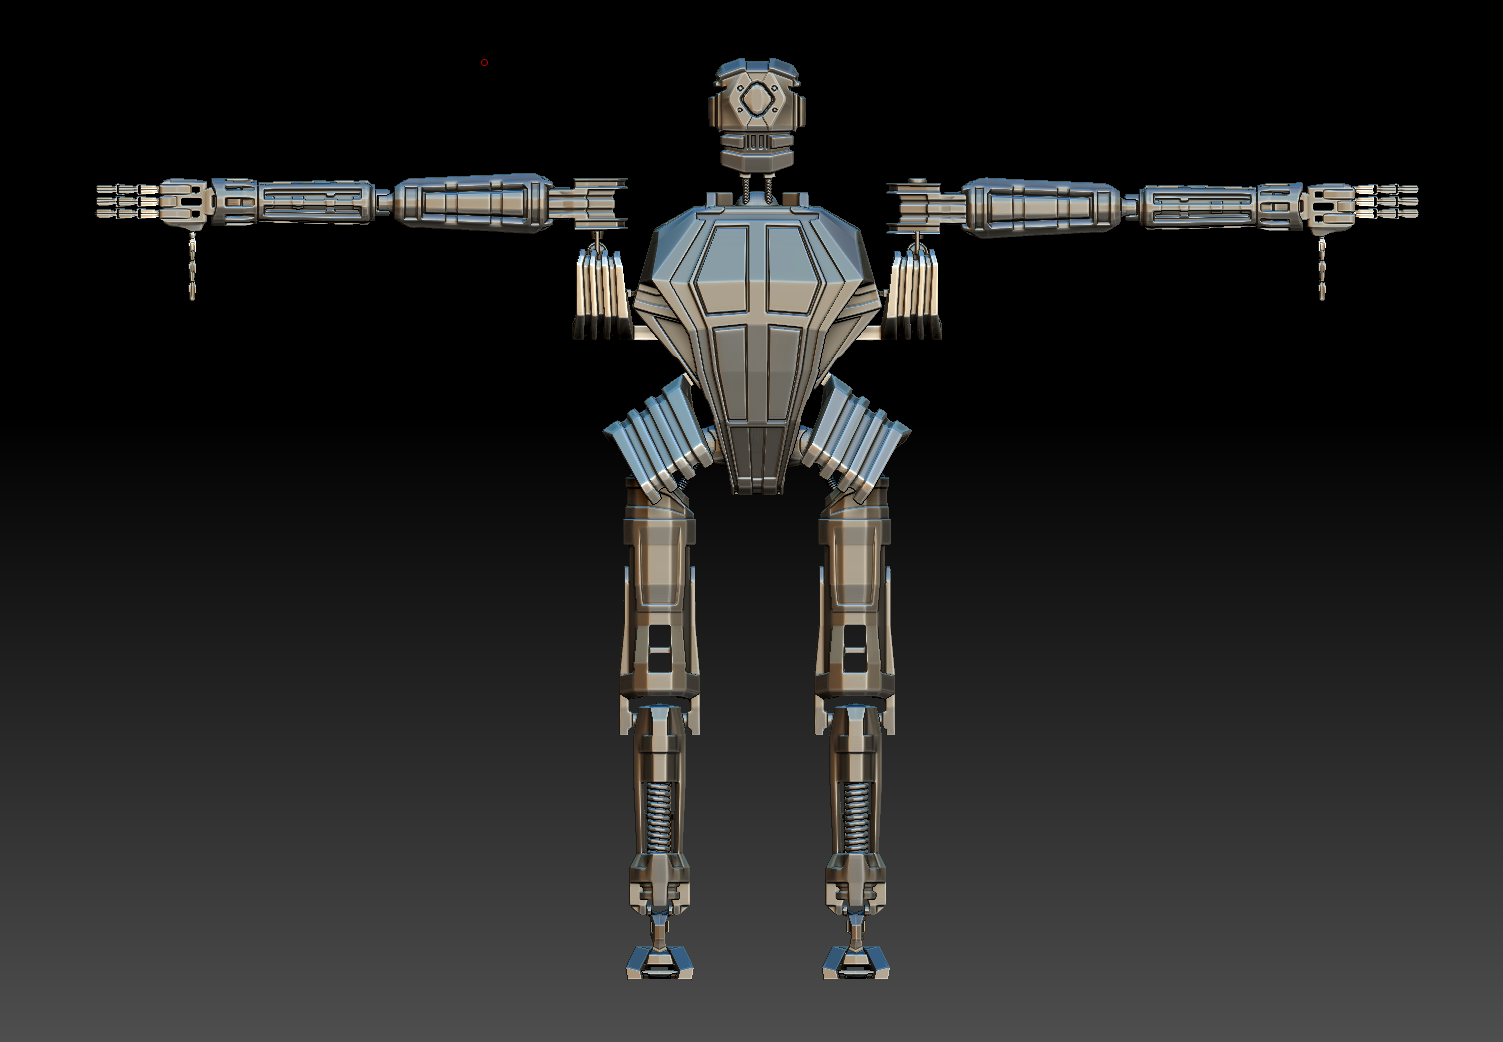
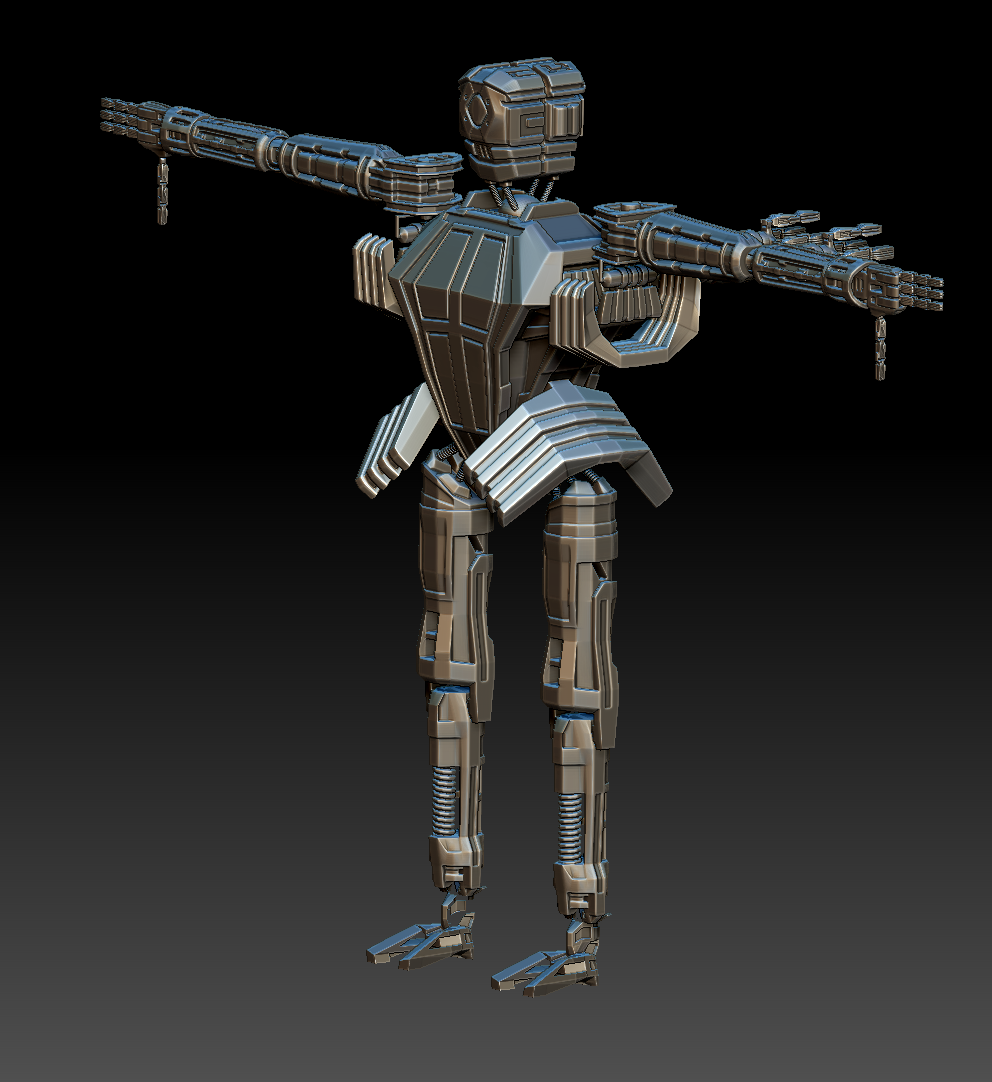
My model overall is 156 thousand Polygons and that’s the low poly version the high poly was baked from 1.5million polygons onto the low version to give it a smoother finish once I had baked it in substance painter.
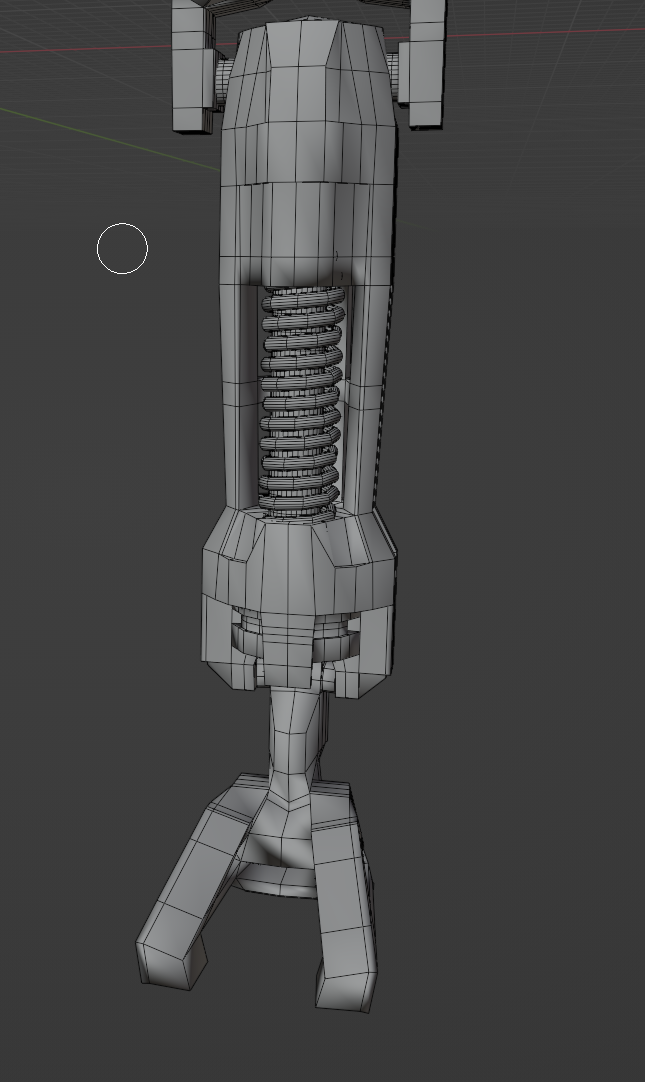
All throughout the creation of Abalon I had to think about how joints worked and their movement I couldn’t rely on just whacking a sphere into the joint and calling it a day well I mean I could but I actually decided to use my brain and at first I did screw up the foot and knee joints only move on 1 axis rather than 3 this was a mistake whereas most of the joints use all 3 or at least 2 I did have to use ball joints for the pelvis where the legs connect and neck just so they would have a full range of movement.
Now when it comes to rigging it might be a little more difficult for me to rig the robot using bones because of the unique way I have made the joints in some areas especially the ones where I am going to have to cut the mesh slightly to make them spin however I am confident that I will be able to figure it out since its not my first time rigging a character although I am not adapt or confident in Maya at all and doubt I will ever be not because I am stubborn and hate the program I just can’t wrap my head around it but we will see if I can use Blender or not, either way, I will probably be able to make the rig work if I can’t use Blender I will make 2 will make 2 rigs one in Maya and one in Blender so I can transfer knowledge between the two.
A couple of the pieces I created I made some quick time-lapses of however I could not get the settings correct in Zbrush to get the whole thing to slow down and not fade in and out.
Texturing
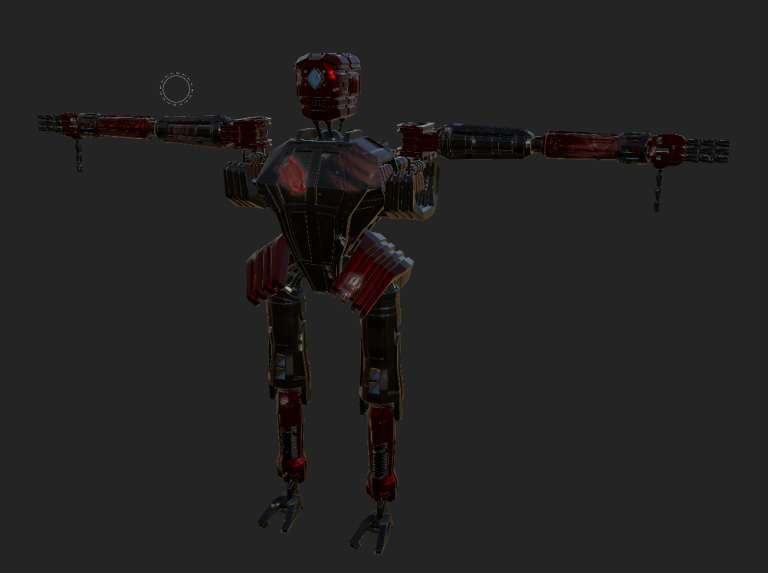
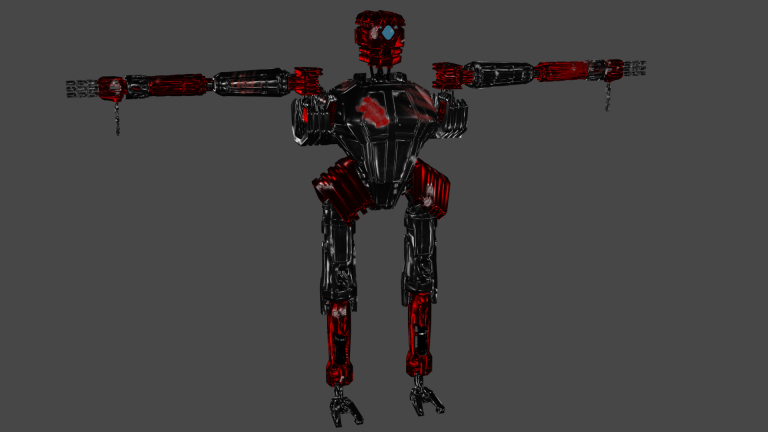
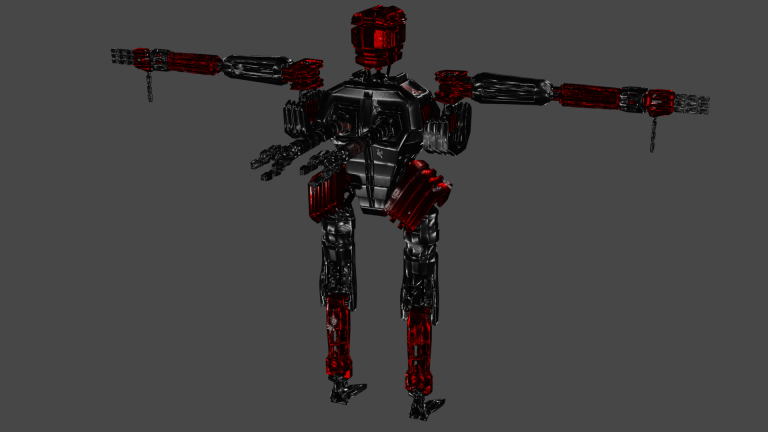
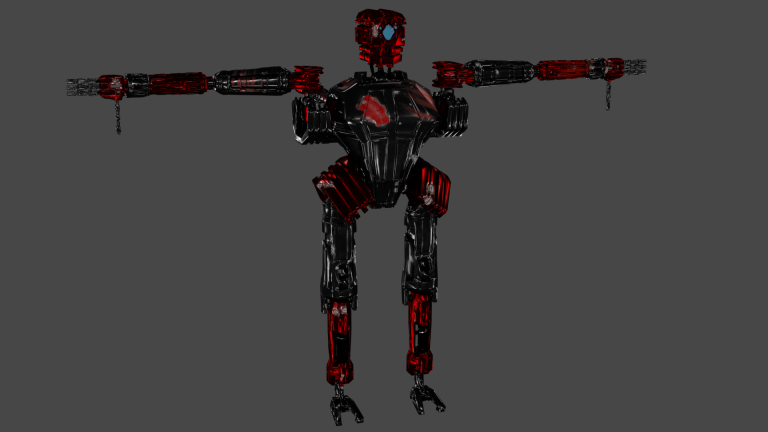
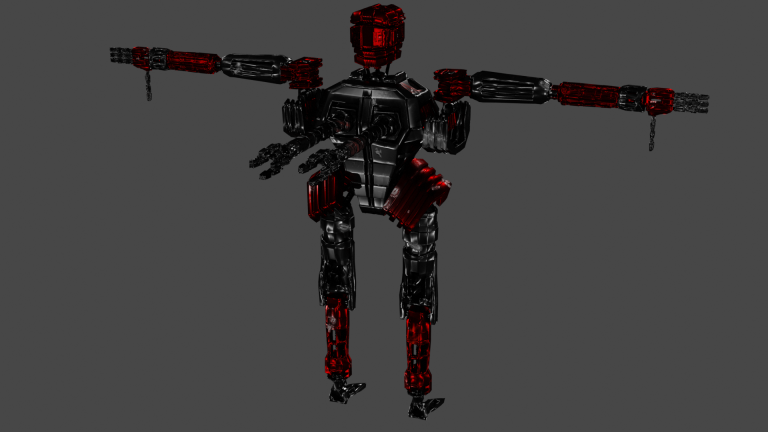
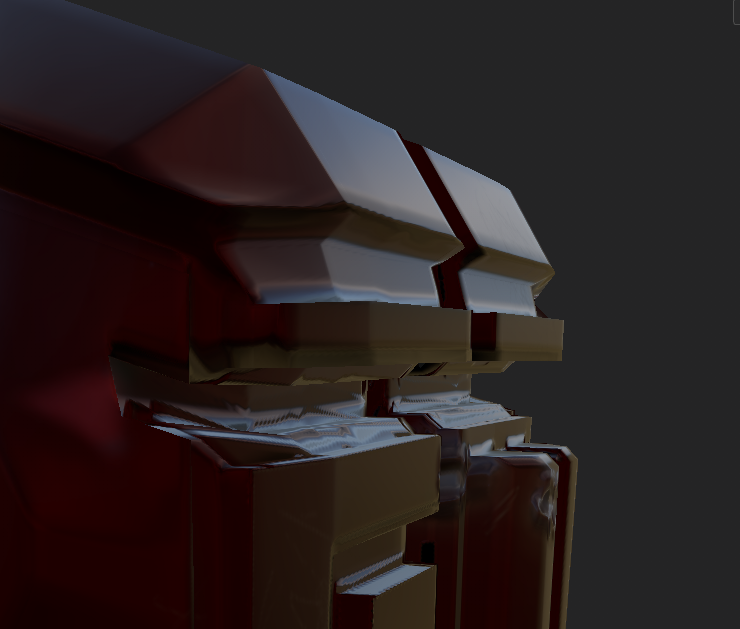
I started texturing it in substance painter and as you can see the Substance painter version looks a lot better than the version I managed to export into blender I think I might have messed up when I exported the textures somehow but I’m not really sure about any of that.
I didn’t use many textures to create Abalon in fact I only used 7 of the base textures from substance painter since I’m not adept enough at the program to make my own or fiddle around too much to get a perfect texture plus most of the textures where already there for me to use anyway.
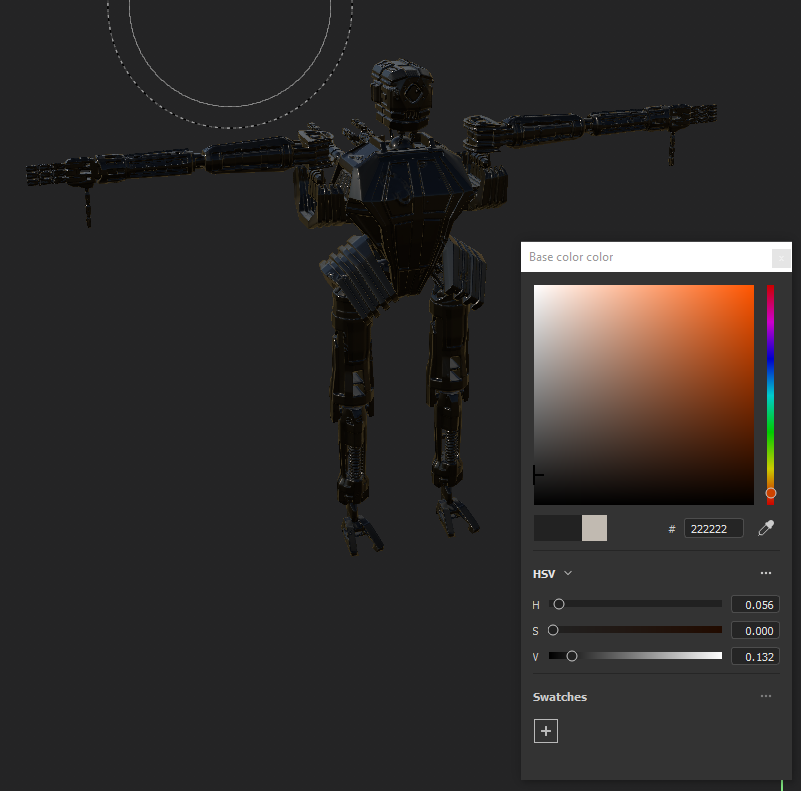
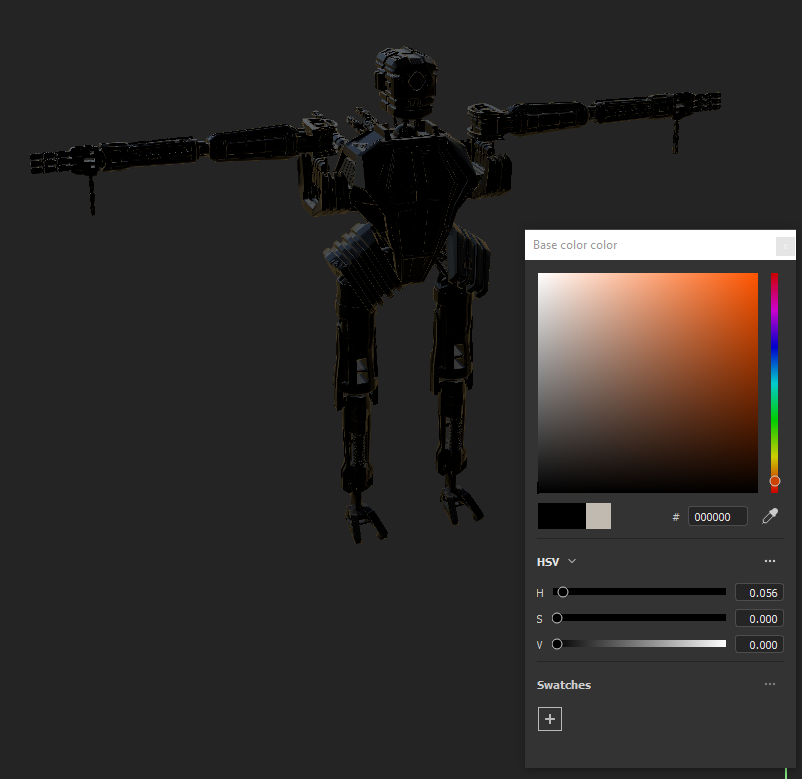
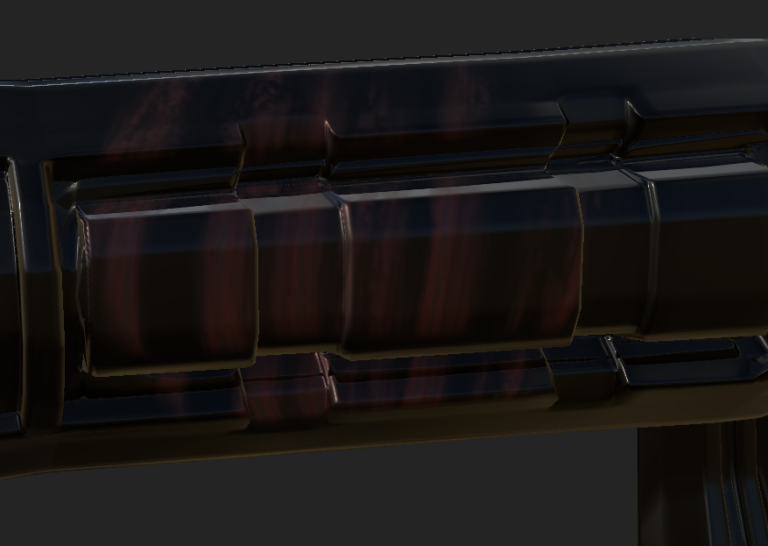
The base of Abalon that is the main body is painted with the Titanium pure brush as that’s what I said I would make them out of in my character brief sheet so I started off painting the entire character with not pure black but an almost pure black color so as to not lose a lot of the detail thank to the dark color the light can not reflect off it too much and for my character that would be great for the stealth-like nature of it but to lose that much detail would render most of that work pointless so I changed the color slightly to reflect more because of that.
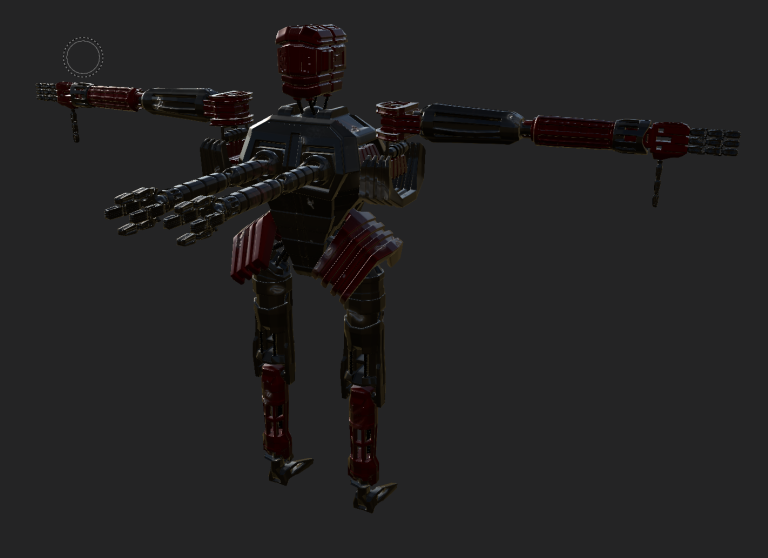
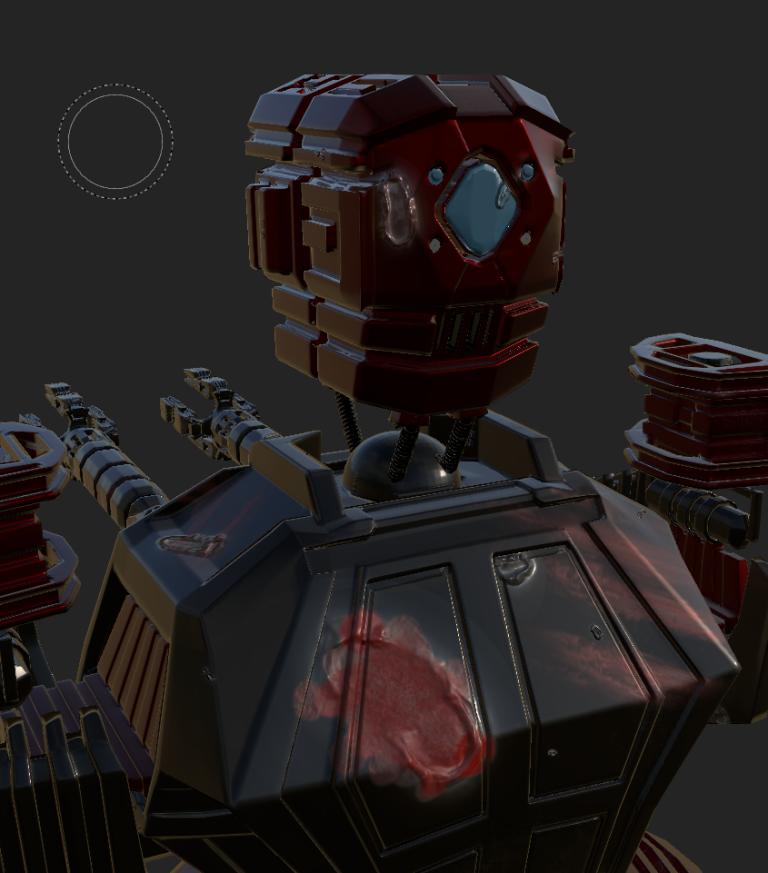
To give Abalon more color variation I said I would be using either a green or red and I decided on red when it came time to paint the body to show a more powerful and relentless stance as it hides blood splatters since its a military robot but I didn’t want it to stand out too much and be a giant red flag saying hey look I’m here I still wanted the stealth vibe so I made it a dark red color as for the eye I don’t remember exactly which of the two plastic brushes I used since there was no glass brush but it was either the matte or the glossy one with the light blue color to show a screen with light.
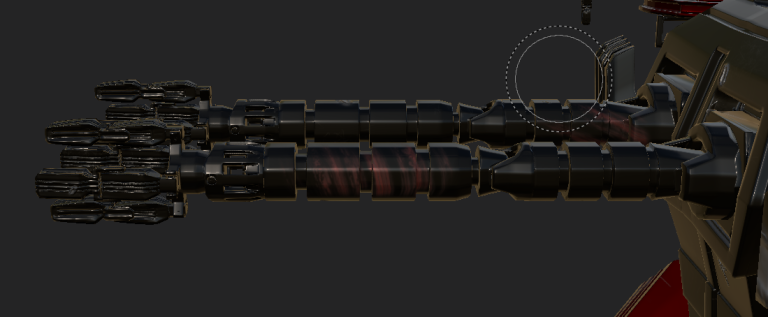
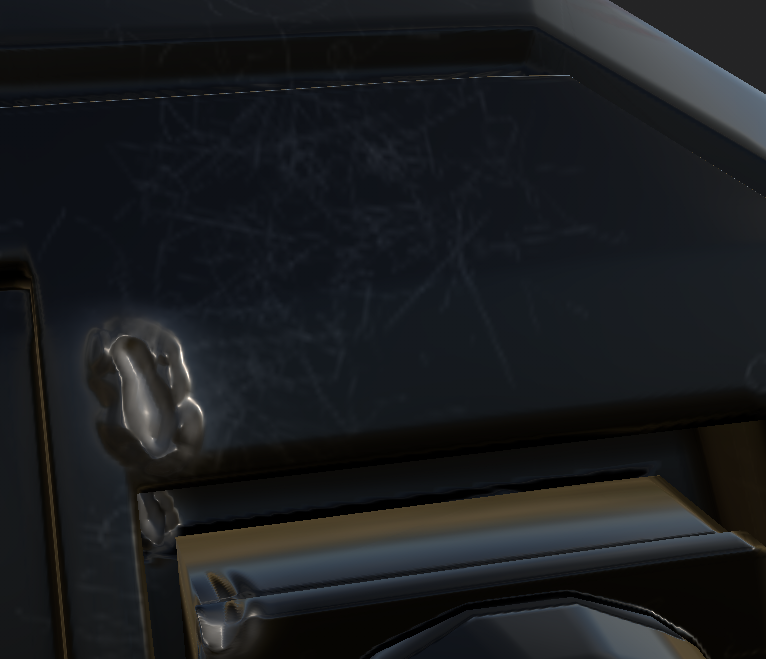
As for all the damaged areas of Abalon I used a variety of brushes to accomplish these the damage is to show years of fighting the main damages are the footprints brush because it makes a slight indentation onto the surface of the model I would have liked to be able to change the shape of this brush more freely but I didn’t know how so I made it work by changing the shape to the footprints that didn’t really look like footprints I then used a mix of rusts to make some areas of damage look old then used a thin scratch brush to add micro-scratches to the painted metal overall I like it though its not the best it could be I need to learn how to use substance painter some more cause its a good program.
Extras & Forgotten Things
There was alot of things I never got to do because I spent so much time and effort on creating Abalon I was going to make a captains jacket however during the creation it became more and more difficult to find a reason to create it as it would no longer fit around the mesh along with the rear claws originally they were going to be either an antenna or some back-mounted cannons but I changed this due to the complexity of those items.
I was also going to create some backpack/pouches things as well as some grenades to strap to the model however I also did not do this due to complexity as well it is unfortunate but it is what it is.
I was planning to give Abalon a more freed type feel as if they had rebelled and what I mean by that is I was planning to show some customization with the texturing such as spray-painted parts really bright colors as if to say “hey I don’t work for you anymore I’m free from your shackles” type of a feel but I had no idea where to go with that but maybe it’s worth exploring in the future to give them more personality rather than just a lifeless husk of a robot.
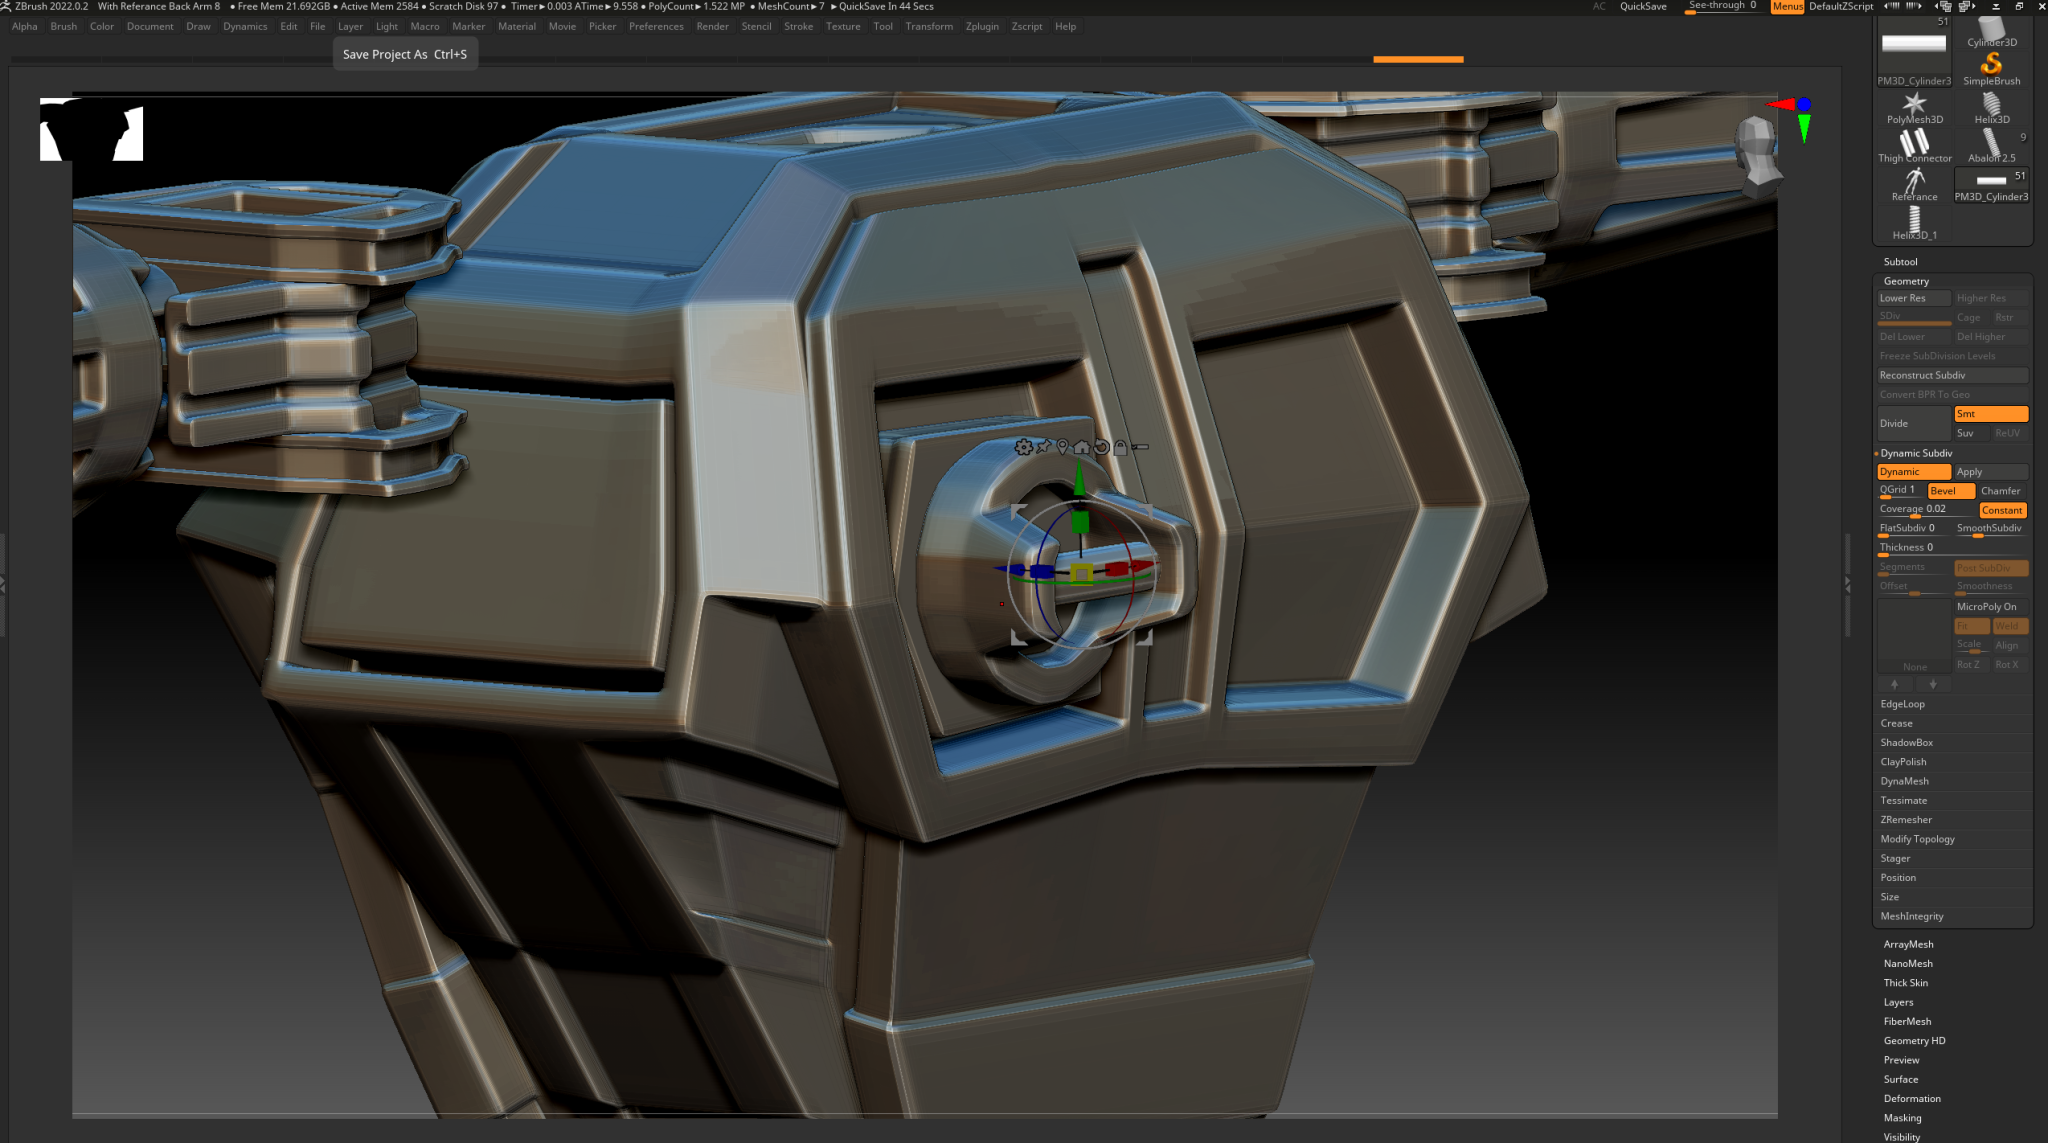
Though I didn’t actually sculpt anything that’s not to say I was not planning on it a one point I was going to sculpt armor plating for around some of the joints however as you can see I never got around to doing that so I made some using the Qmesh instead.
I messed around for hours with Dynameshing and Zremeshing the entire model so I could sculpt in some damaged detail and such but for the life of me I could not get it to be both subdivided/remeshed and low poly at the same time however, it occurs to me that I might have been able to dynamesh it, sculpt then bake in substance without issues maybe but at the time I was working with half a brain cell and no sleep because I was in the zone working but I will remember this for the future and try it or if you could let me know if that is a solid solution or not and I remind myself to work more efficiently for the next project.
Model Viewer
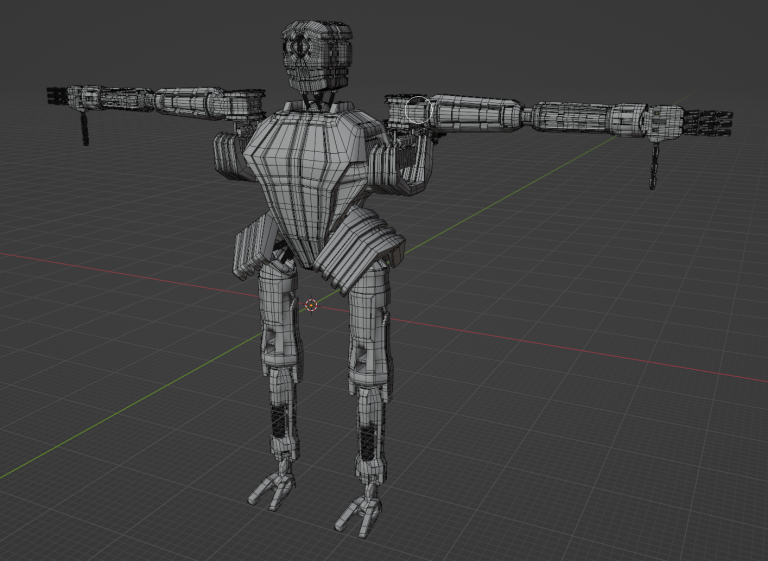
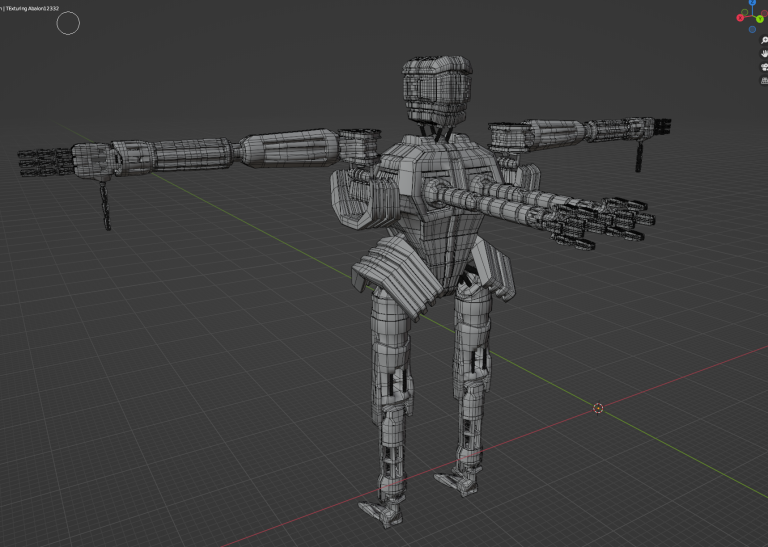
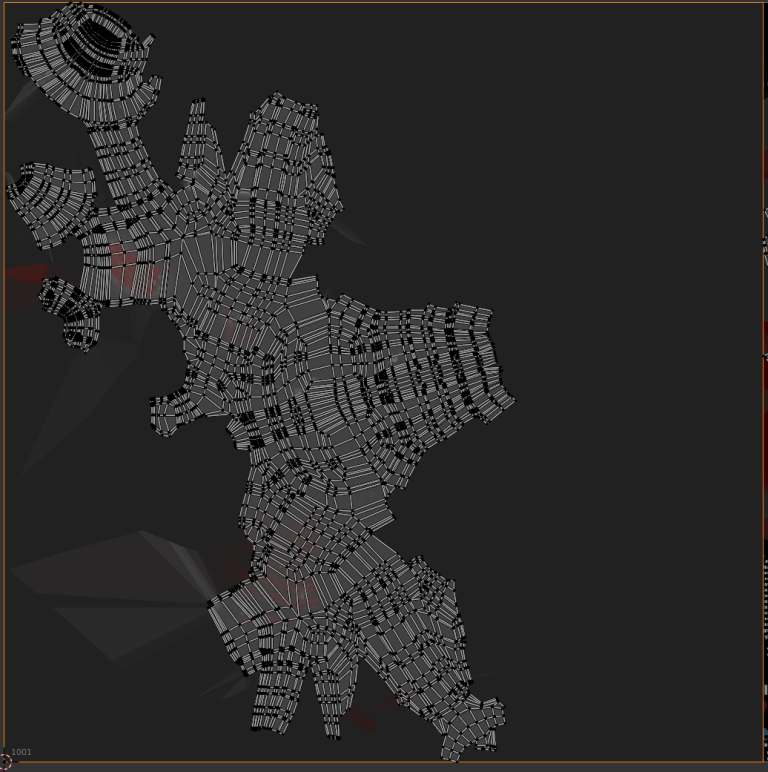
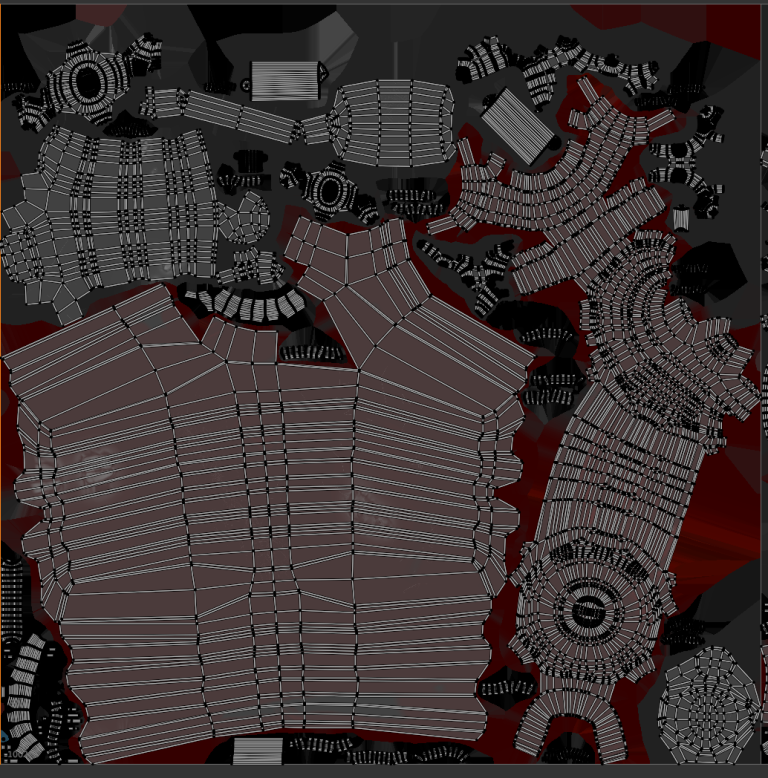
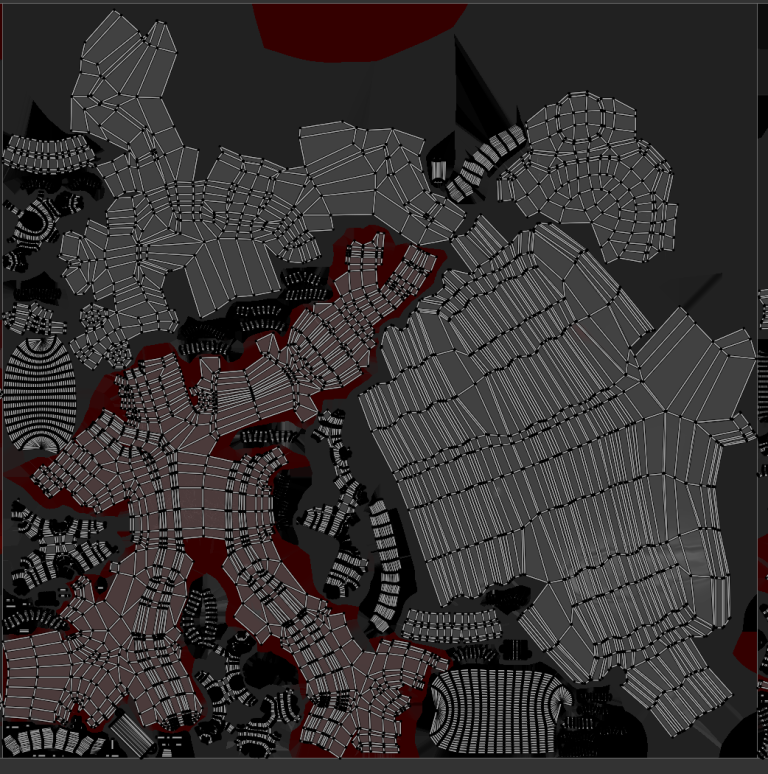
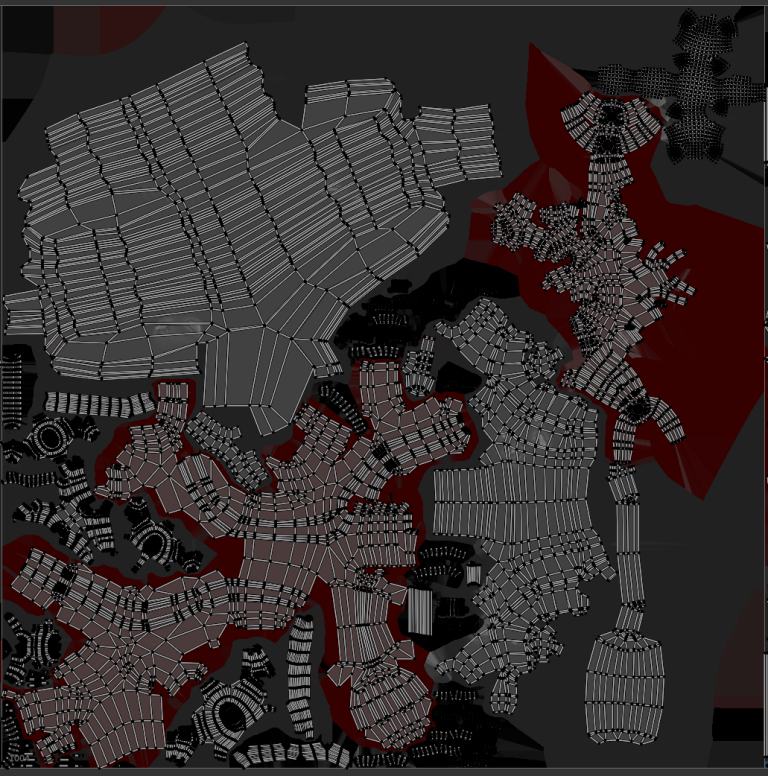
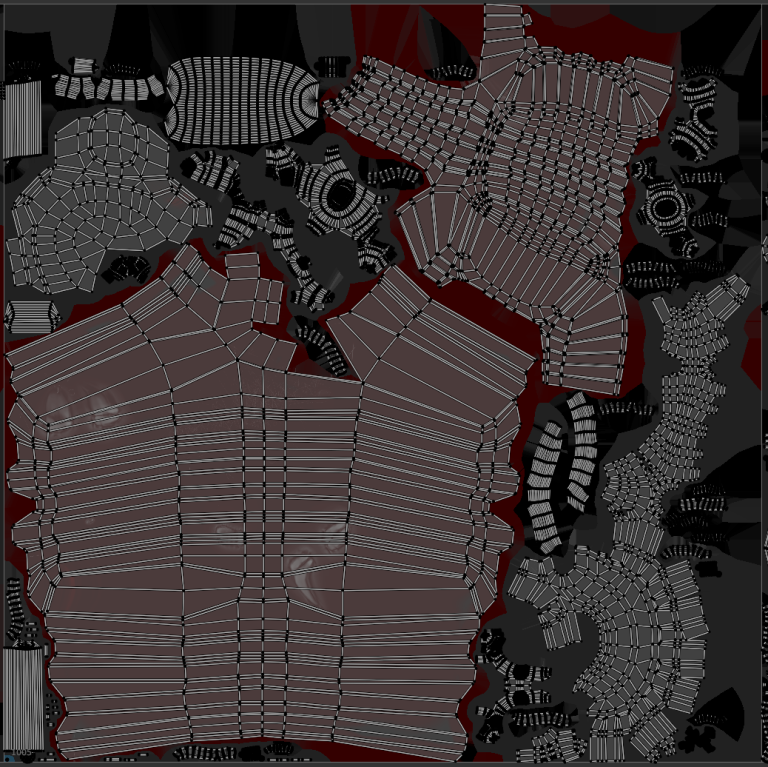
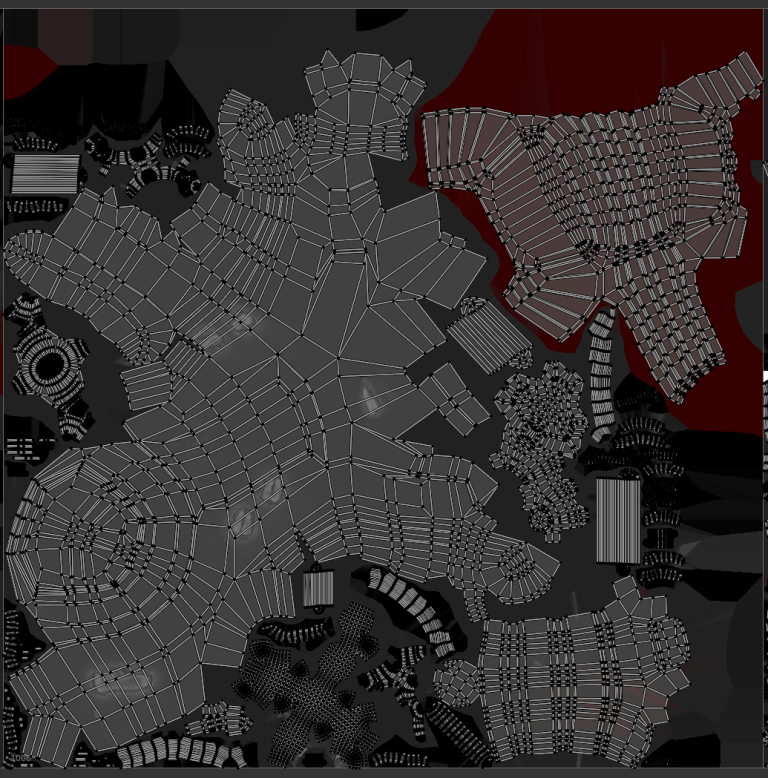
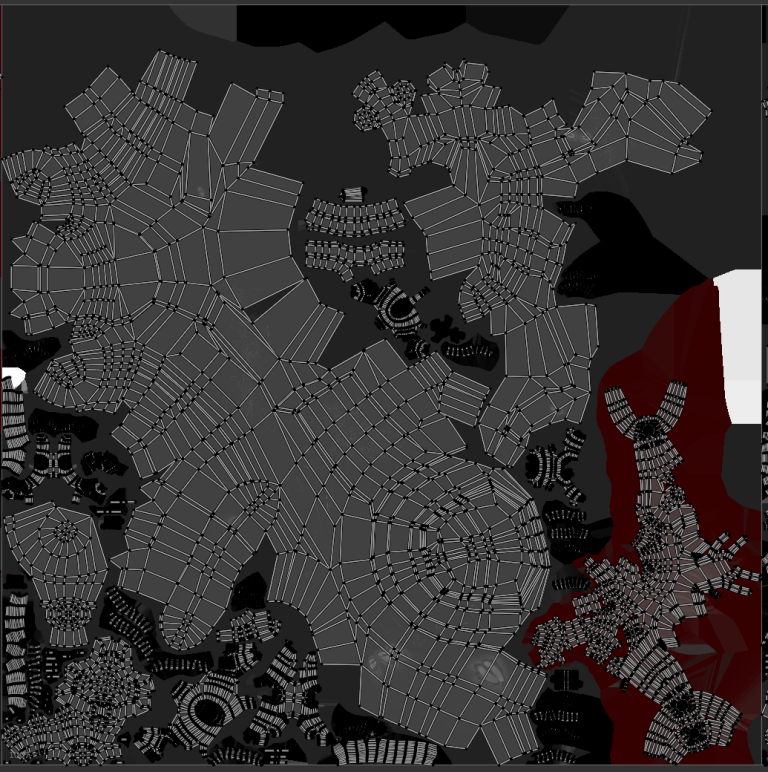
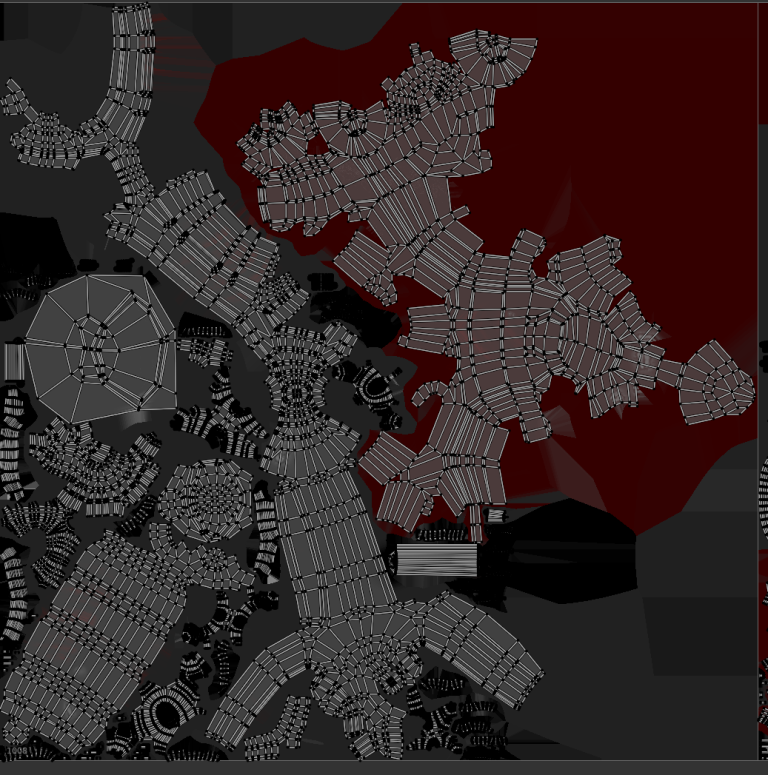
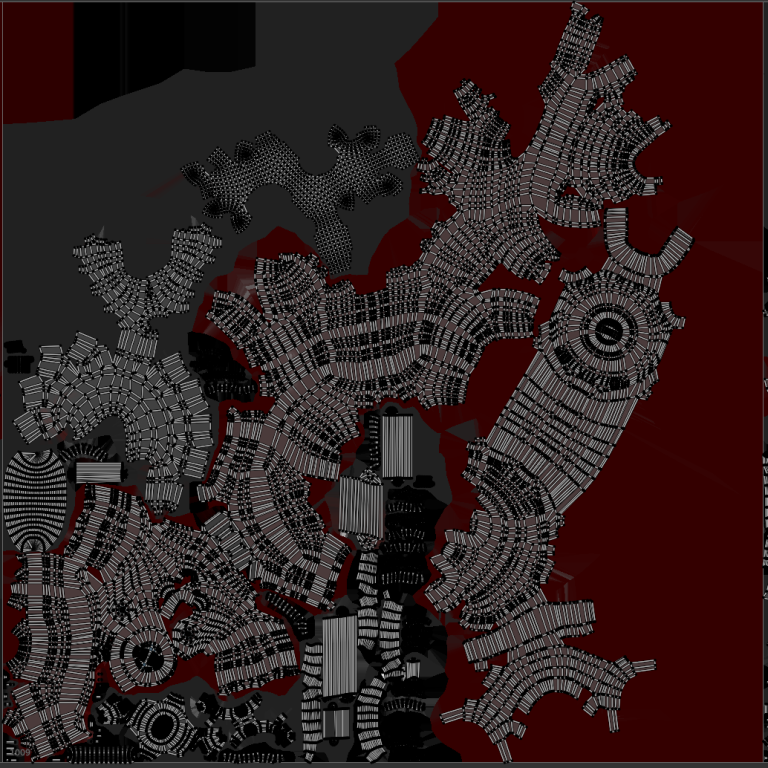
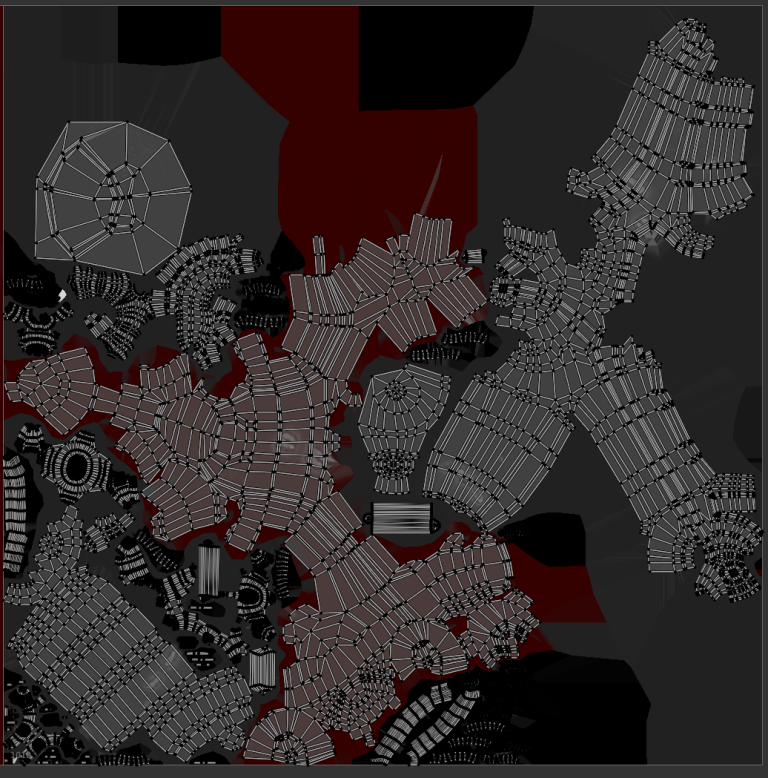
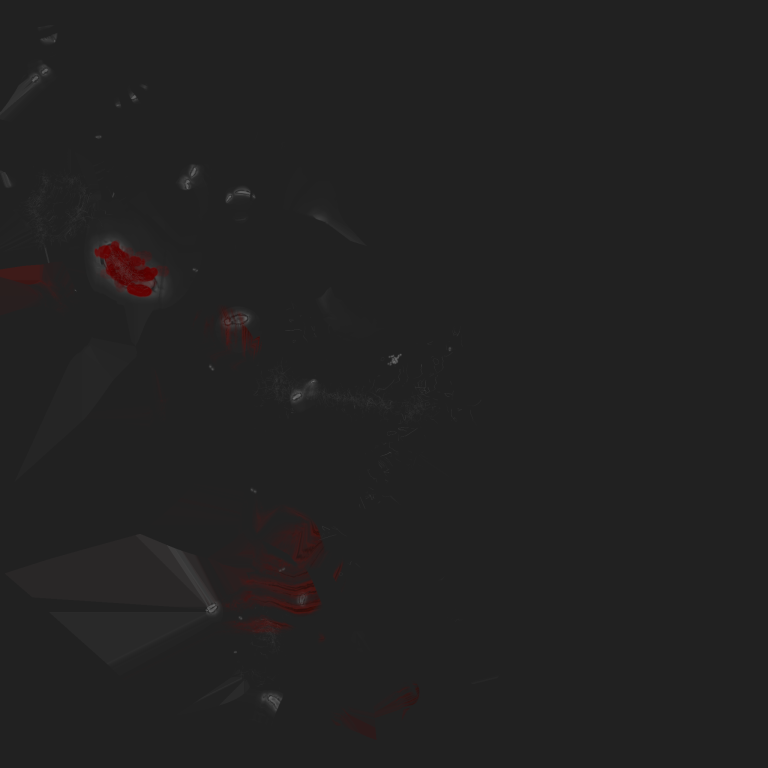
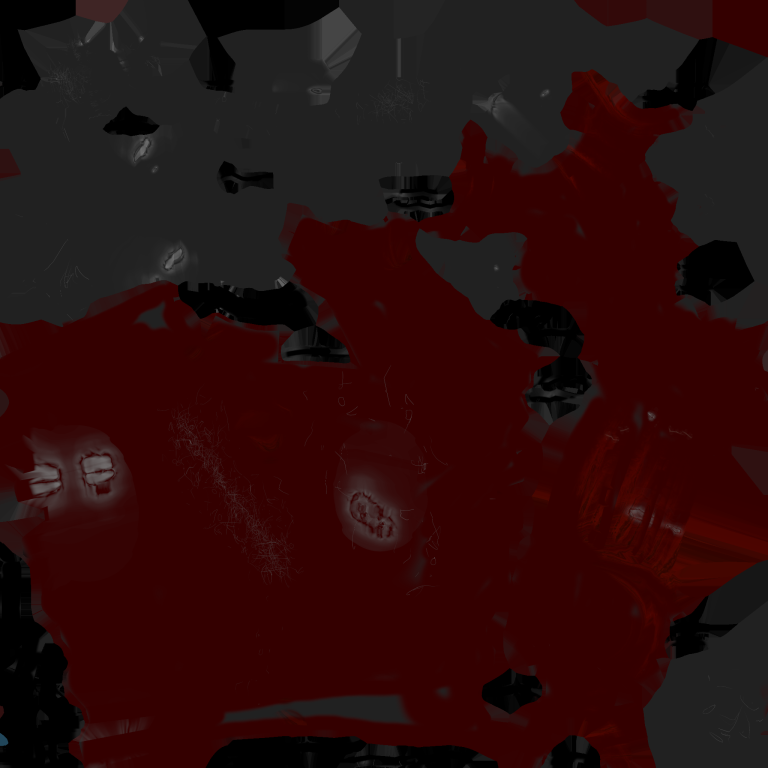
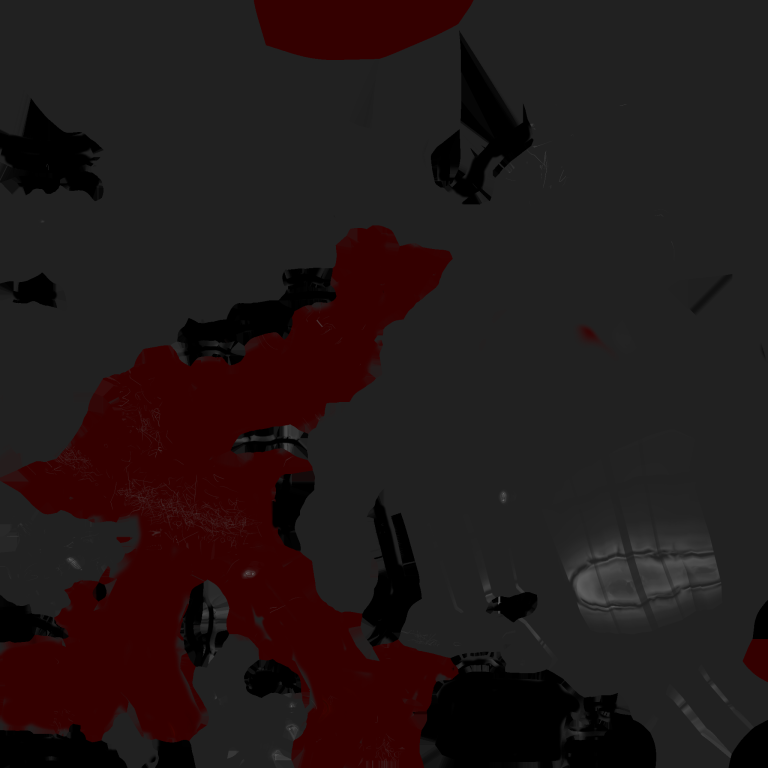
I happened to make a mistake when I started to texture my model in Substance painter I accidentally made the UV tiles 10 rather than 1, therefore, creating a UDIM texture and for the life of me I could not figure out how to export it from blender and have it display all 10 Uv tiles rather it is displaying one so I apologize for that please use the viewer to see the wireframe more closely. I aim to fix The Uv’s By completely redoing the textures or finding a solution so they are all on one Uv tile later which should be available before we start the next module the damaged texturing might look different if I have to redo it but that’s also a chance to make it look better.
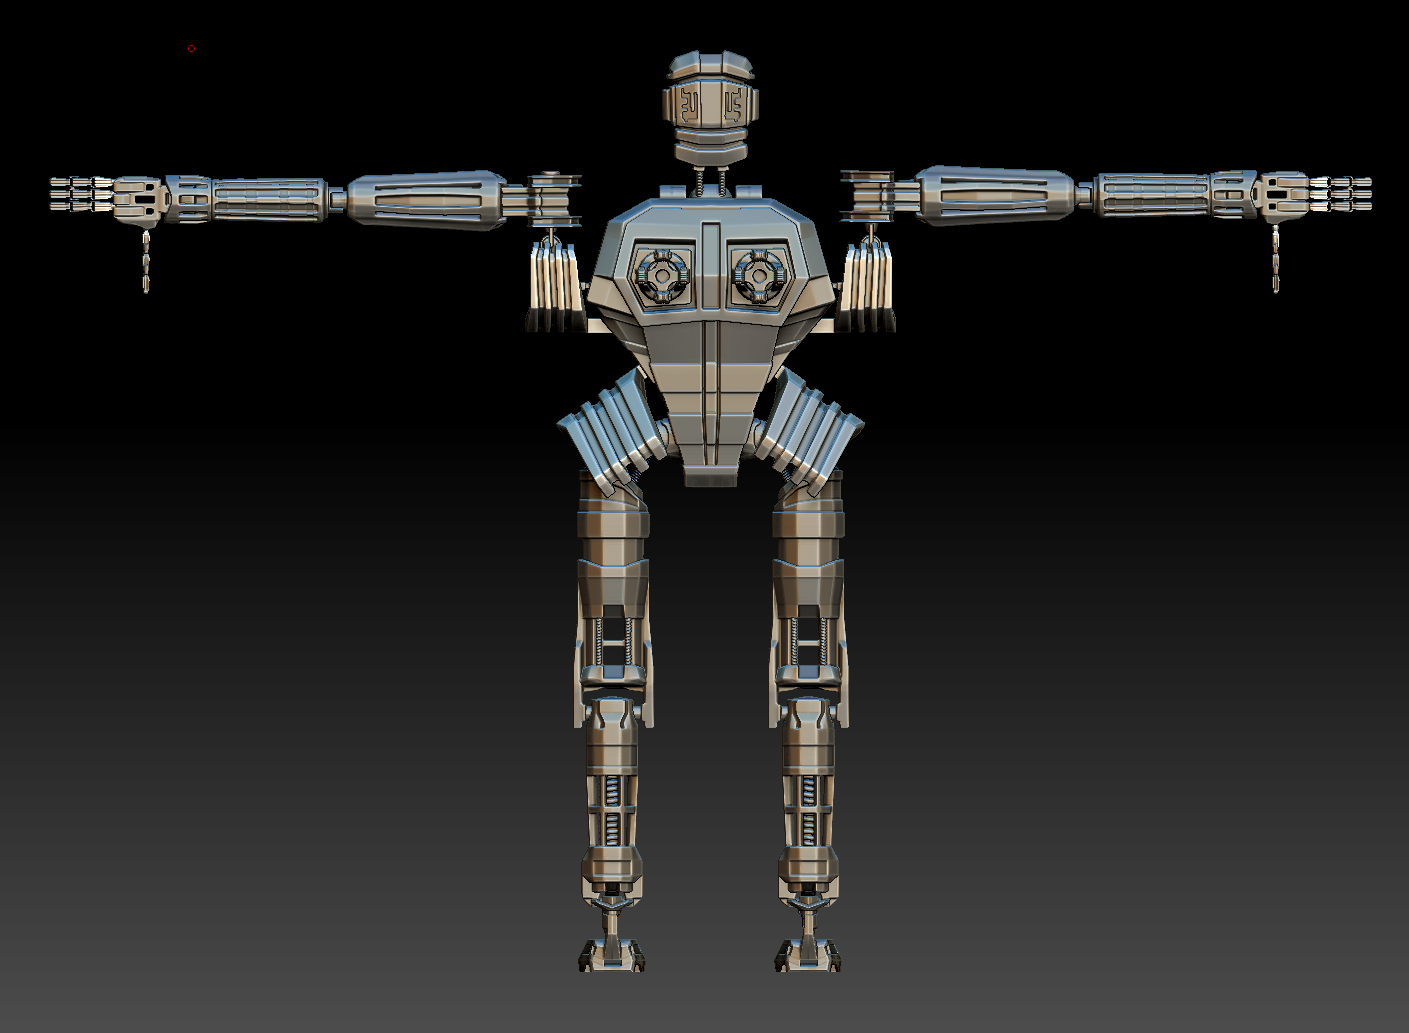
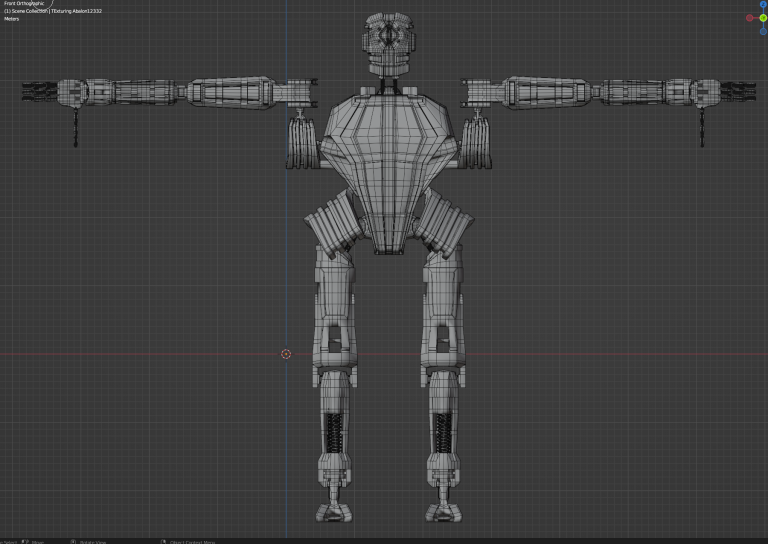
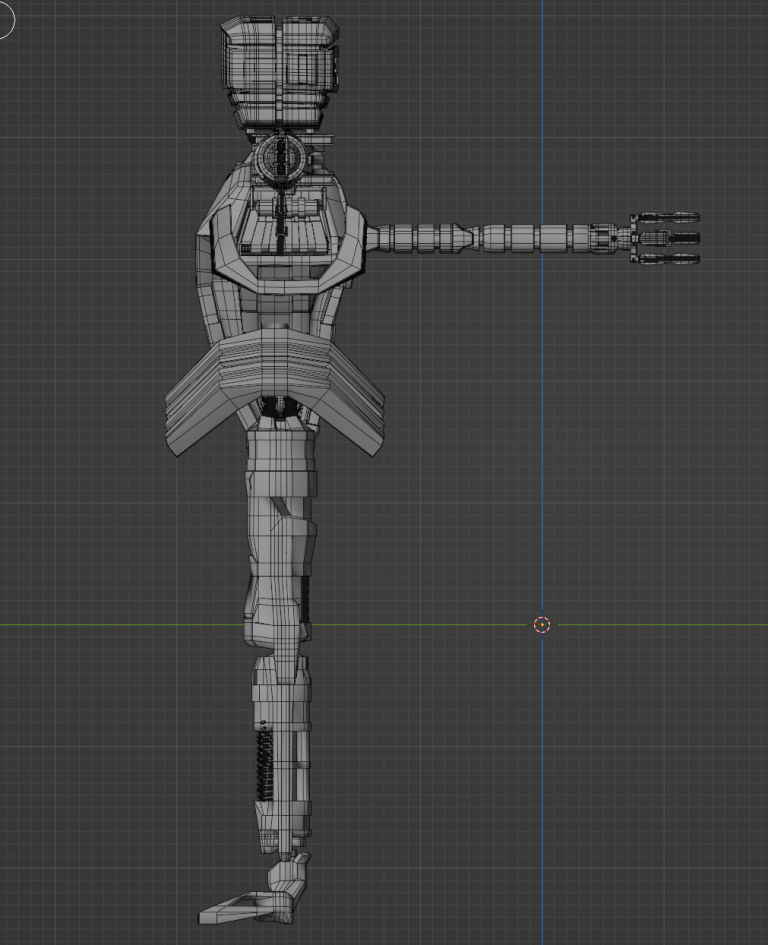
There are also some orthographic wireframes below and some more specific ones. if the embed 3D viewer does not work for you please click the link: HERE
Turntable
WIreframes, Uv's & Maps
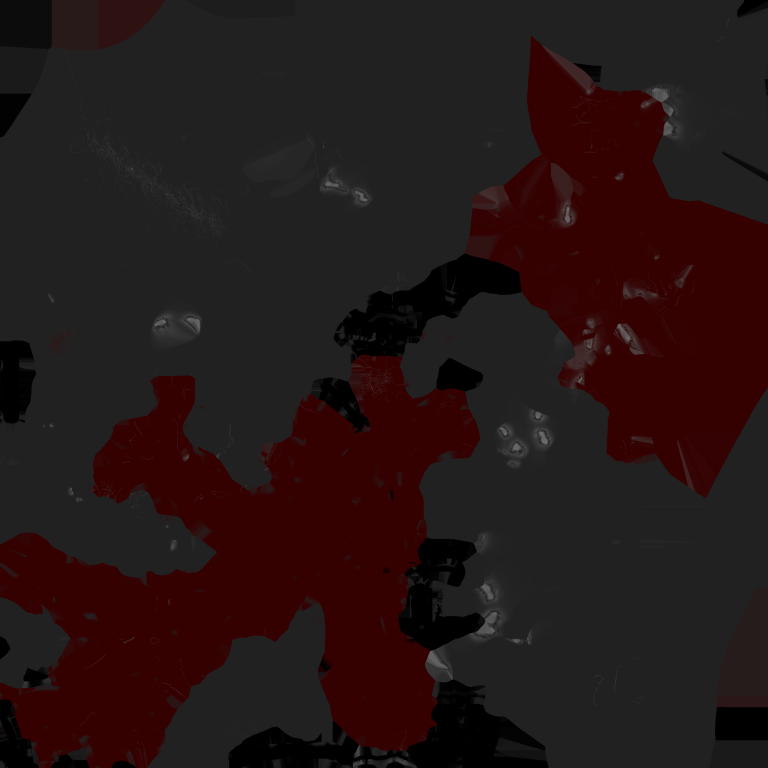
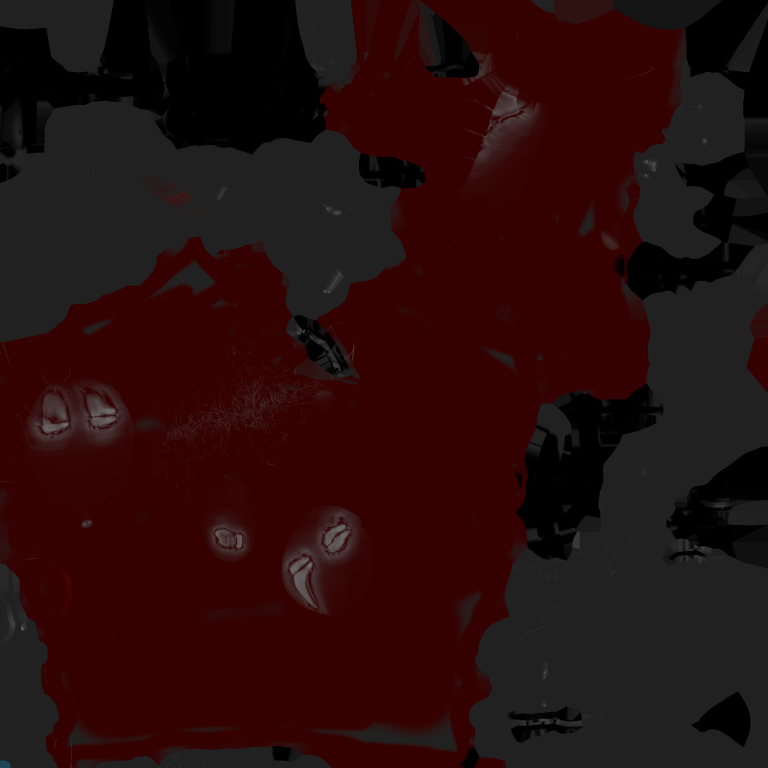
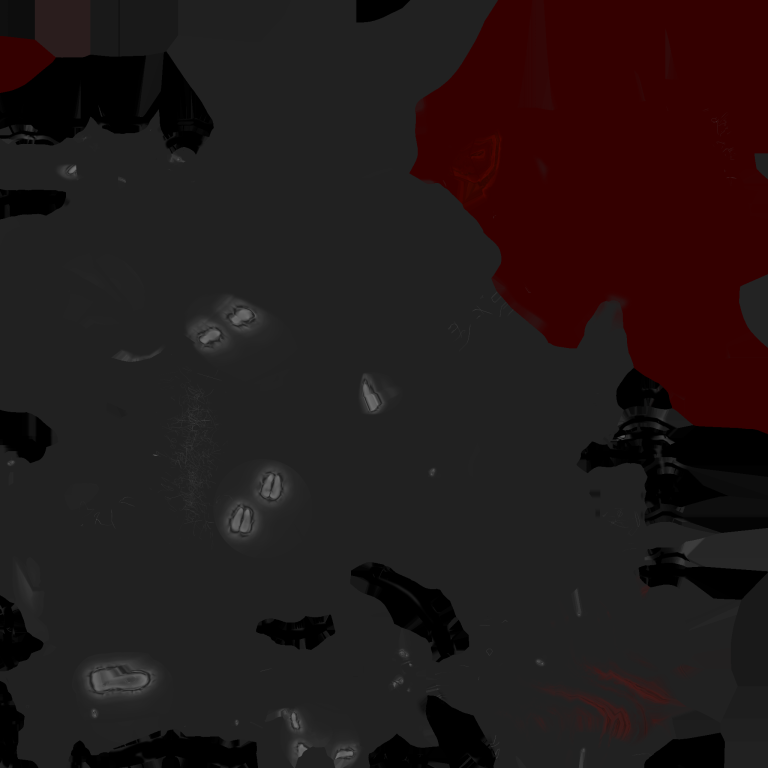
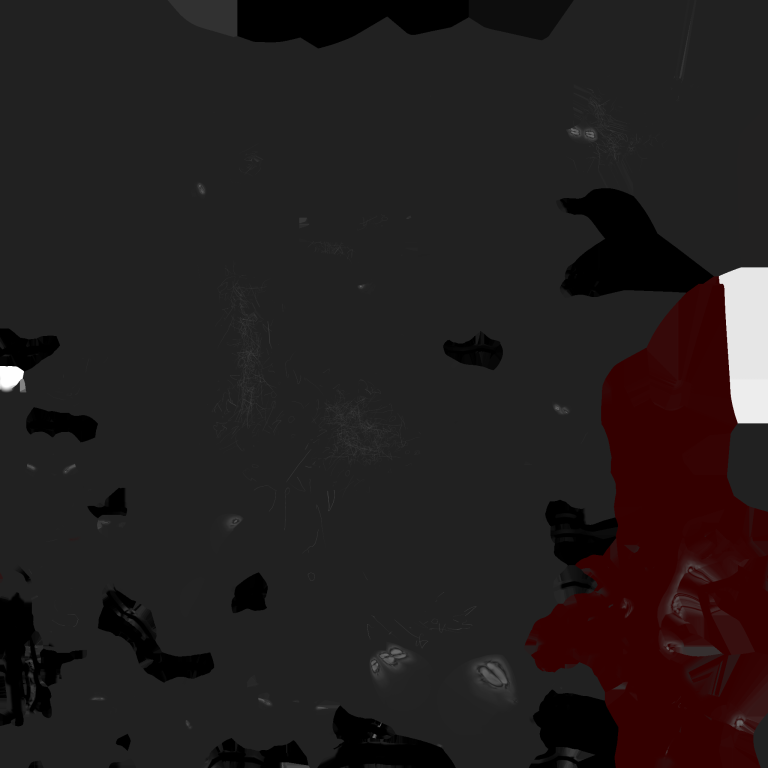
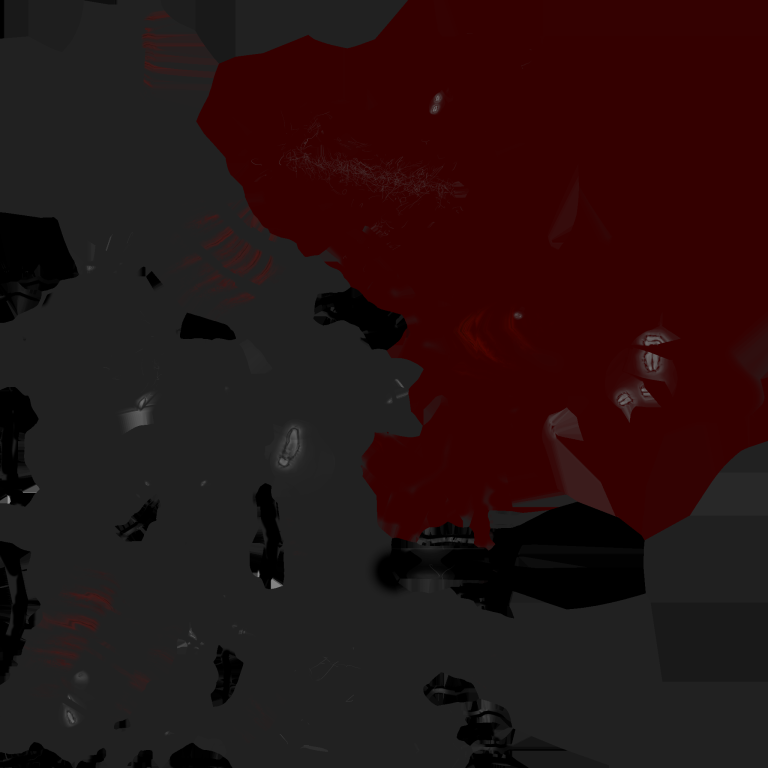
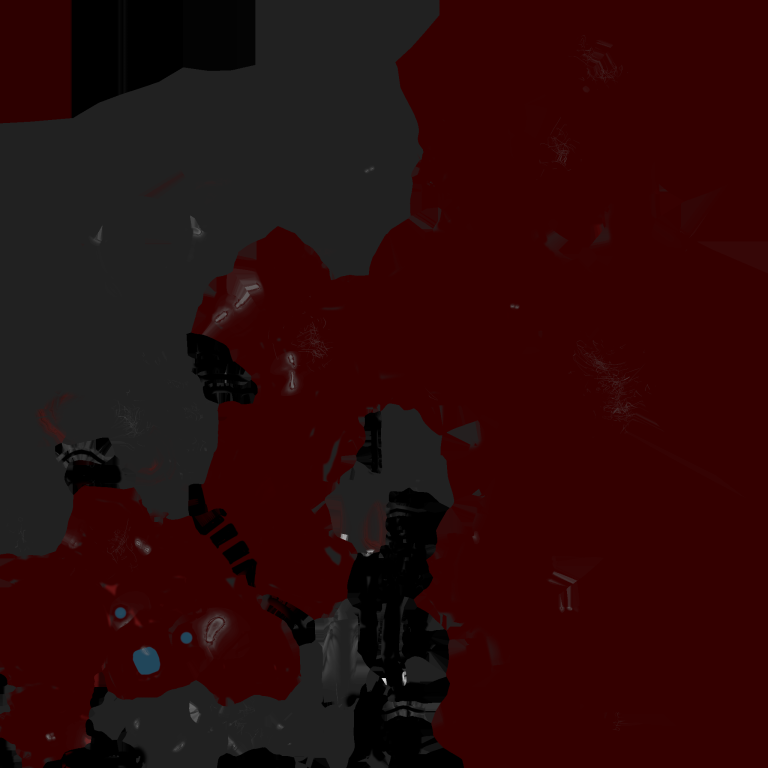
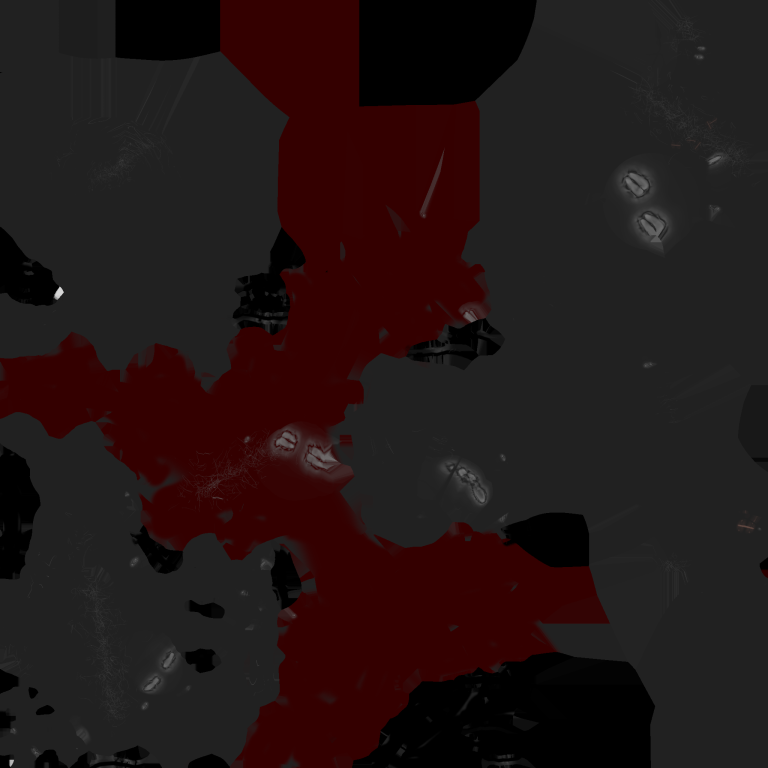
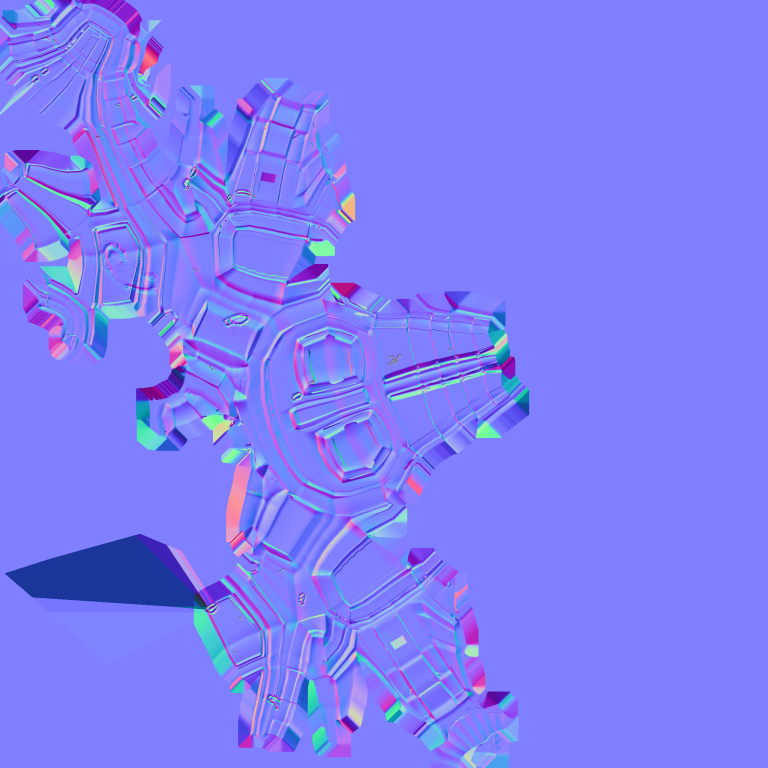
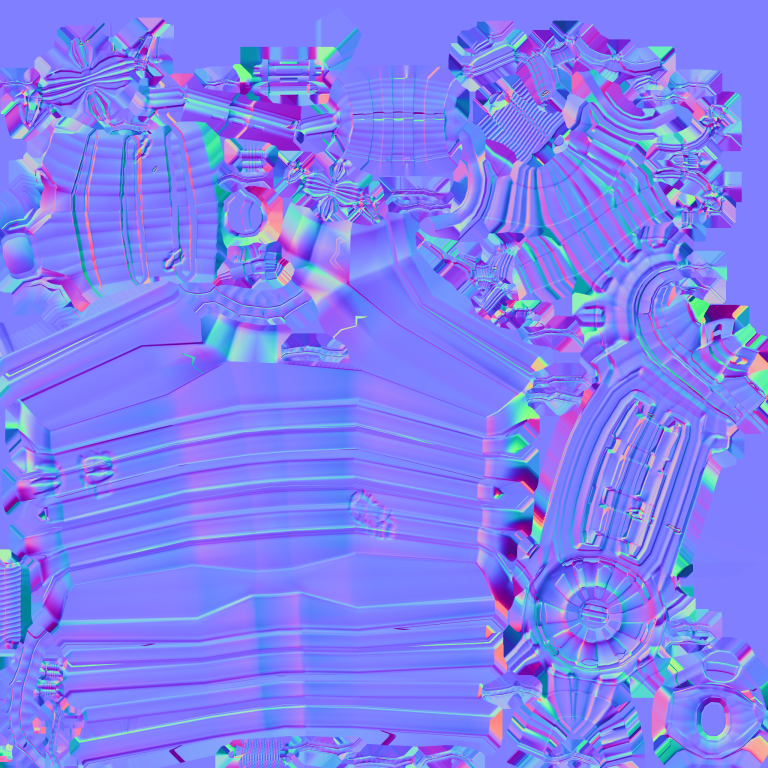
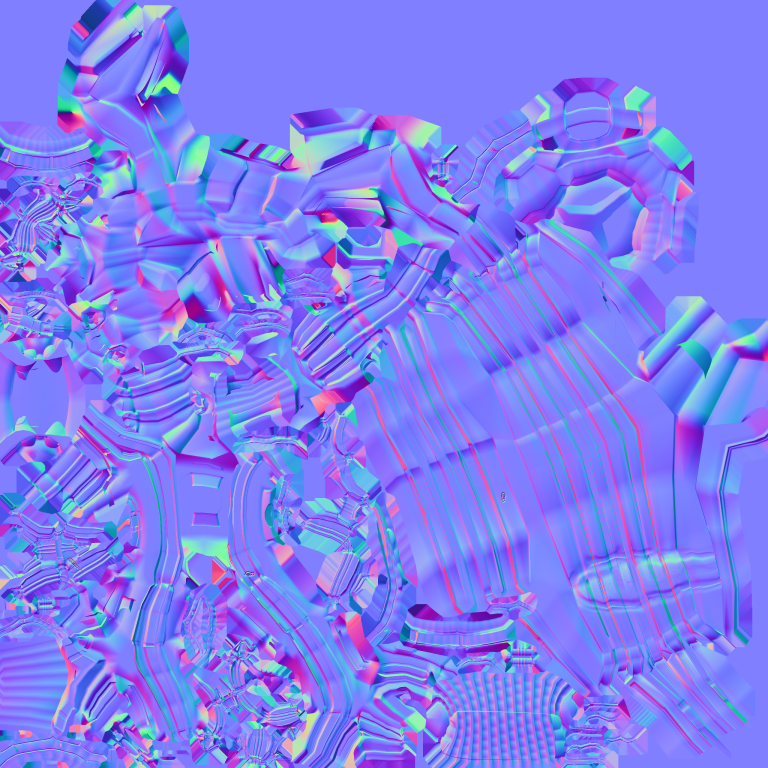
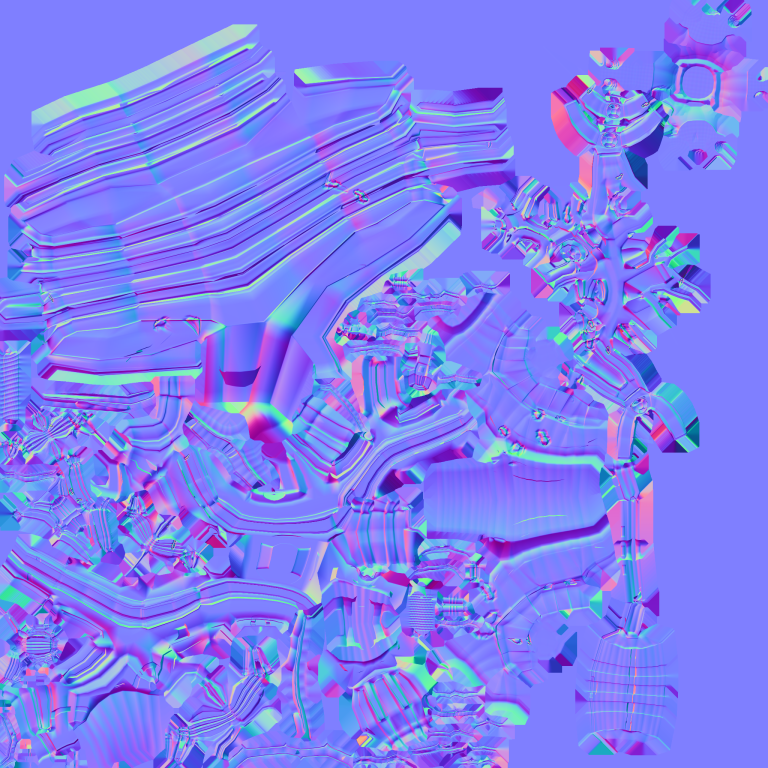
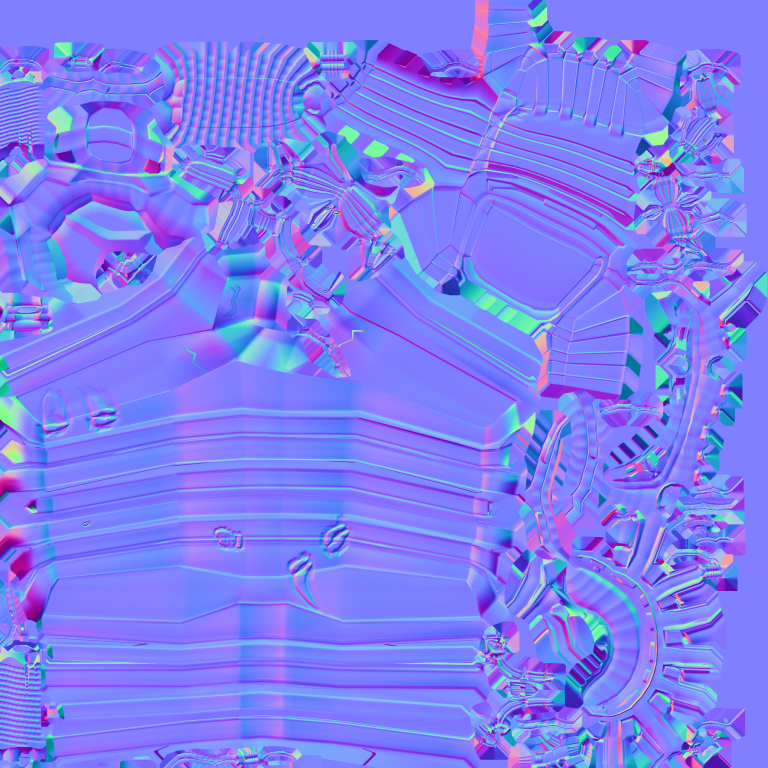
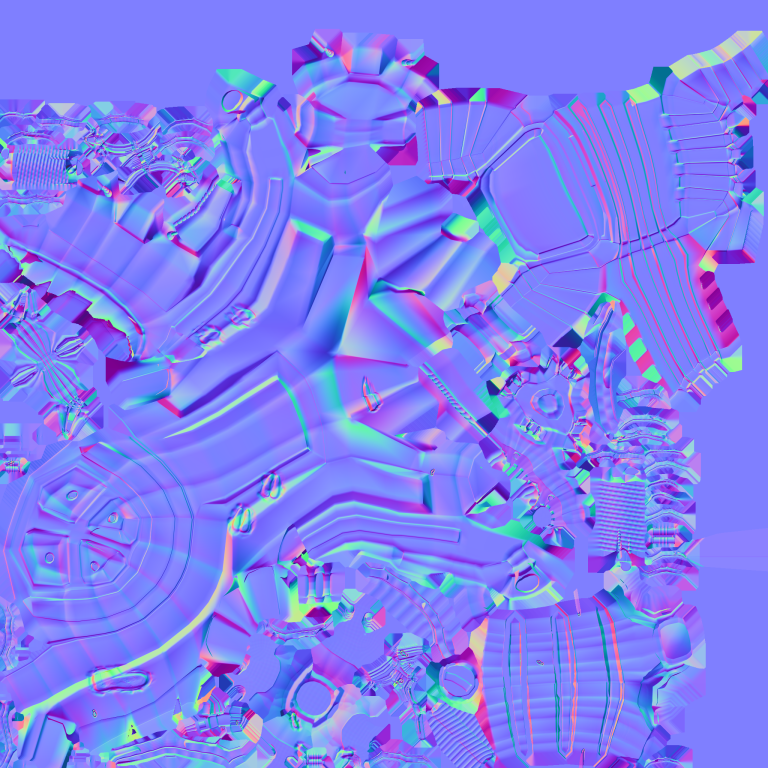
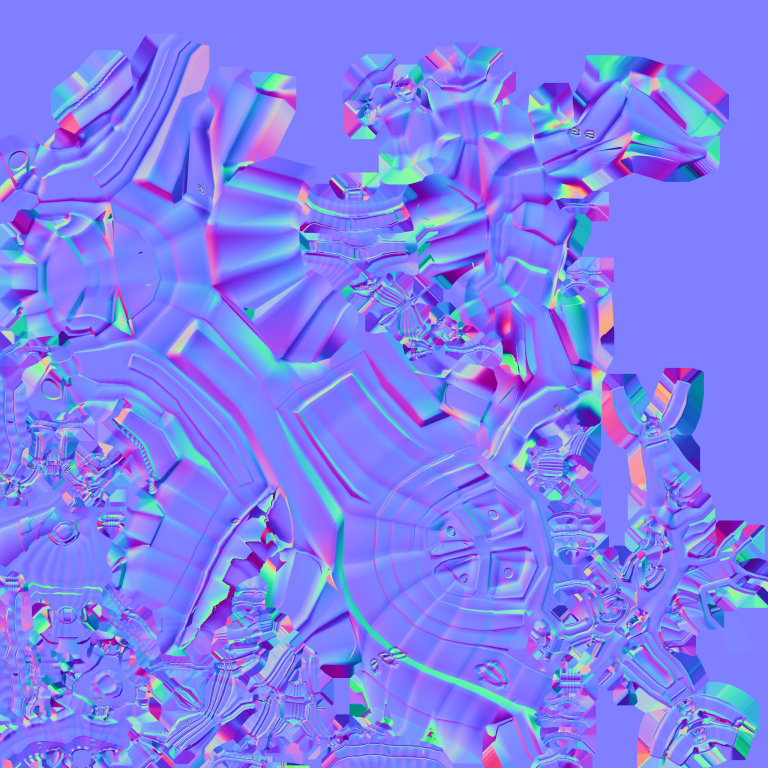
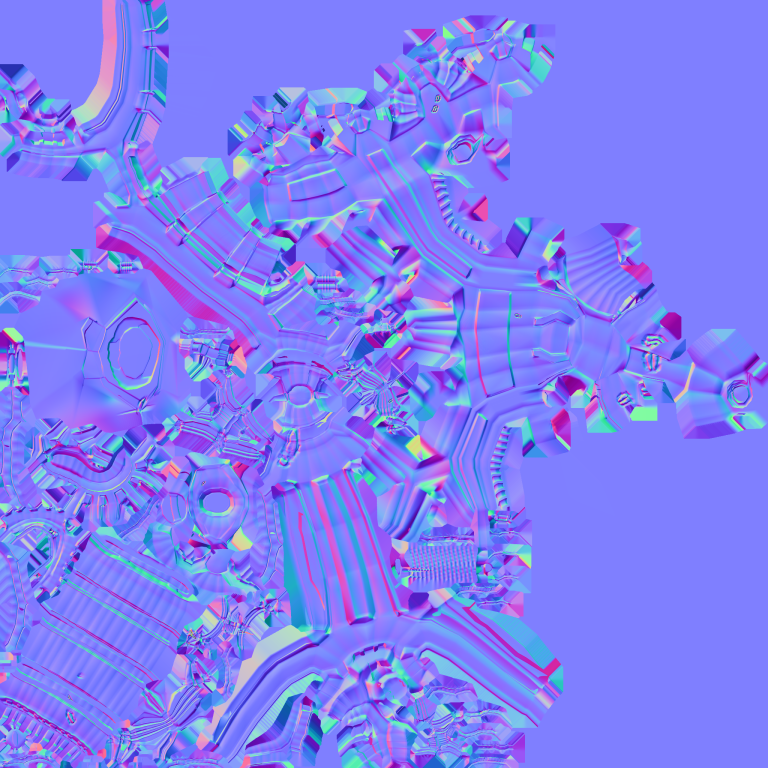
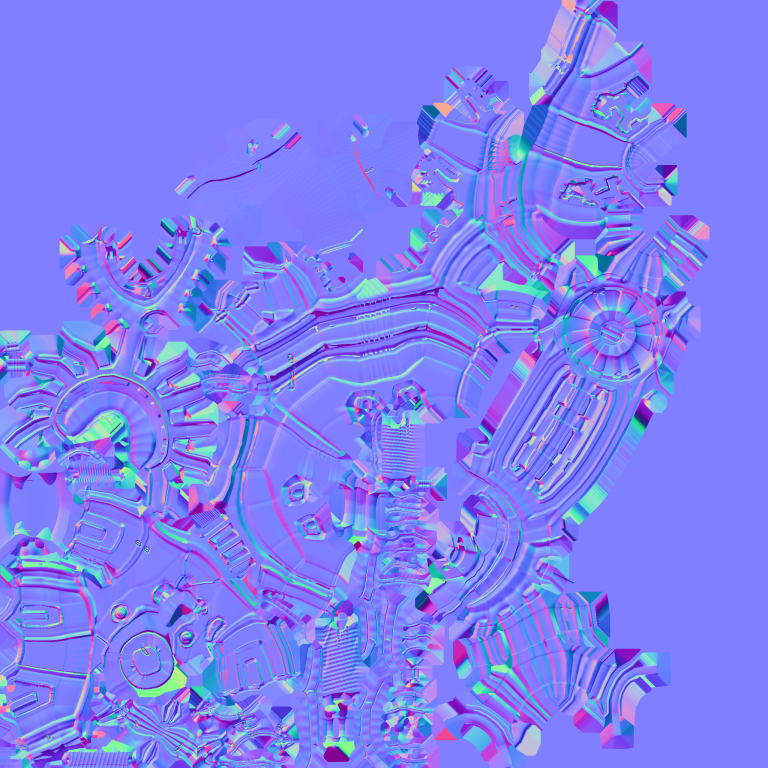
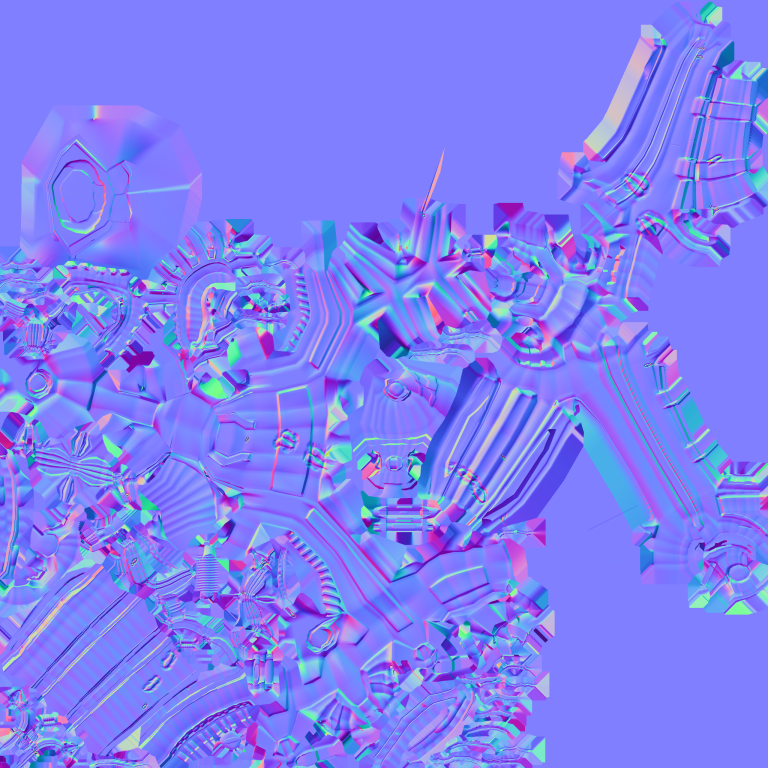
Since there were 10 Uv tiles thanks to my blunder I’ve decided to showcase them here in carousels UV’s were unwrapped in substance painter when I started to texture it and the Auto unwrap is actually one of the best I have seen I dint have to place any seams or think about how things fold together although if I did do the UV’s myself I doubt it would have been so hard to do since I created something that would actually have visible seems so, either way, it would have been a simple job.
- by mcfayden2020
- on January 9, 2022
