Since I got way in over my head with the last project because I did not have a good understanding of how to actually do that project I tried to think of what I wanted to do for the next project and I honestly didn’t know what to do next but after a day or 2 thinking about it I decided on Rigging something like I did back in Maya which during that particular project I ran into numerous roadblocks trying to complete it so I wanted to see how my skills had improved since switching from that program.
The first thing I decided to make was thanks to a Tutorial by (Imphenzia) on YouTube which told me how to make, rig and animate a quick Mech and it seemed like a decent tutorial for me to get used to the way bones work and since it was a very simple rig it was the perfect starting point.
The rig was very simple it had a head and torso bone 2 arm bones, 2 leg bones, and afoot, however, the leg had an IK attached to it for basic movement and the design of the mech was totally random and left much to be desired but in the end I got it working and the first Mech was completed.
Link to Original Post on WIX: https://taminaionanimation.wixsite.com/taminaion/post/learning-to-make-a-basic-rig
Once I had finished the first Mech I begun to understand basic rigging and so I threw away the tutorial and only came back to it once or twice in order to remind myself when I forgot something.
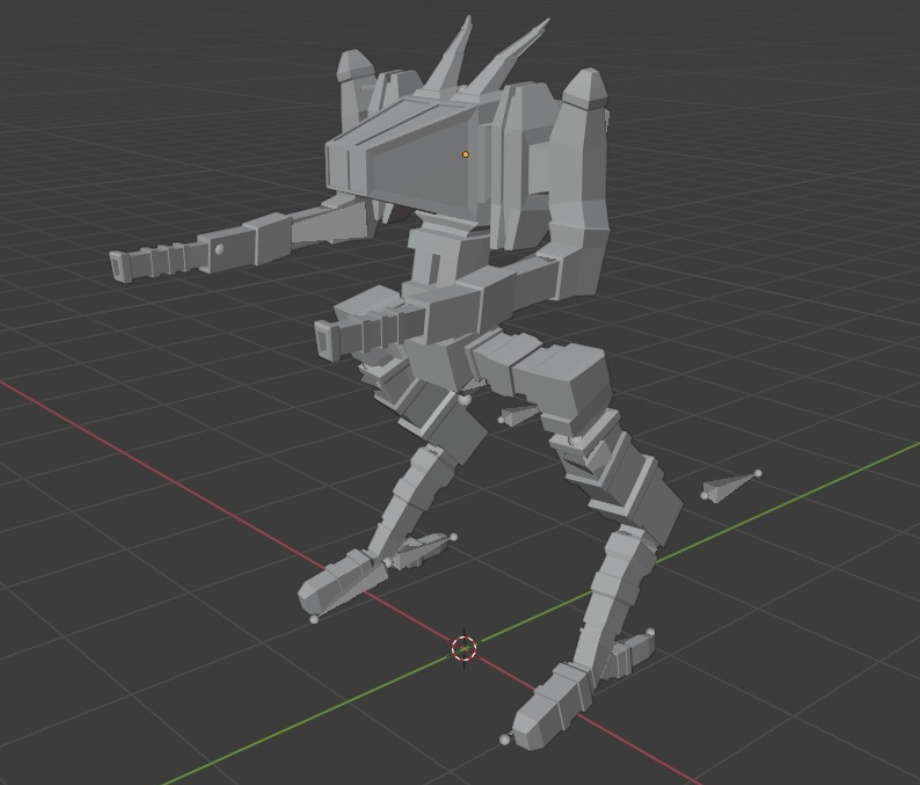
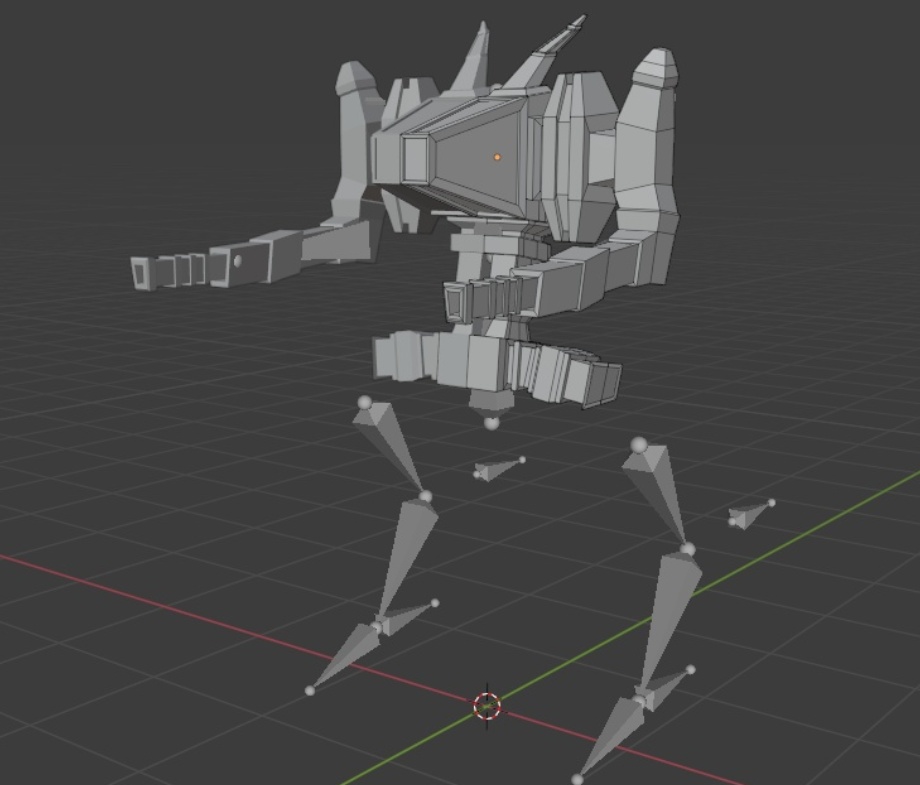
So I began making another Mech using what I had learned but I added a bit more complexity to it which did pose one or two issues later on mainly because the Mech I was making had a Ik for the arm as well as the leg which was not in the tutorial.
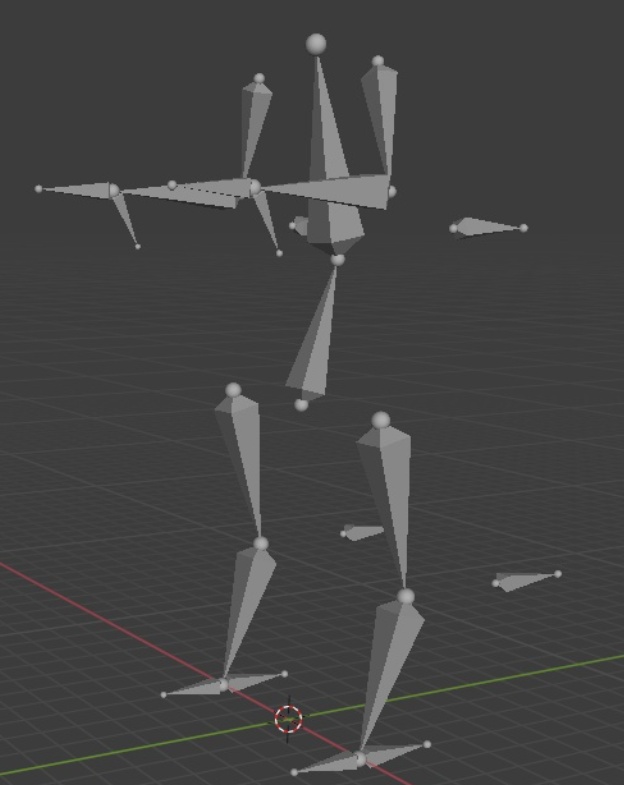
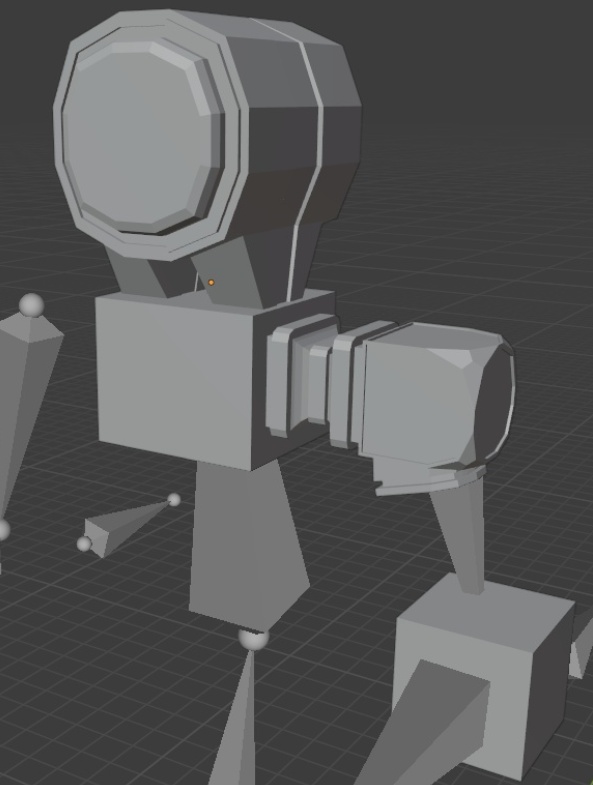
At this point, I still didn’t understand exactly what I was doing enough to make the geometry of the Mech work in accordance with the bones since I was not making an organic rig so when It came time to animate the walk cycle I ran into some issues with the mech but I still continued to create the look of the mech even without that understanding.
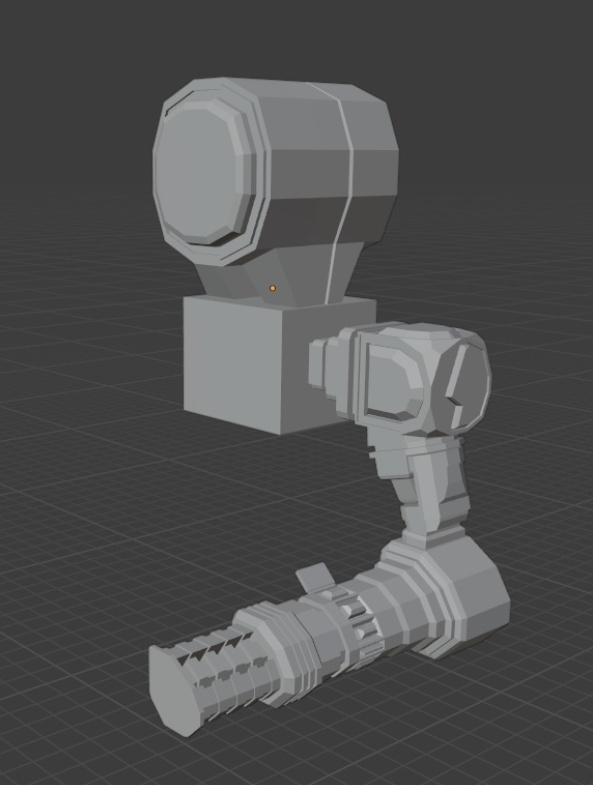
After quite some time making the Mech’s design I decided to add in a colour scheme and what i chose was one of my favourite ones which Is Red and Black and it looks even more ridiculous that I was going for but I’m not so great at such things yet.
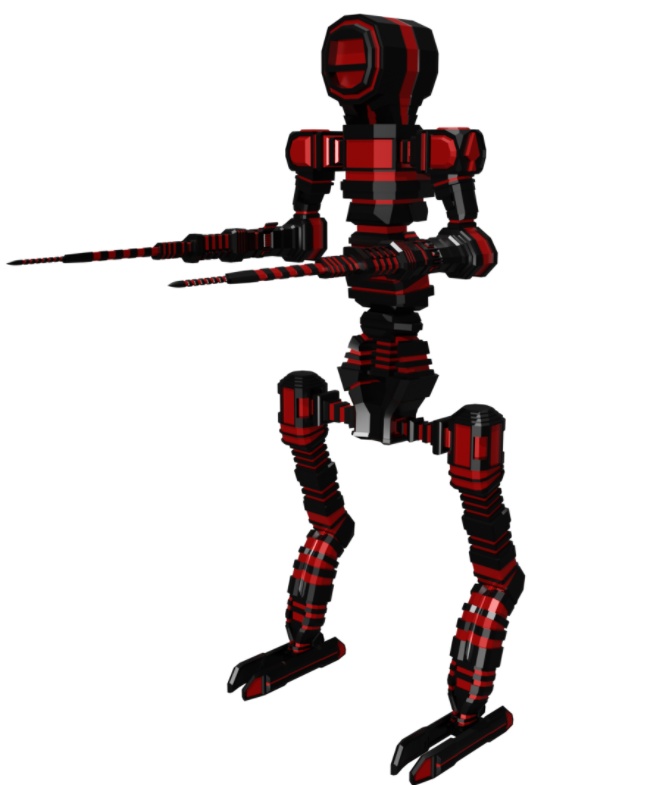
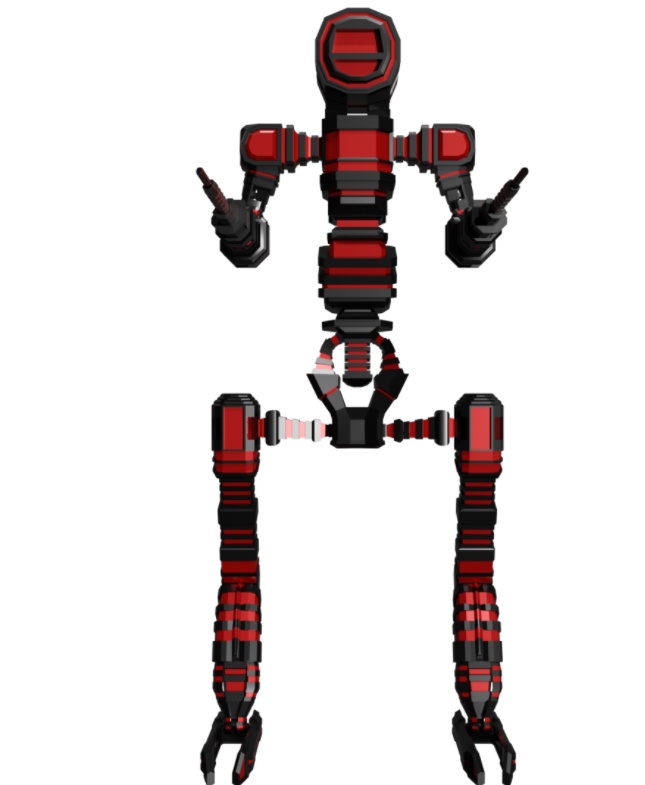
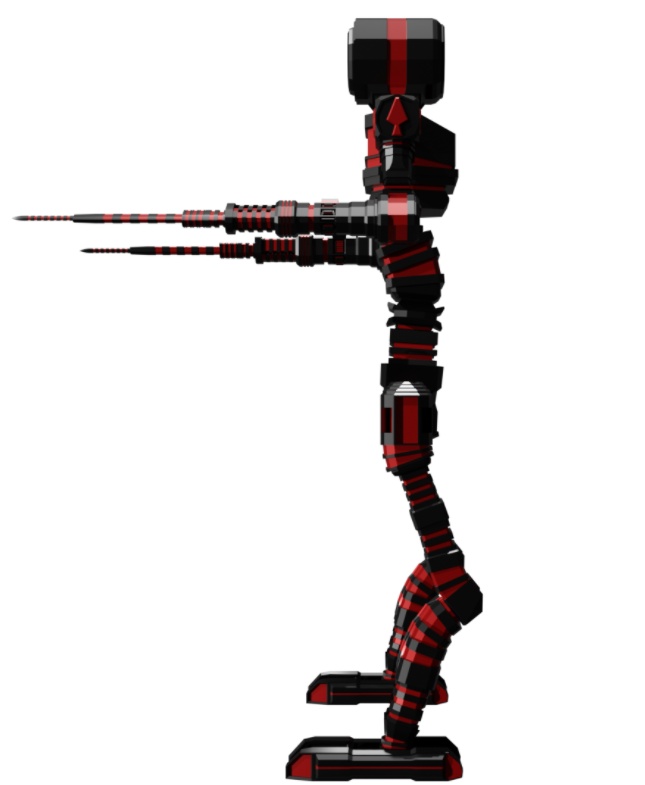
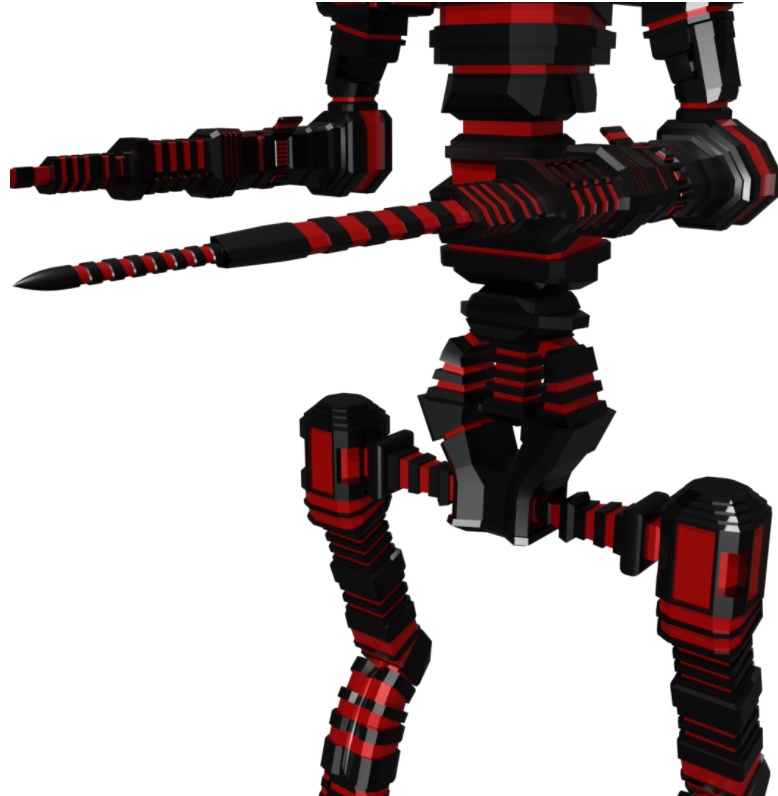
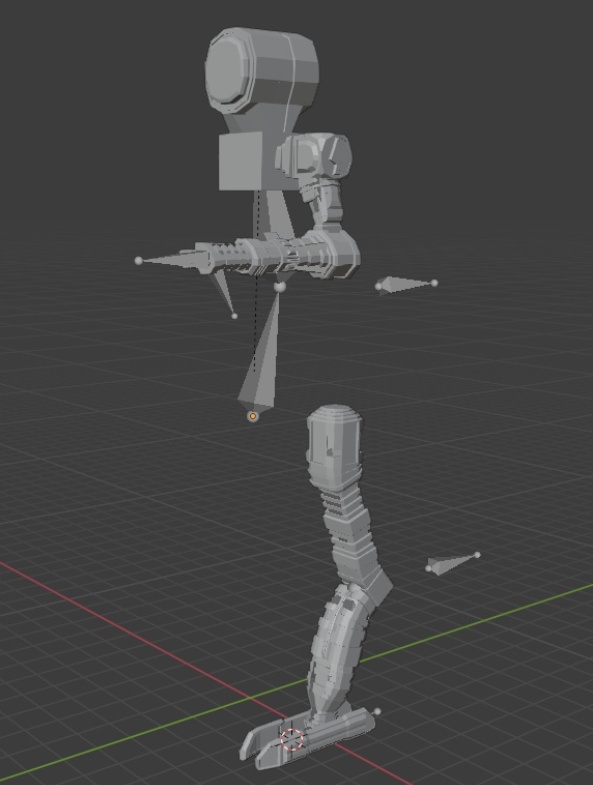
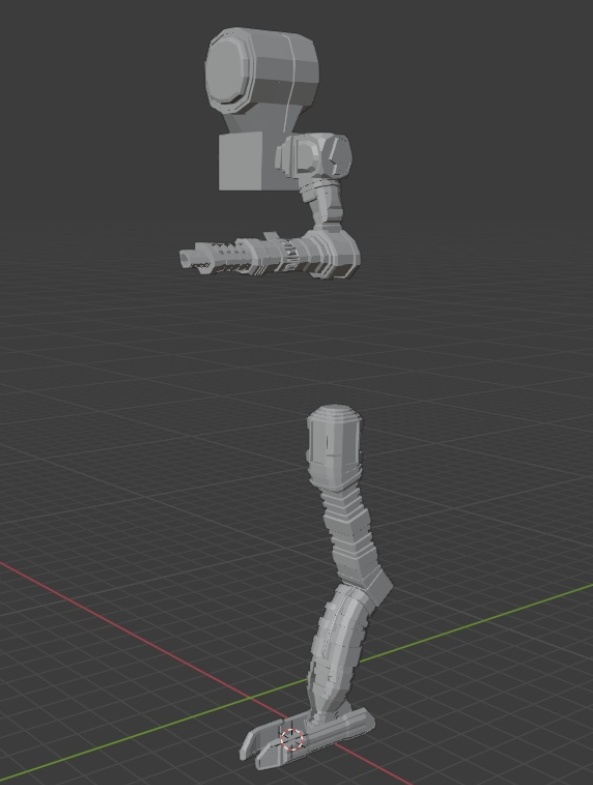
Anyway it was here after I had finished creating the Mech where I saw all my problems arise since I had not created the geometry of the Mech to compliment the bone structure everything was coming apart at the seams quite literally which looked quite silly and not to mention that terrible quickly slapped together walk cycle that I made but I think I leaned what it was that I needed to fix my issues and so with that information I moved on to third and final Mech which was #3
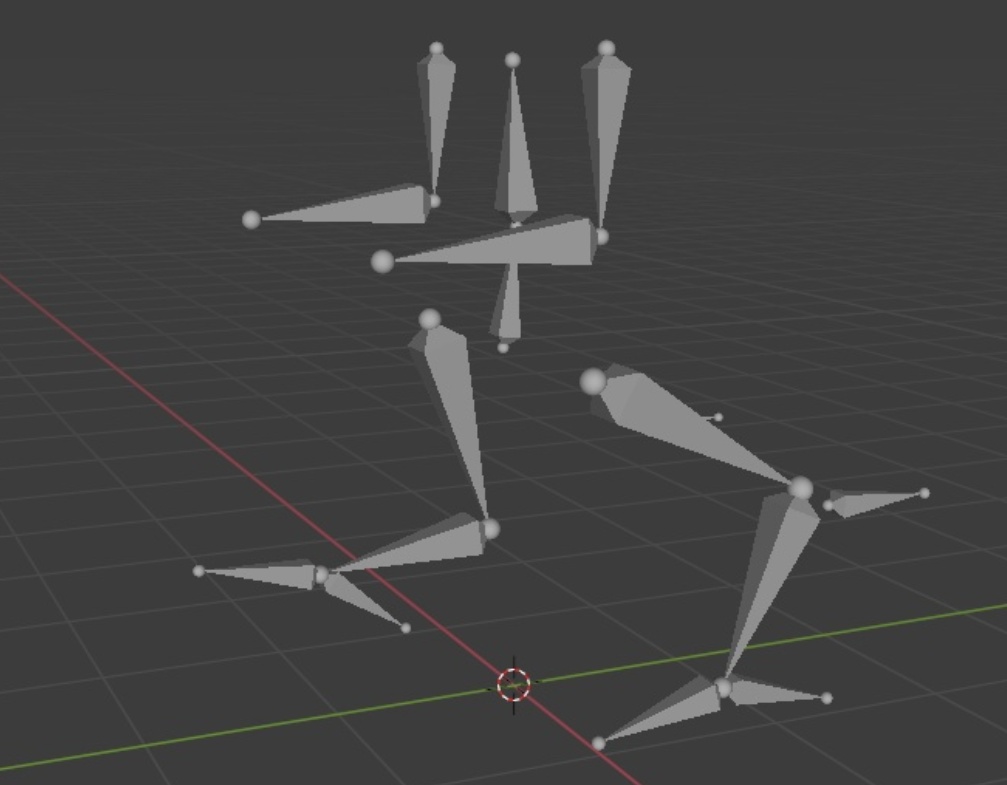
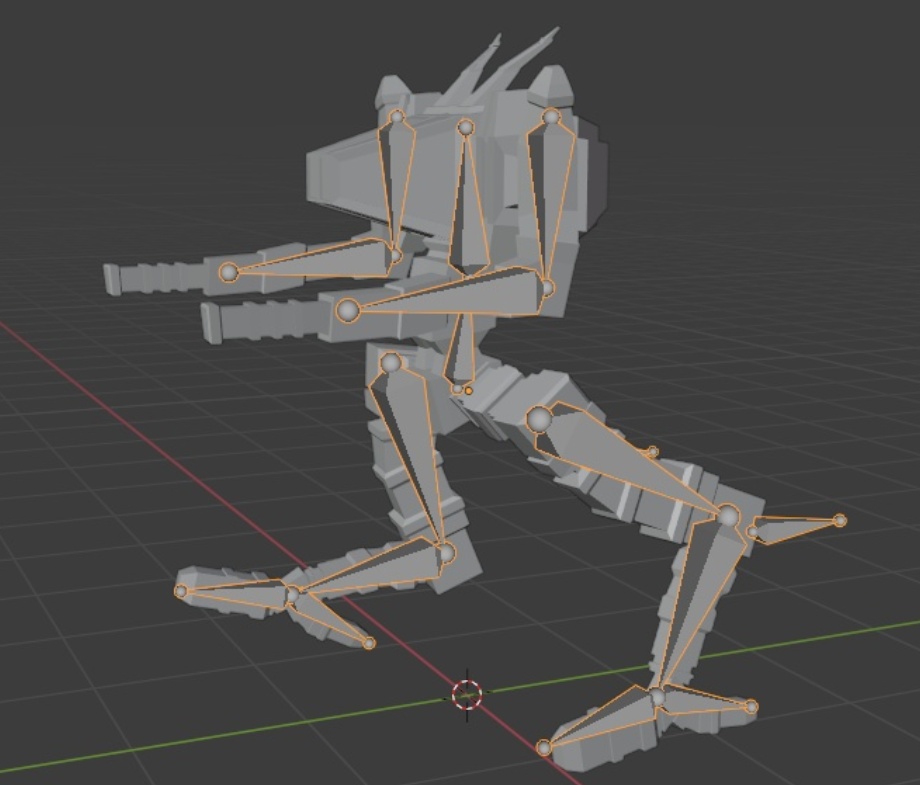
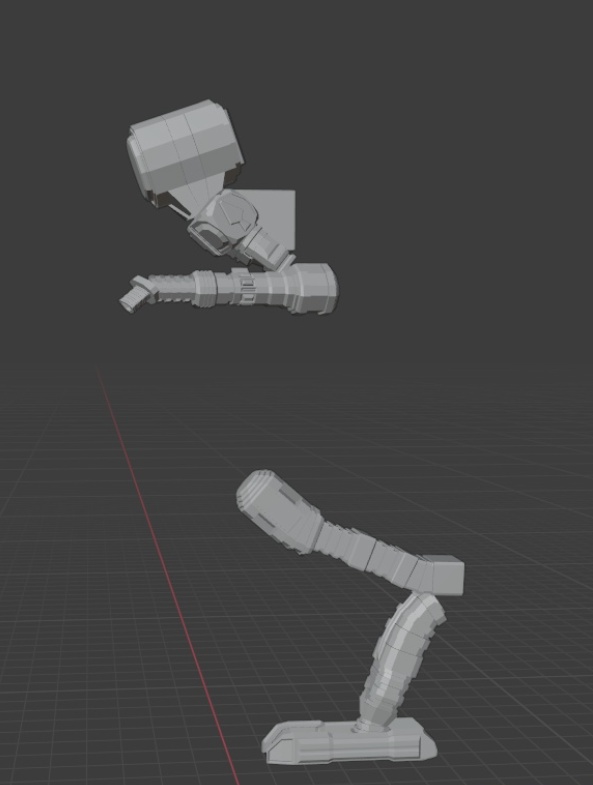
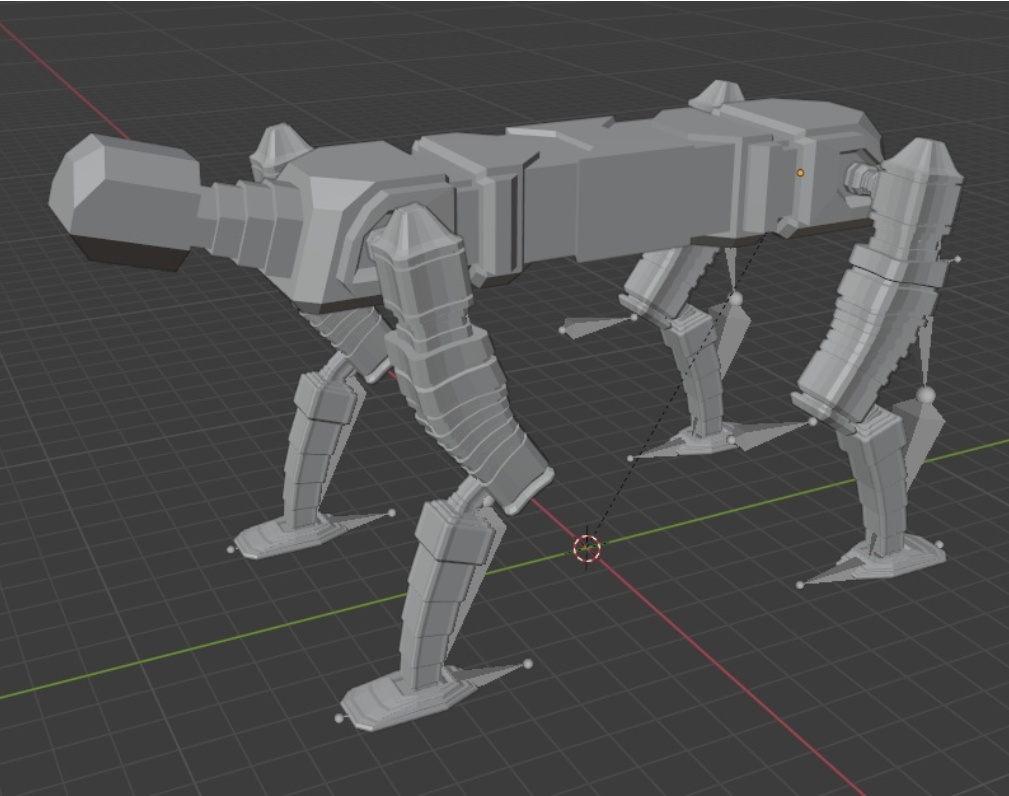
With Mech #3 it was actually an accidental idea because I actually had the idea when I was in the middle of creating Mech #2 when My dog came into my room and I was just staring at him randomly the idea kind of came out of nowhere to make a Quadruped instead of a Bipedal and the bone structure’s was quite similar to that of the bipedal but instead it had four legs so I had to make 4 leg Ik’s I however did not go for a Dog bone structure since I have no learned how such things work yet.
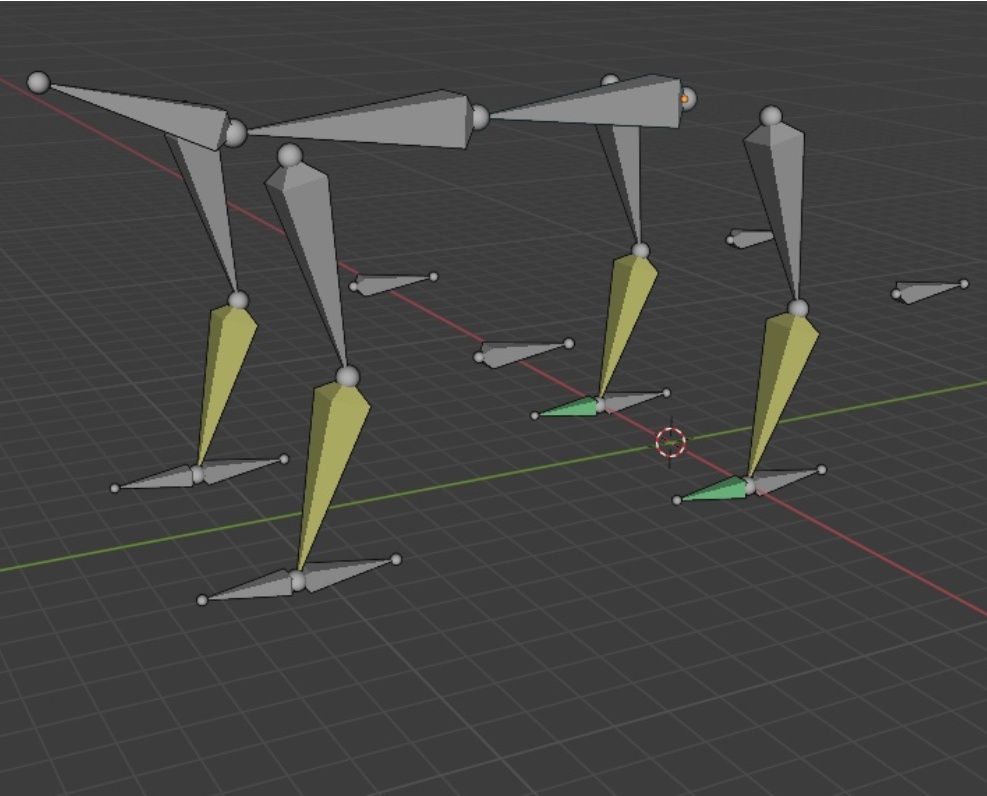
I first started by creating one of the legs so that I could duplicate it to the other three so I would not have as much work to do then came creating the body and I kind of got a little lazy halfway threw creating it so I just mirrored it front to back and tweaked it a little bit.
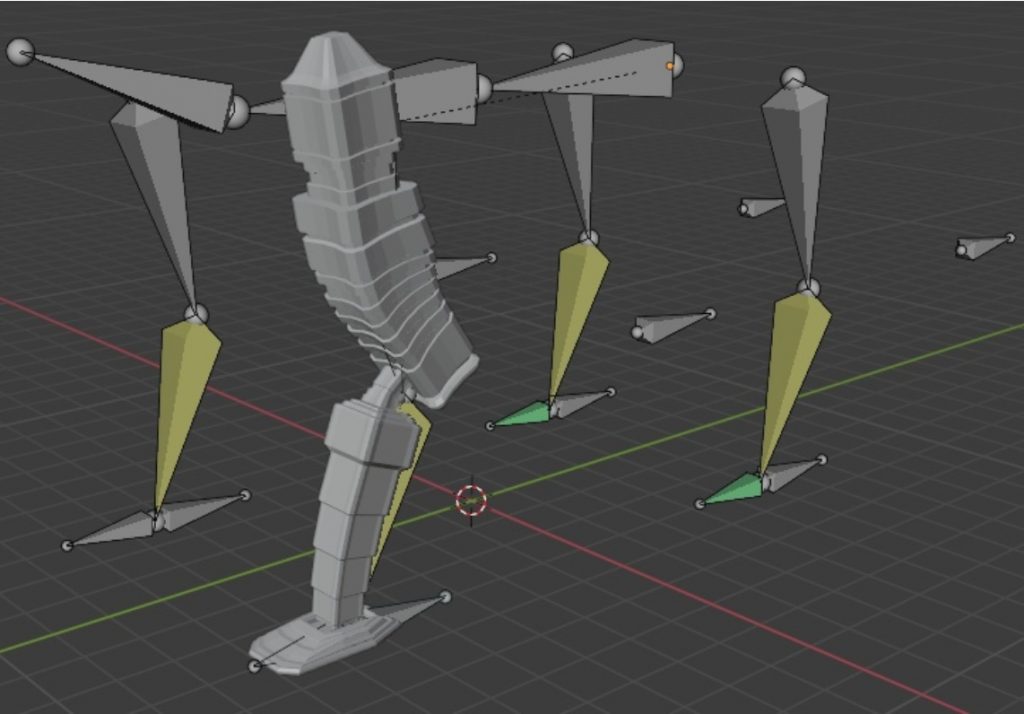
I will apologise for these renders as I believe I rendered it at a few frames into the animation I created so its kind of floating in the air but this was the final look of the Mech along with its color scheme which was the same as the last one.
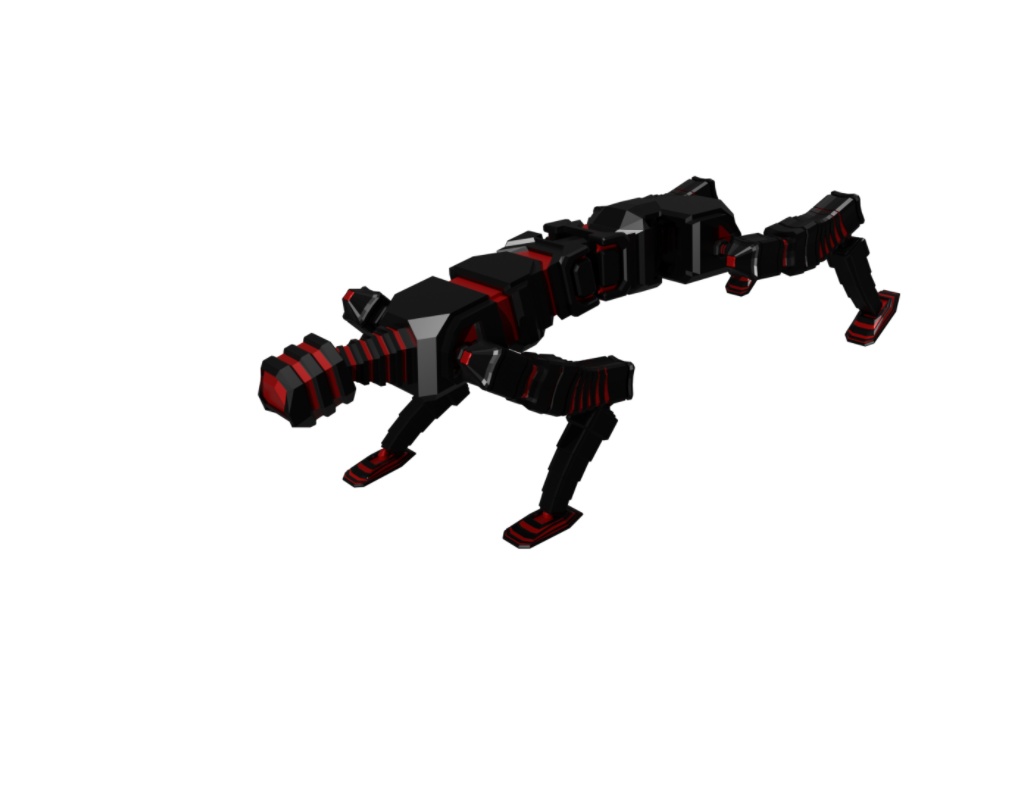


With the third Mech, I didn’t want to do a walk cycle and instead challenge myself so I chose to do a Jump instead since that was more K-9 like and I think it turned out pretty damn awful looking but since It was a challenge and the third mech was for fun anyway It did not matter to me I also did not use any references for this one.
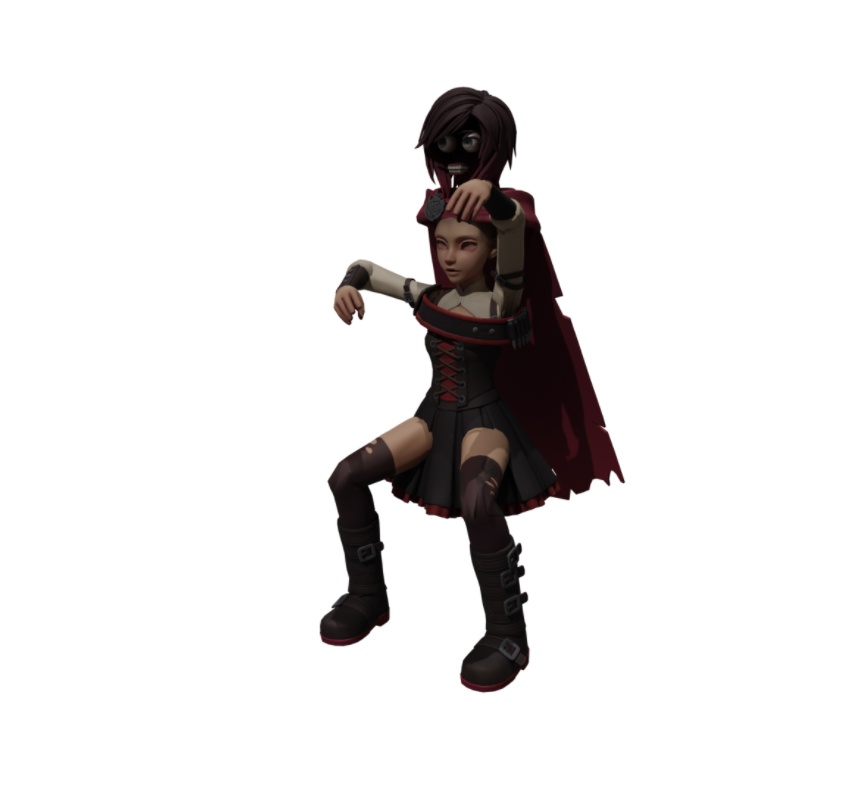
After making all these Mechs I decided to move onto something a little more organic which means making a more organic Rig and that is going to be a challenge in itself so before all that I tried a little experiment with someone else’s Mesh/Rig and the one which I borrowed was from Christoph Schoch who you can find on Twitter at (https://twitter.com/artstoff) the mesh I borrowed was that of Ruby Rose from rooster teethes RWBY and it did come rigged? I think? Okie I didn’t understand any of the rig it came with so I just deleted it and made the Mech Rig I had been using previously up which was all fine and dandy till I tried to pose her…


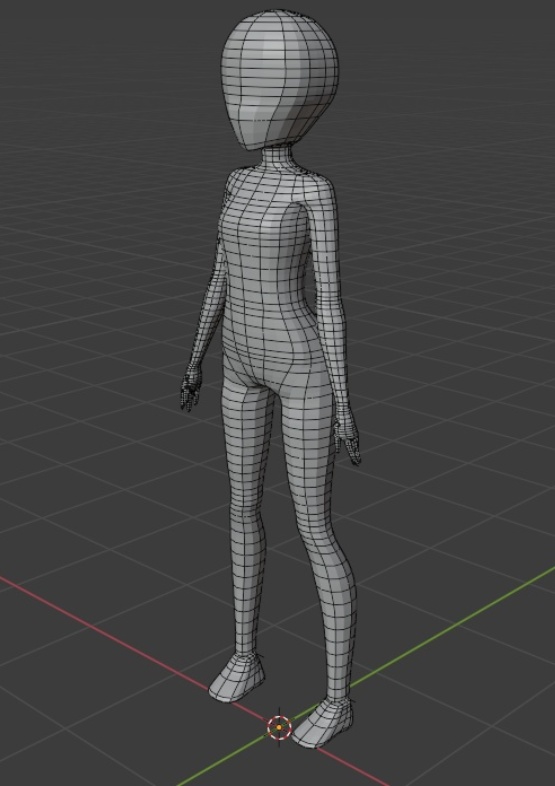
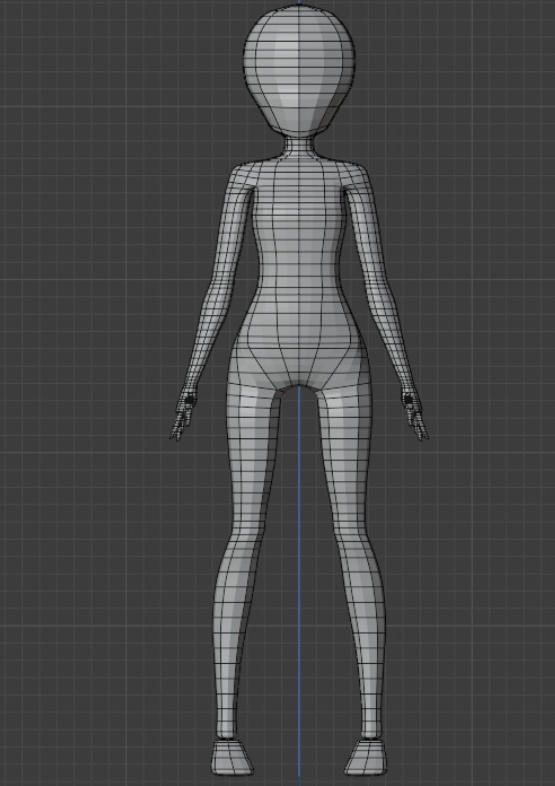
Now that I had some basic understanding it was time to tackle an actually organic rig and learn weight paints to make it work better than all the rigs I had done thus far so to start I wanted to make my own mesh to get better at box modeling.
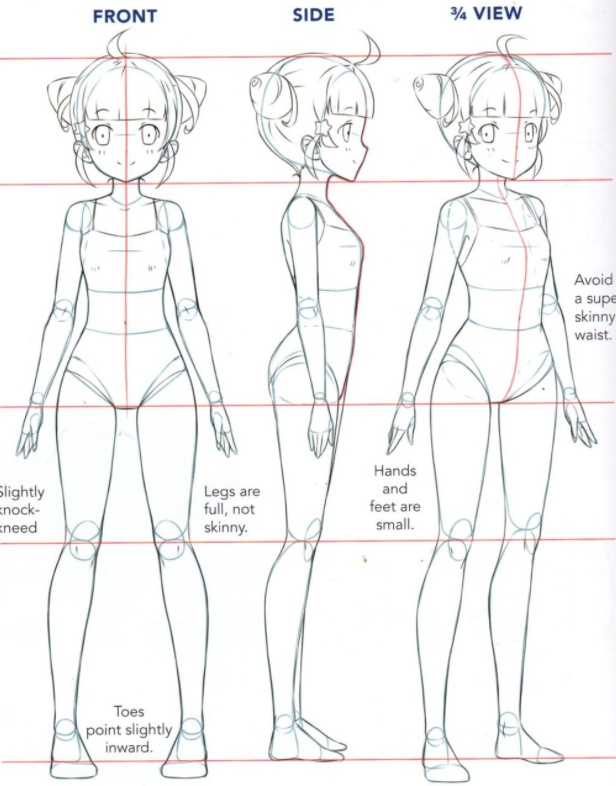
So I needed a reference to start and I decided to use one that D-Man3D on Twitter (https://twitter.com/blender_d) had sent to me since they were using it to sculpt with and I thought I could use it to box model but either I’m just stupid or the reference is not aligned 100% correctly because I ran into a small issue of it not aligning.
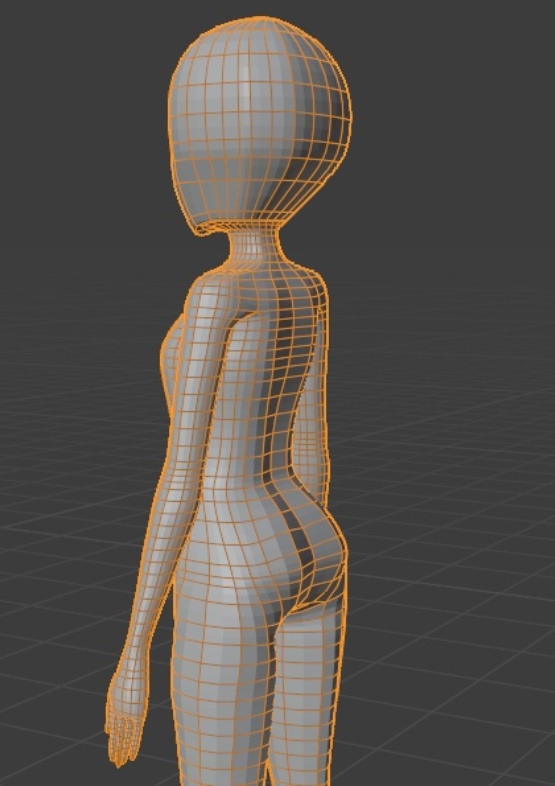
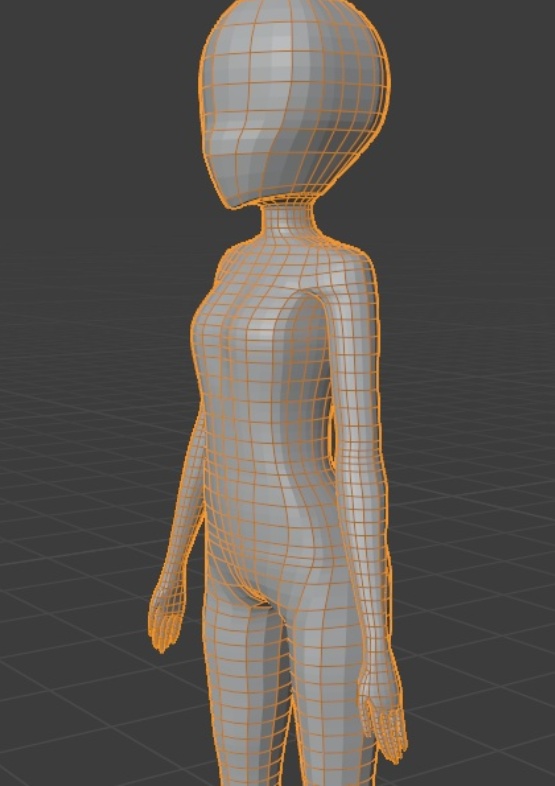
So you might find this a little weird but I created the mesh with sections instead of all at once so it has separate parts for the Knees as well as Elbows so when its sub div is on it looks weird as hell. However, I don’t think I was wrong when I did this because I could see where those parts were and when I connected it all together in the end I could add extra geometry to the knees, elbow and neck since it would need it to bend with less problems.
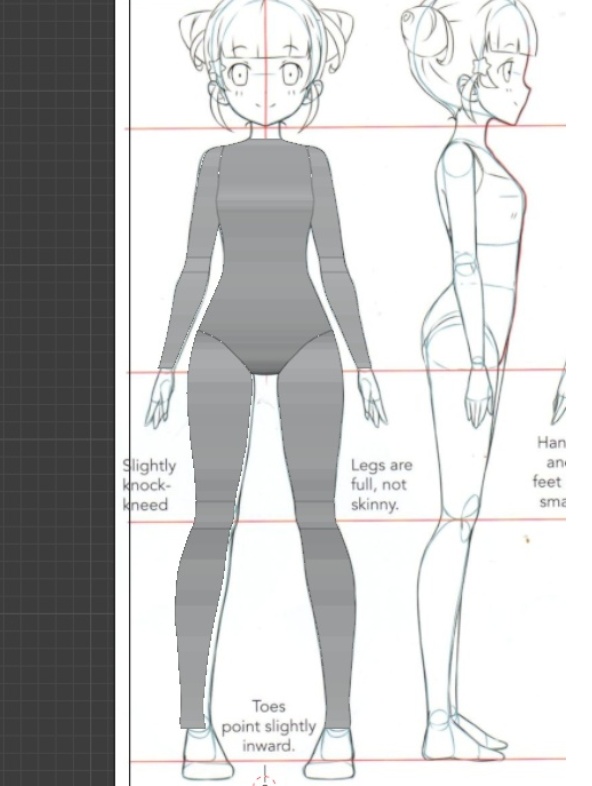
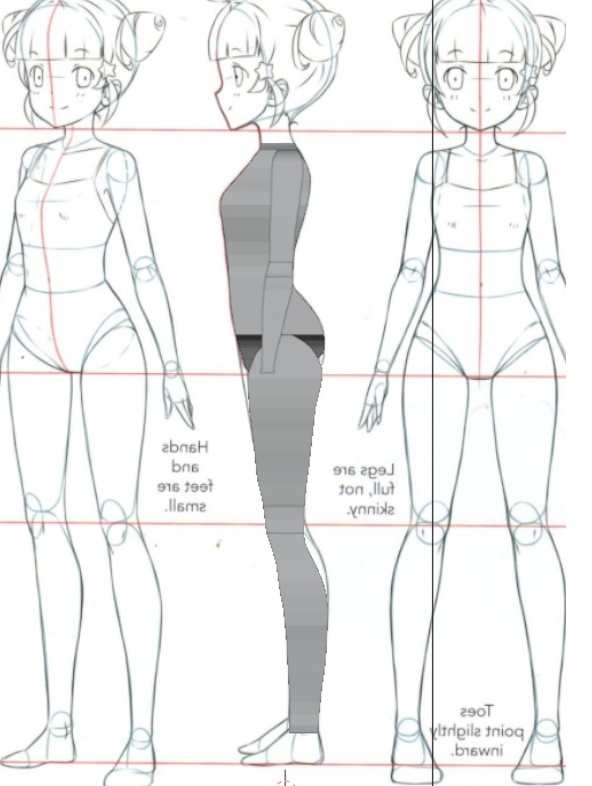
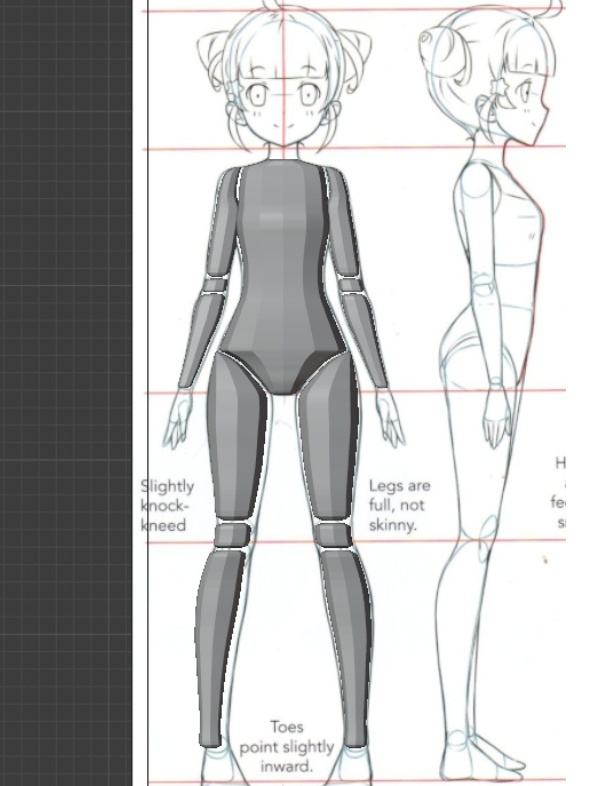
I eventually connected everything but the Fingers and feet because the topology was actually looking better than I have done in the past that’s for sure but it could do with many improvements however I was not going for perfection and didn’t want to spend days making it since it was at the end of the day a learning tool for me.
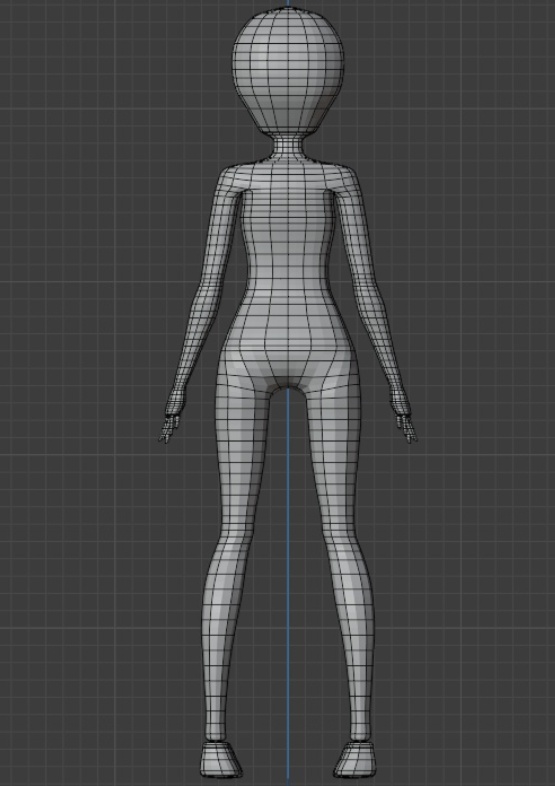
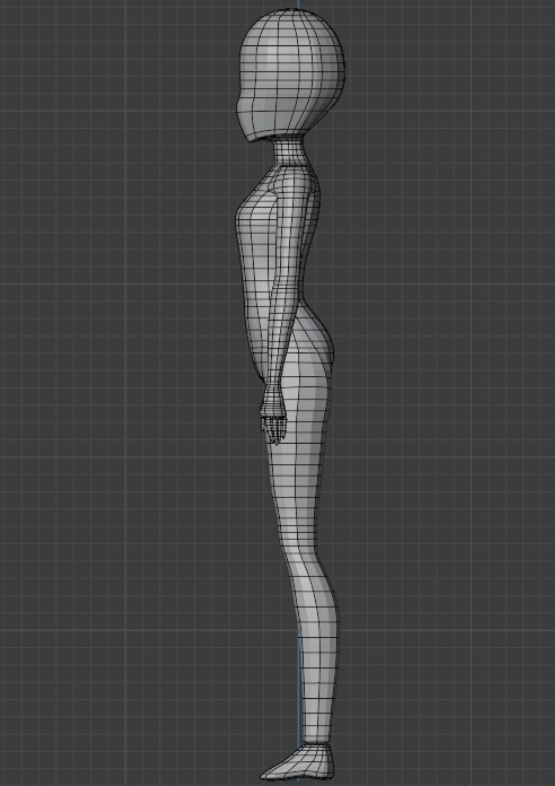
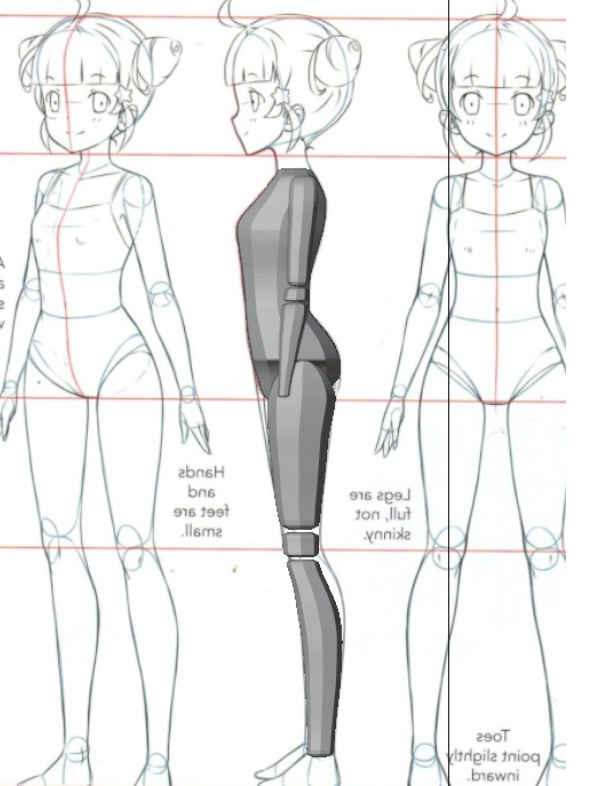
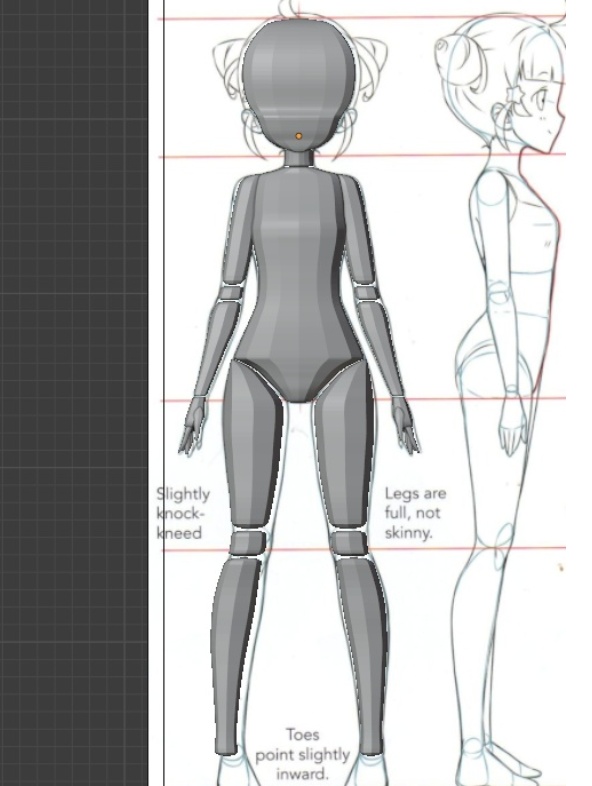
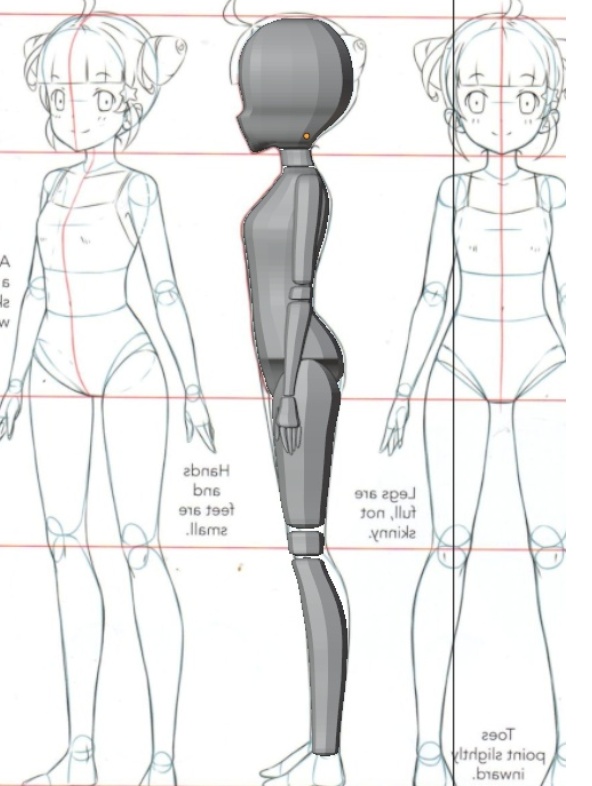
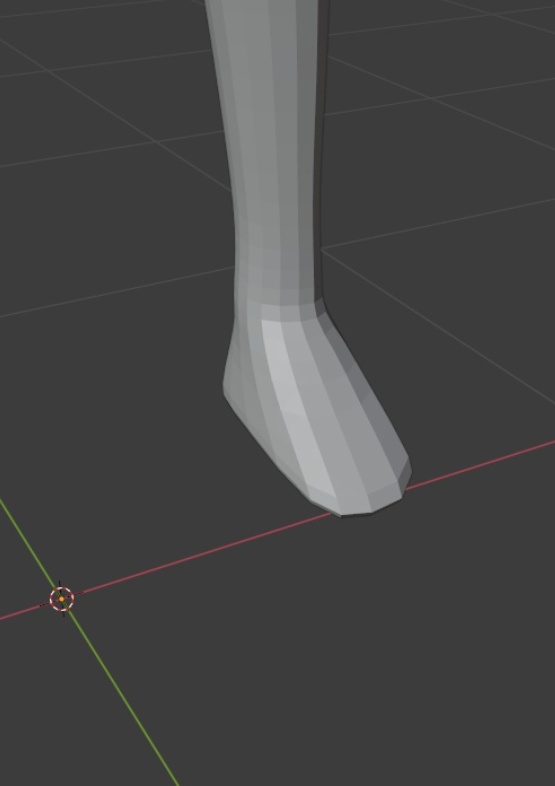
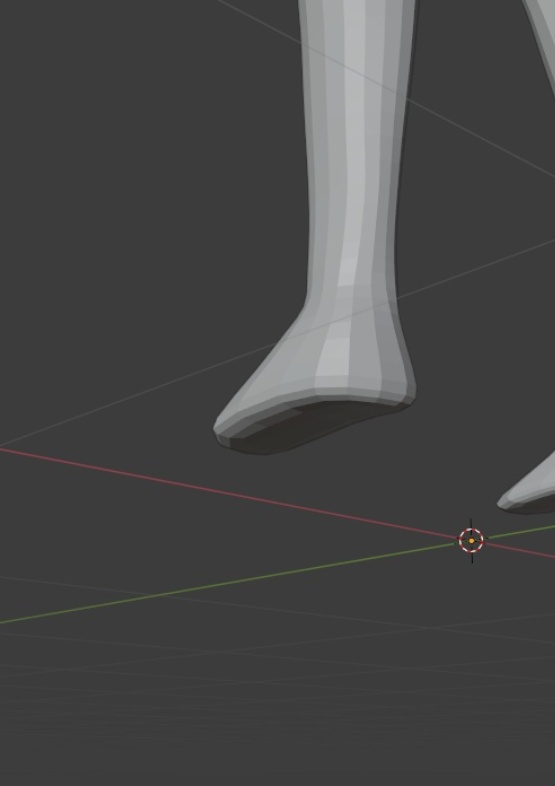
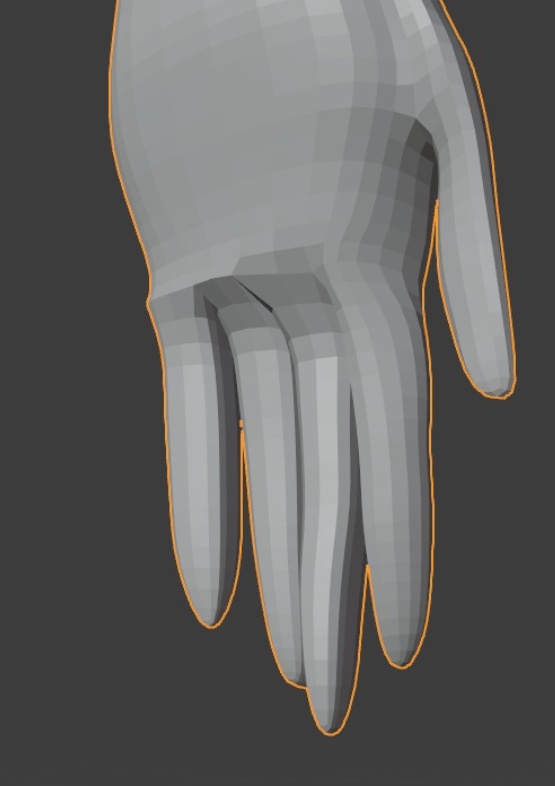
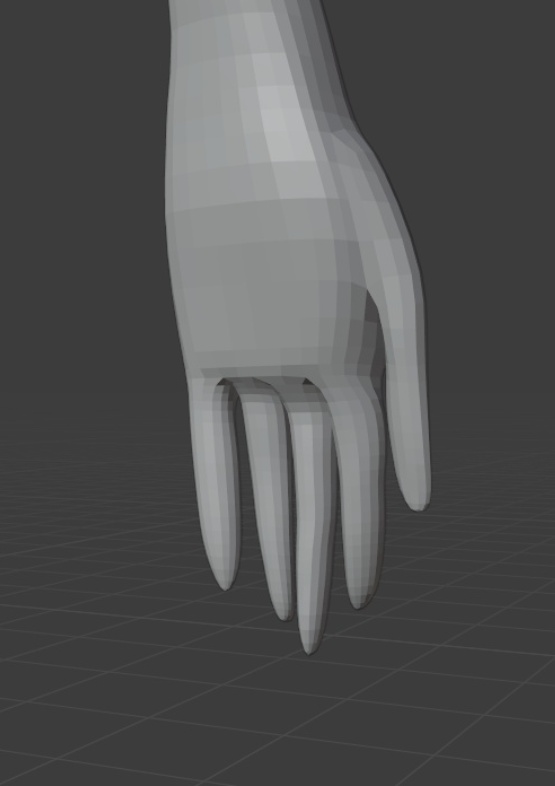
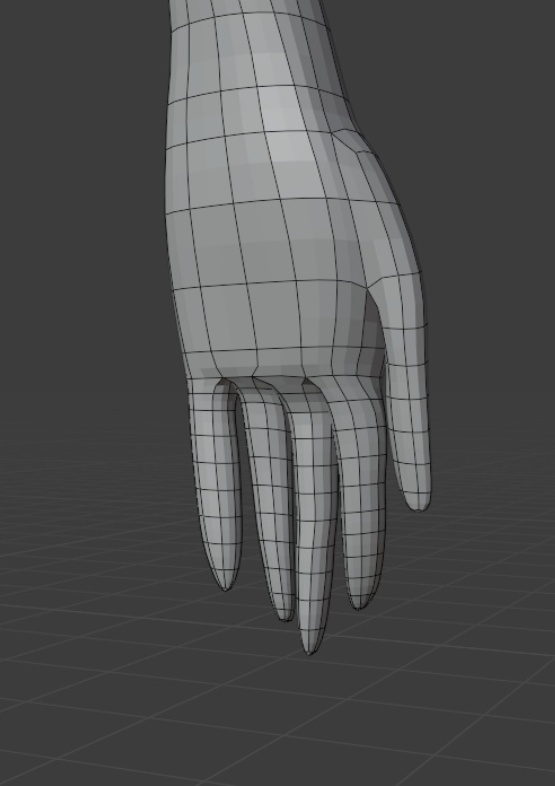
To say adding these in created quite a few problems would be not as dramatic as it actually was I had to reduce the number of polys in the foot so that it would be connectable to the body however I didn’t mind since I didn’t need a proper looking foot for this project and as for the fingers that was a lot of tweaking to get it to look somewhat passable but in the end they both got attached and I moved onto Rigging the mesh.


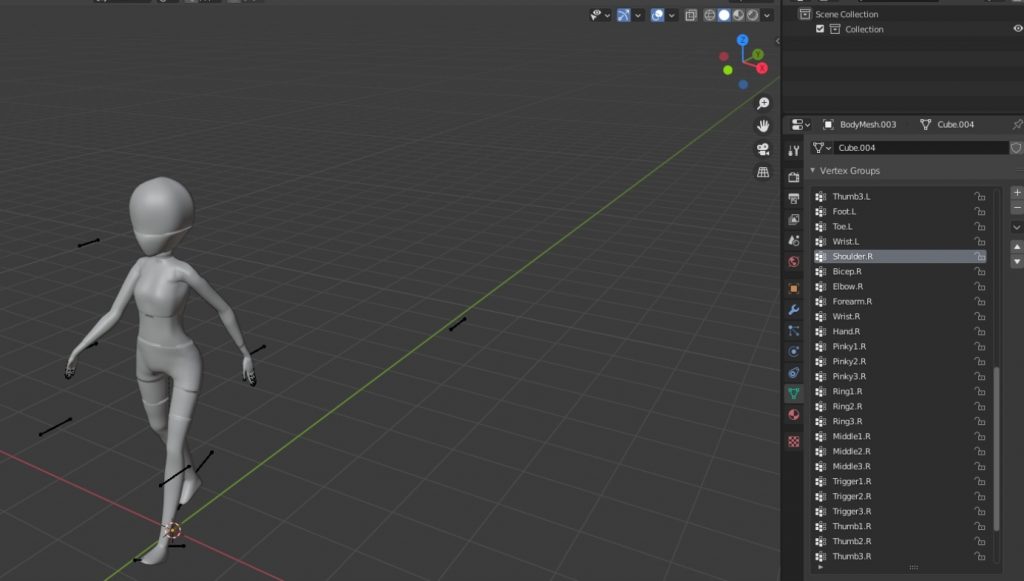
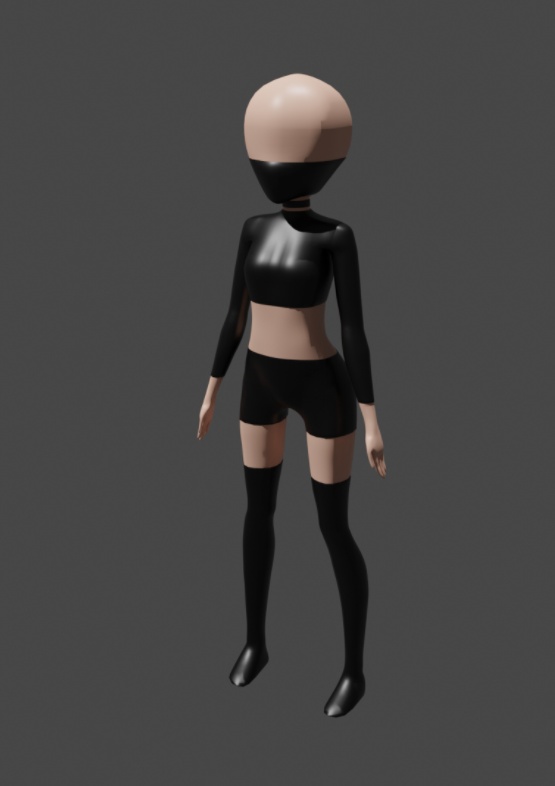
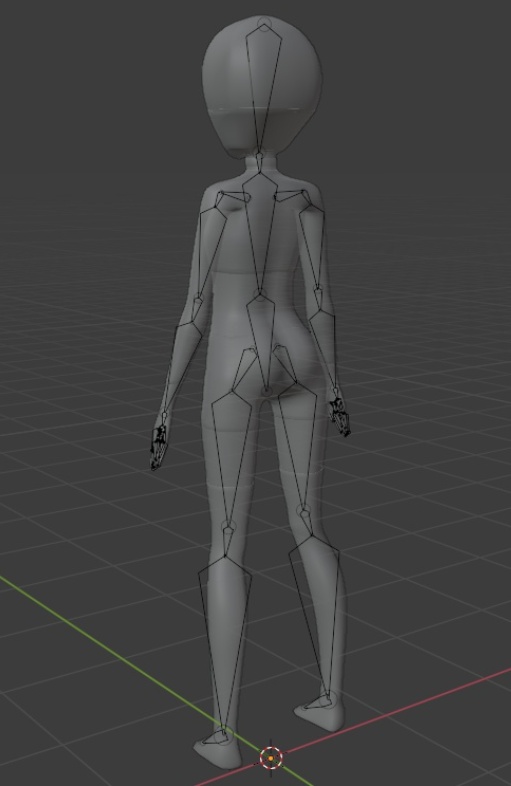
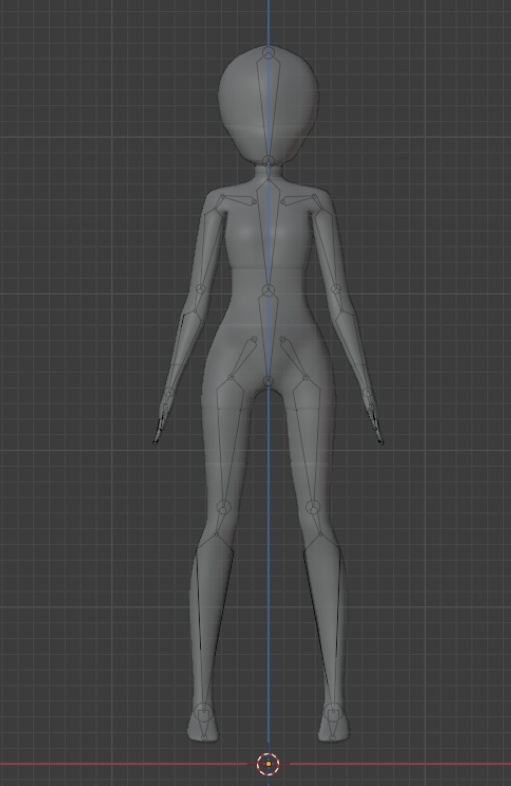
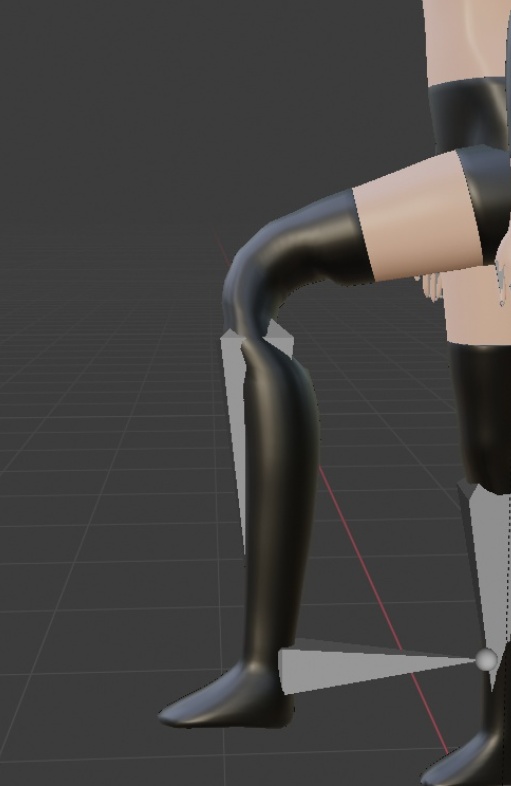
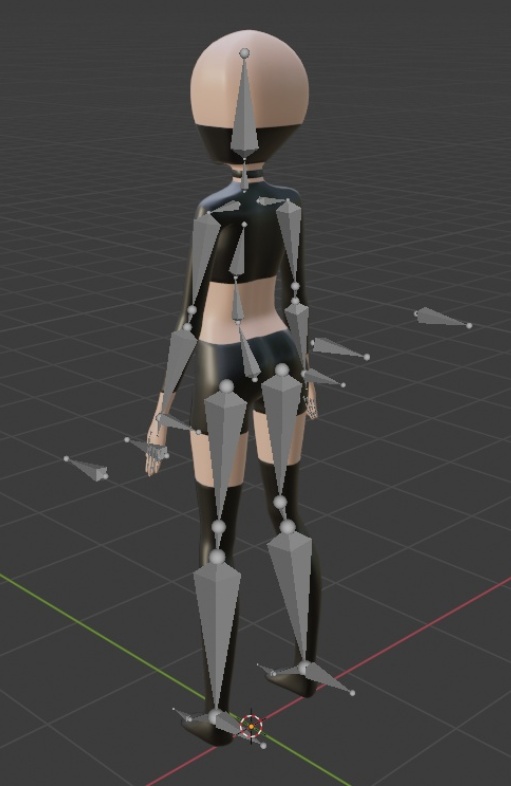
Before Rigging the mesh though I added in some extra detail to the chest area to represent cleavage as well as to the back to represent a spine I tweaked a lot of areas to make it work better overall and then I went a step further and created a set of clothes by selecting areas, separating them from my mesh and using the solidify modifier to expand those areas into clothes which I colored black which made it look like Latex for some reason and made the rest of my mesh skin-colored for extra flare which does not look so bad in my opinion other than the baldness.


From here on out all tutorials that I used were thanks to Royal Skies LLC on YouTube and they where a great help to making this project a success or as successful as it could be.
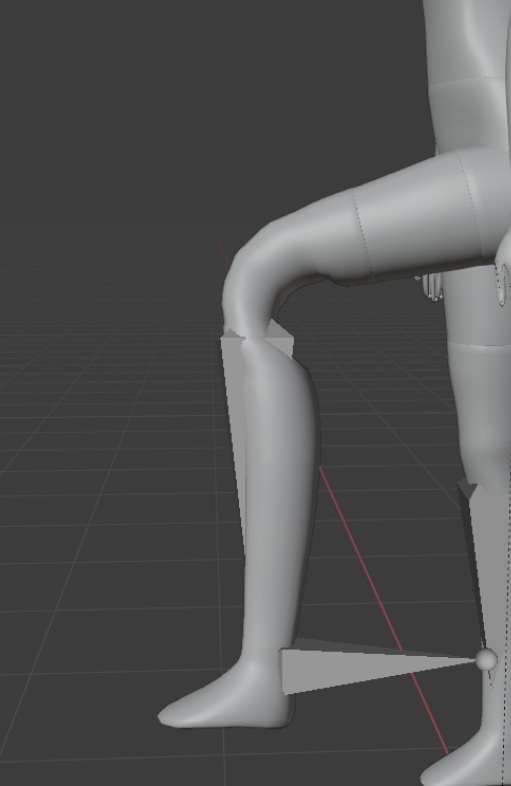
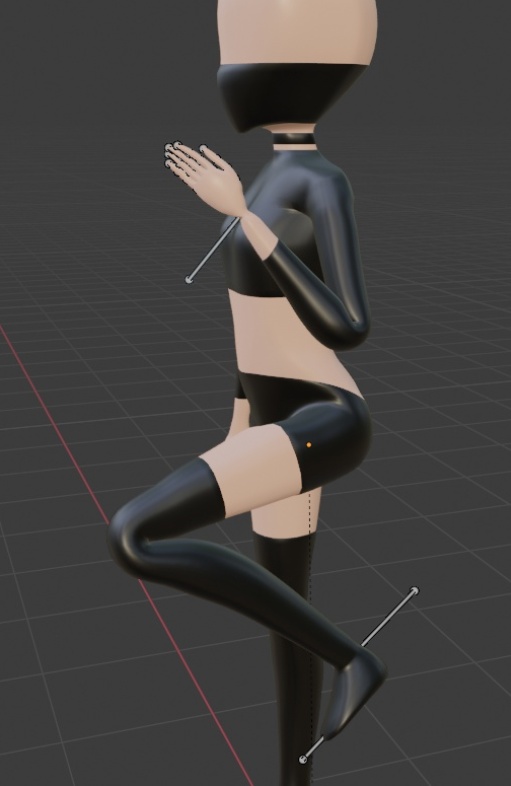
The first rig I made for this mesh was an experiment with double joints and weight painting however it did not go as planned because the leg I posed ended up looking like a jelly sausage which was a weird thing for a knee to be so this was not going to work.
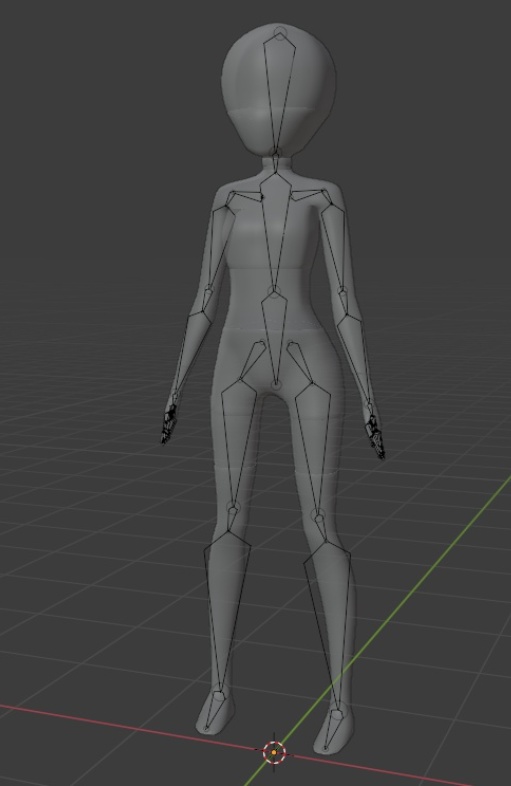
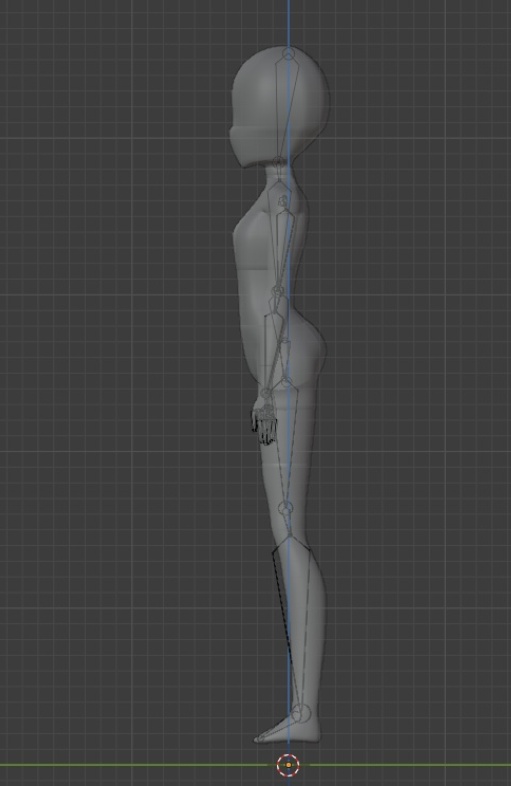

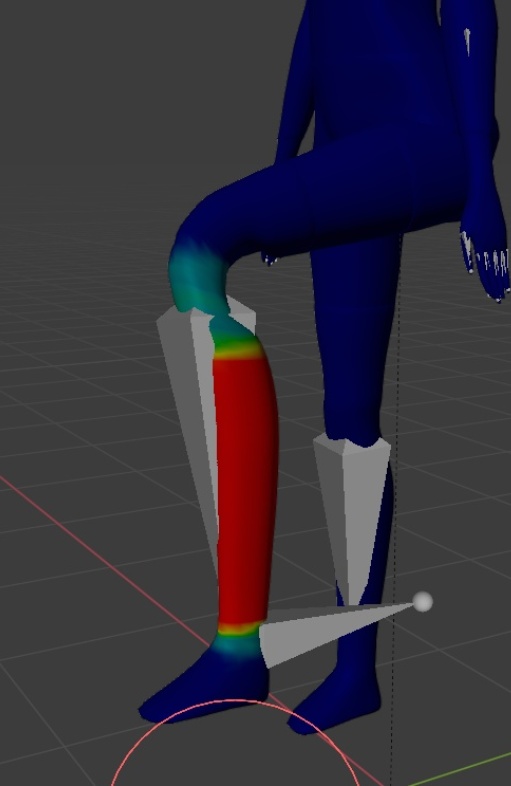
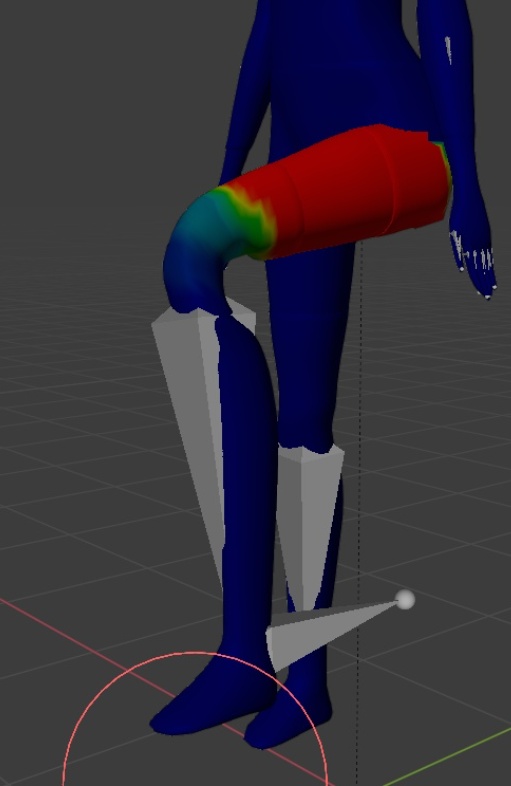
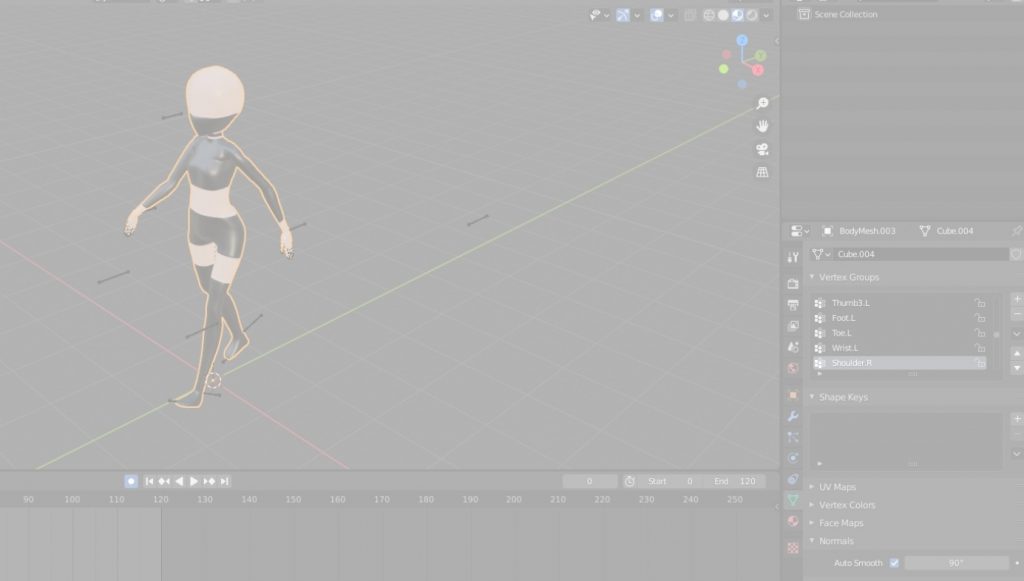
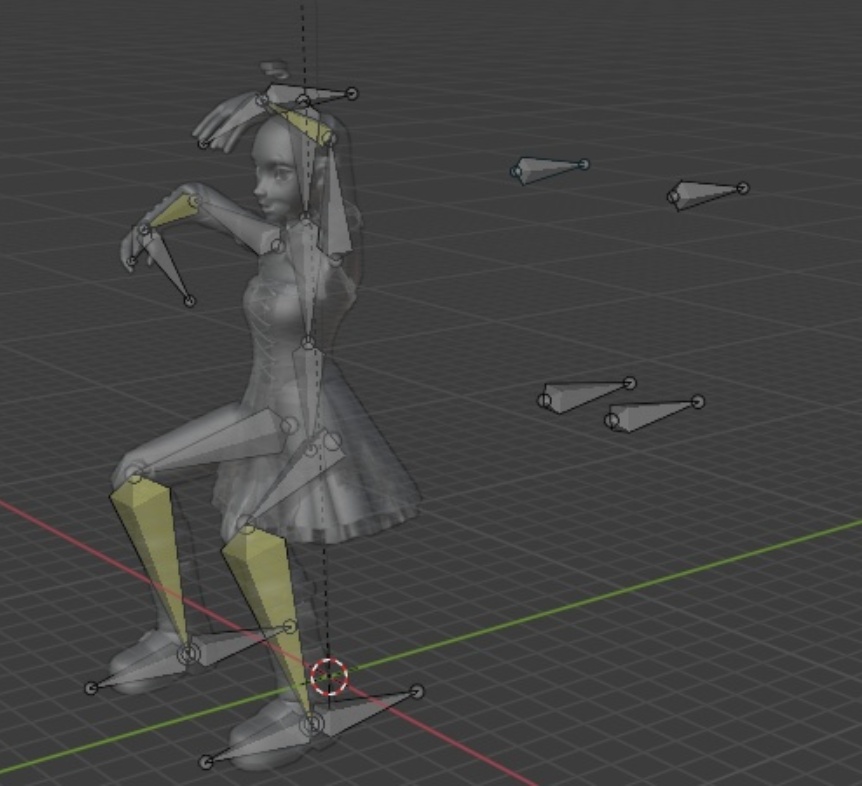
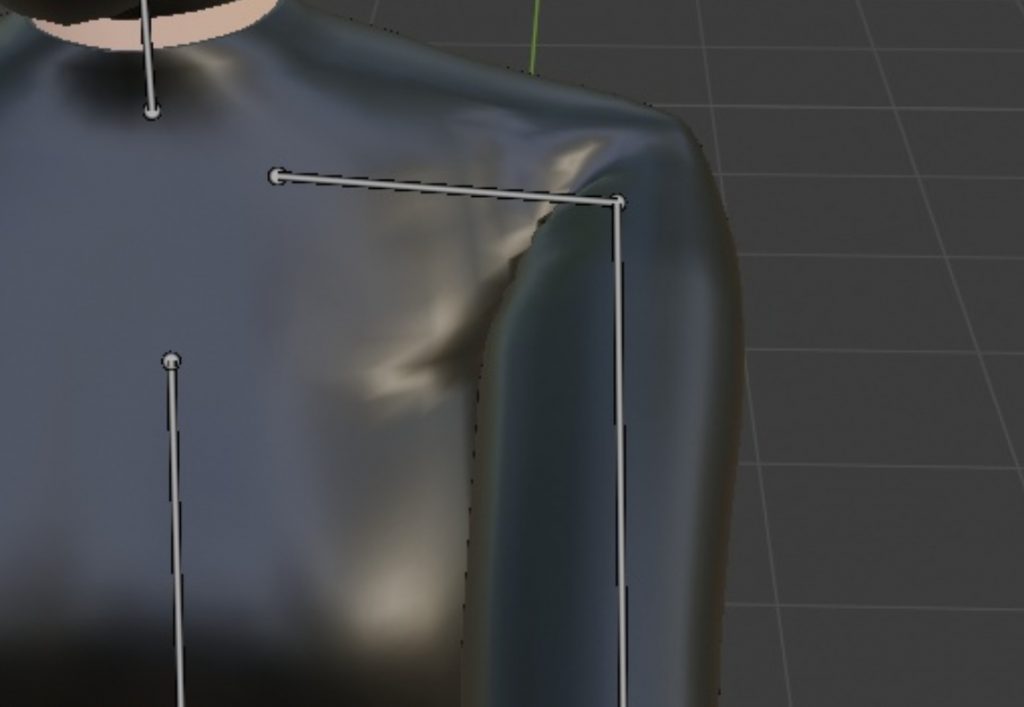
However, the second revamped version of the Rig was spectacularly equipped with better bone placement, a better spine, and better finger bones than I had before this was the Rig I was gonna work with to weight paint and now I will be honest automatic weight paints where applied and took care of 90+% of the work and I then tweaked what needed to be tweaking in which I learned how weight paints work with a better understanding that I previously had, however, It’s still not enough understanding.
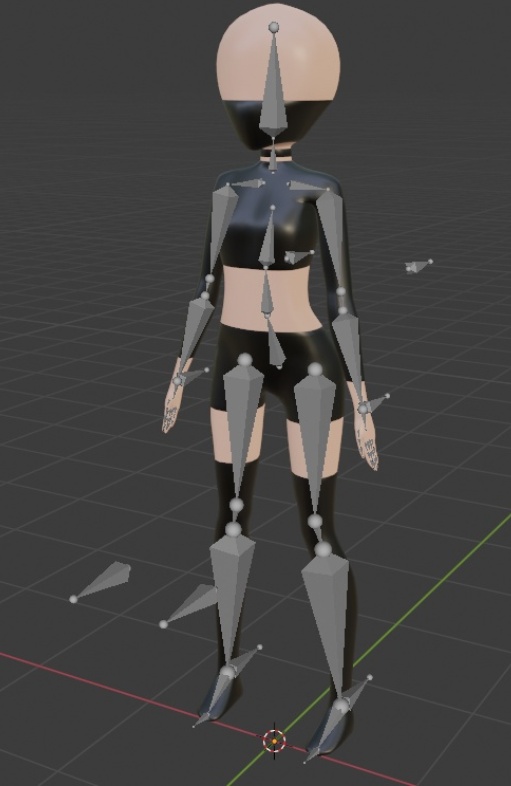
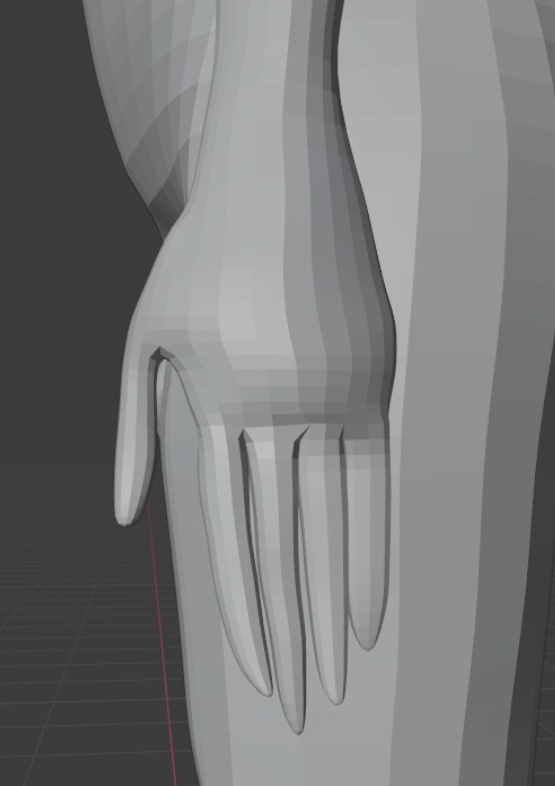
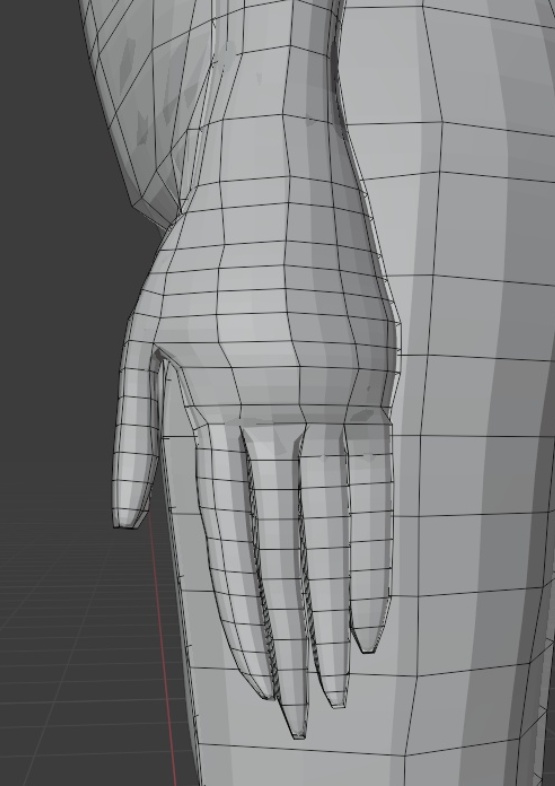
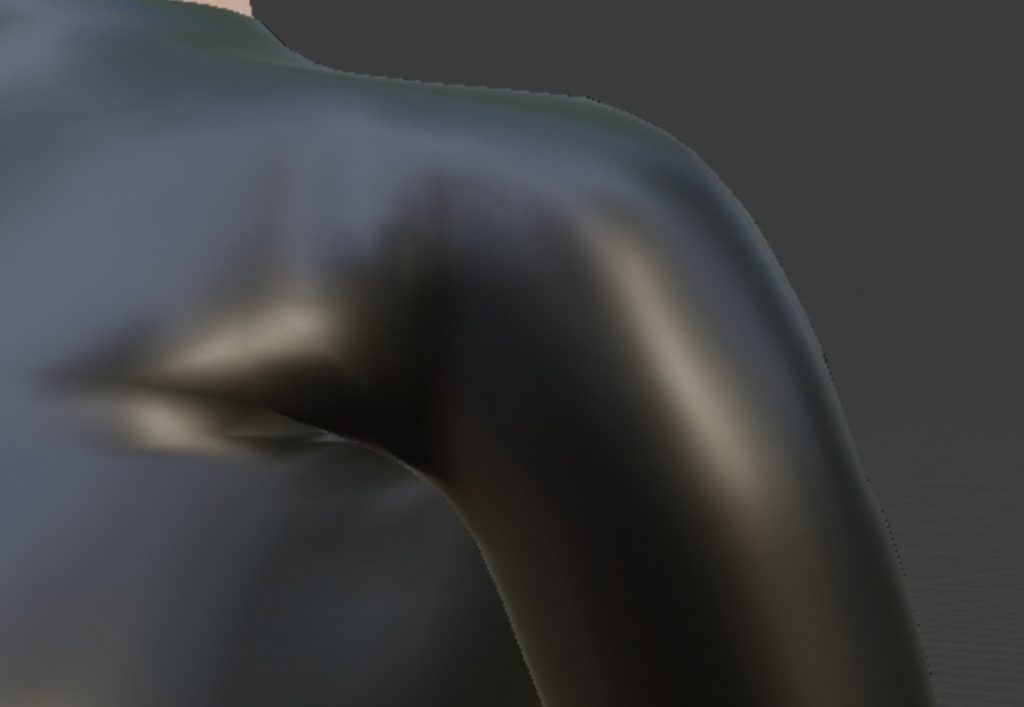
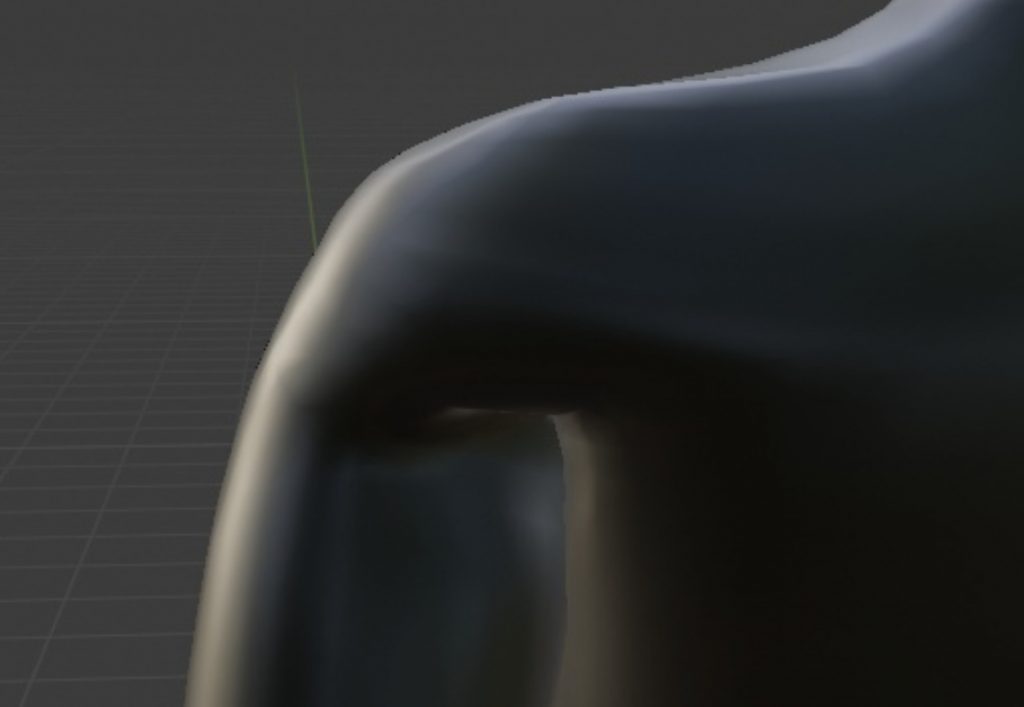
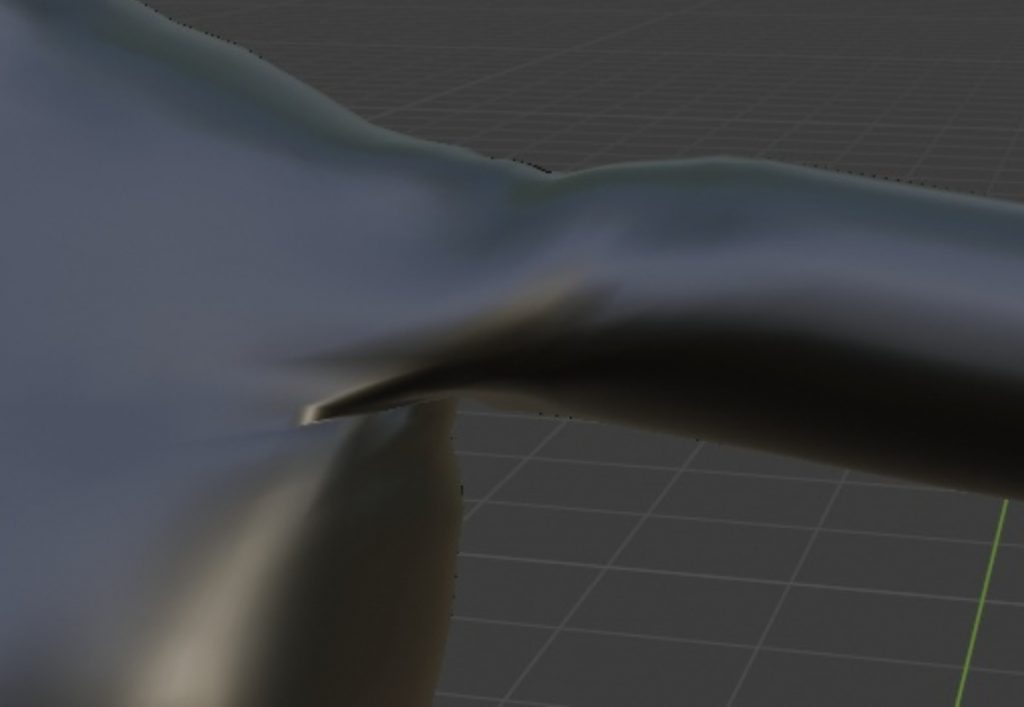
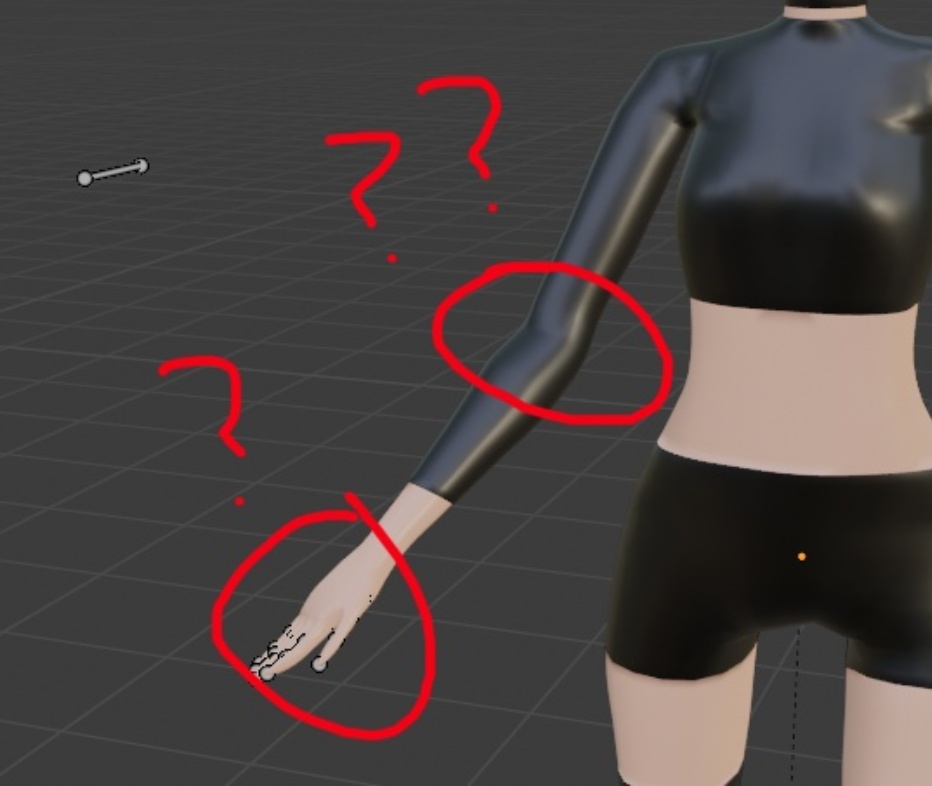
The shoulder was one of the biggest issues I ran into with this mesh and I tried to fix it but I think my geometry/topology that I made was also at fault where the arm connects onto the body. other issues included twisted arms fixed with bone constraints, drivers, and such.
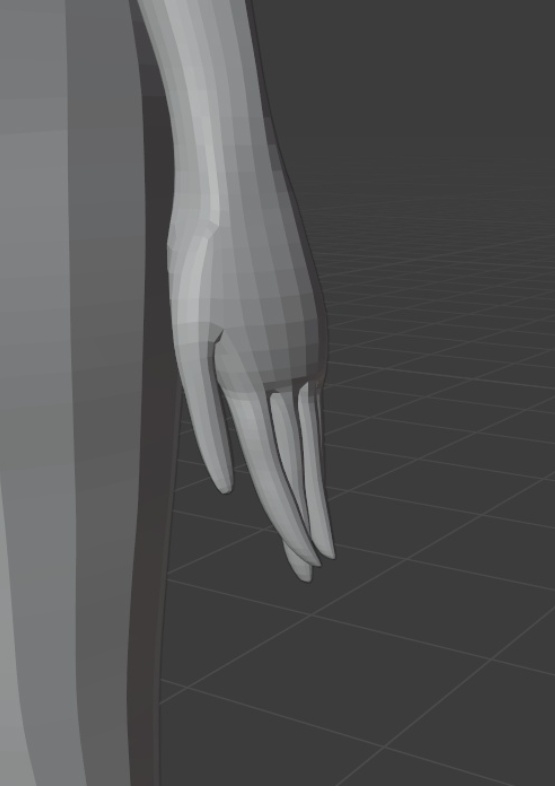
Such as this twisted hand where I needed to tweak a constraint to fix it ;3
The project was going swimmingly and I had just started animating a walk cycle when a Death flag popped and okay that’s a silly reference to say blender died on me and you would think it was a simple fix wouldn’t you just restart blender and open the project again and you would be wrong because the project file had become corrupt so I backtracked to a few saves before the last one I did and it still wouldn’t open I then kept backtracking till the last one that would actually open which was around 50+ saves ago at which point I noticed the issue.
Blender for some reason I have no idea why or how deleted my mesh and armature from the outliner I don’t know how or why it happened but it no longer existed there although it did exist in the scene which is very weird and no amount of appending, importing or copy-pasting would fix the issue because every time I would try to open the project file it would crash if I tried copy-pasting it from one file to another it would crash Its as if there was no data on either the object or armature even though I could edit the mesh and armature in the scene and make changed as I pleased. ( I reported the bug not sure if what I explained will help them though)
Anyway I can’t continue I would have to go so far back and I simply don’t want to I’ve learned what I wanted to so I will move on Maybe to animation using a mesh I downloaded for free thx to Royal Skies LLC :3