


-
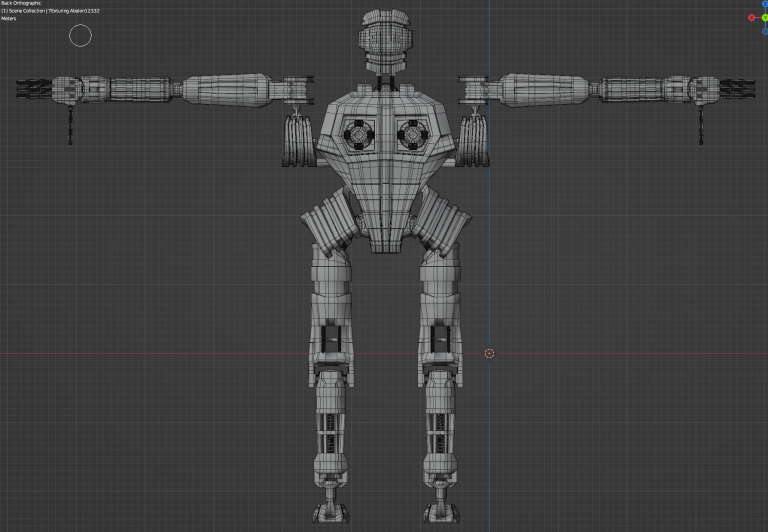
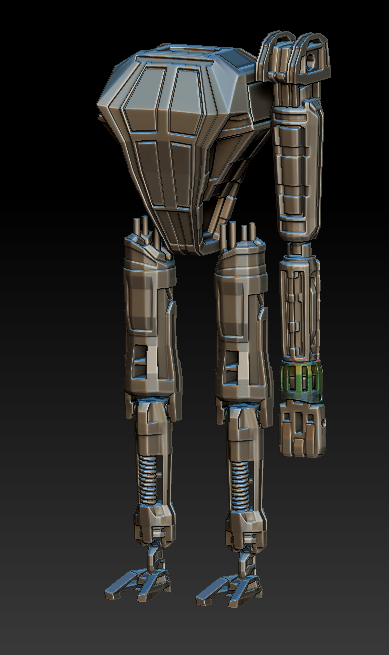
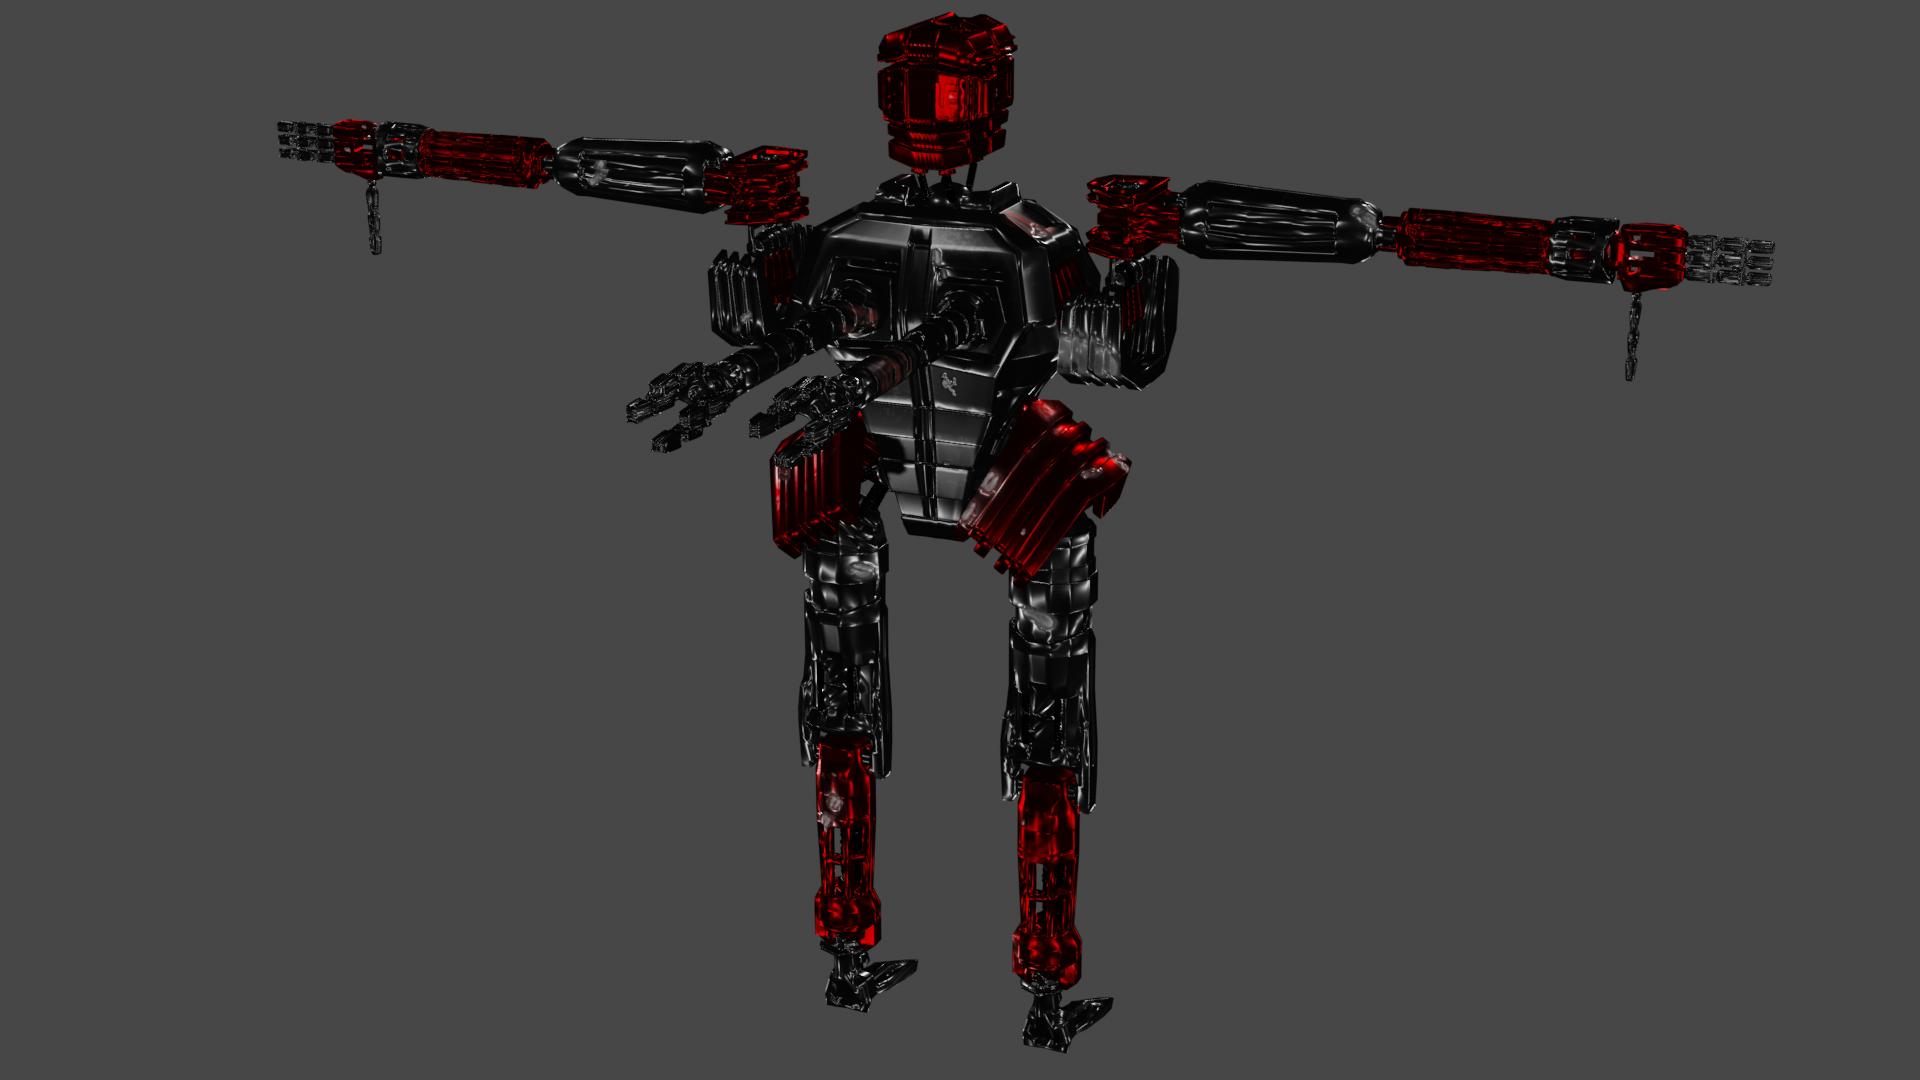
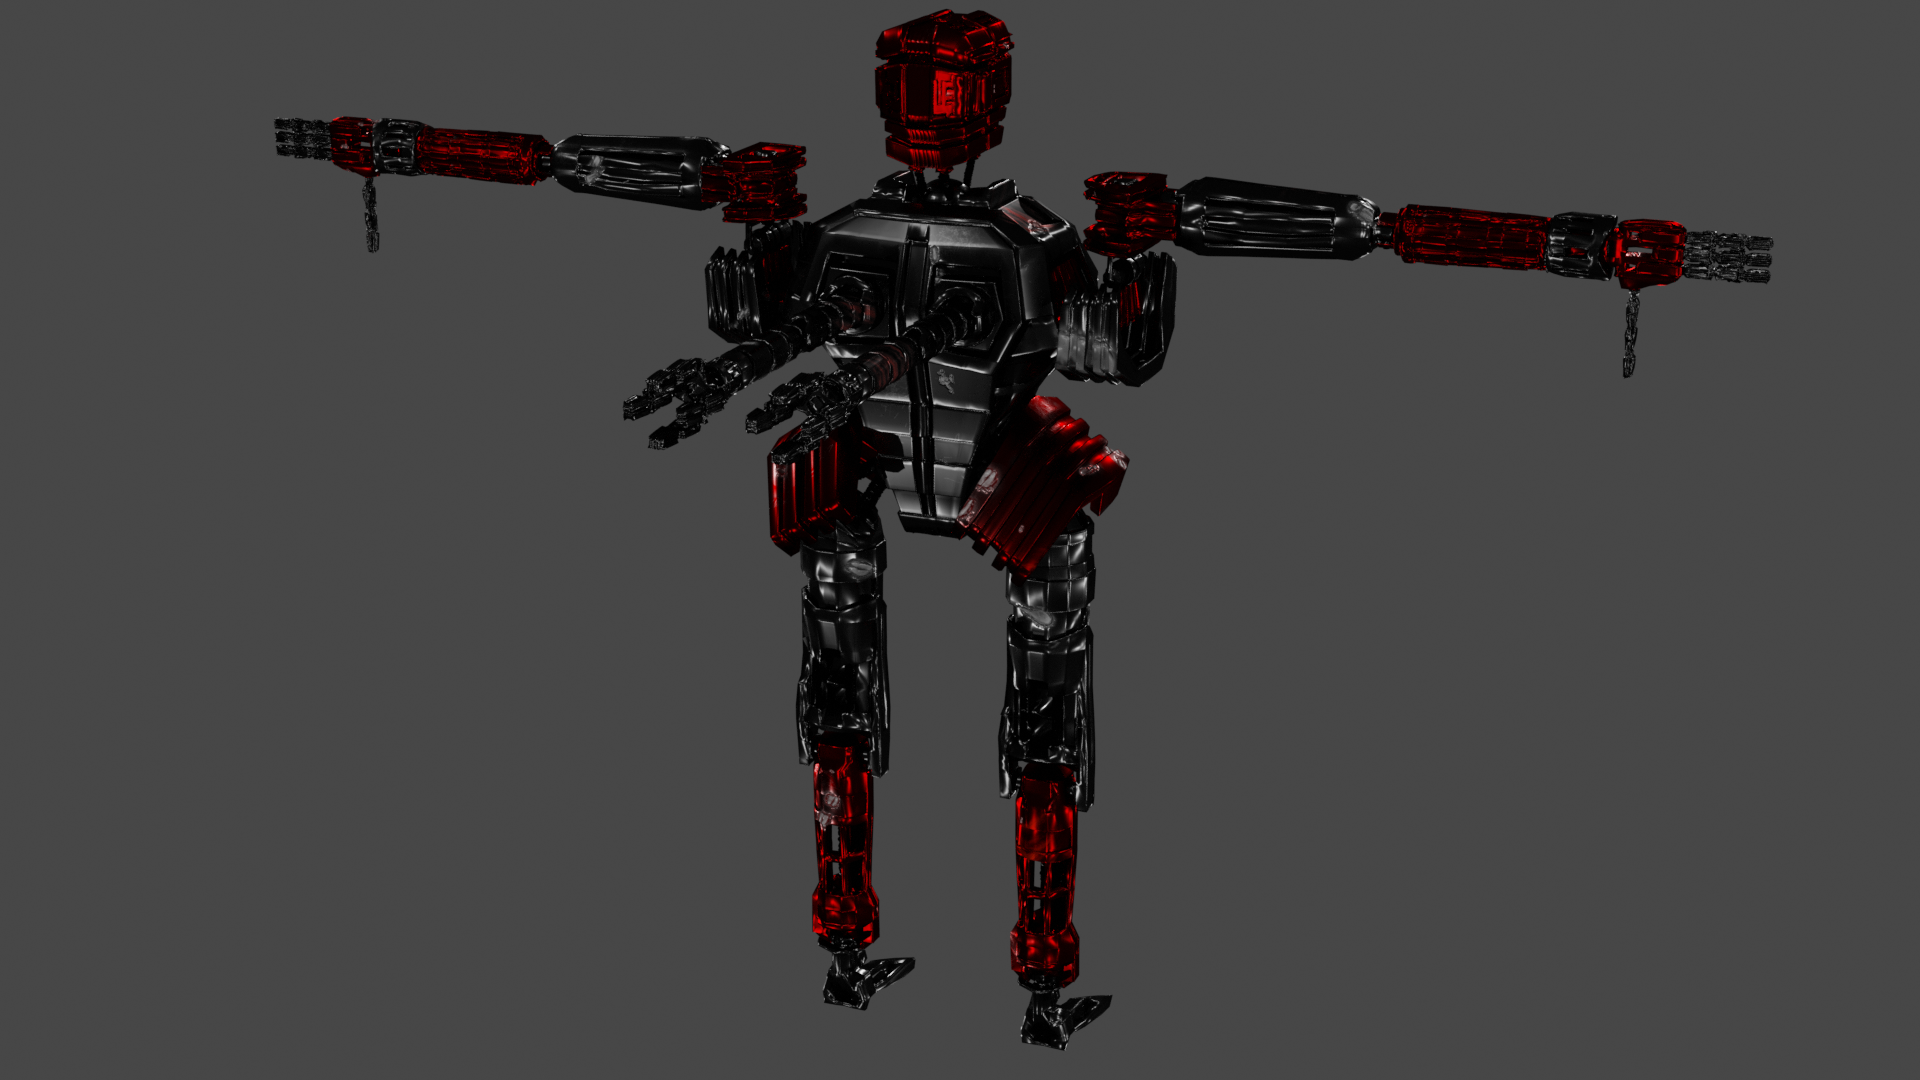
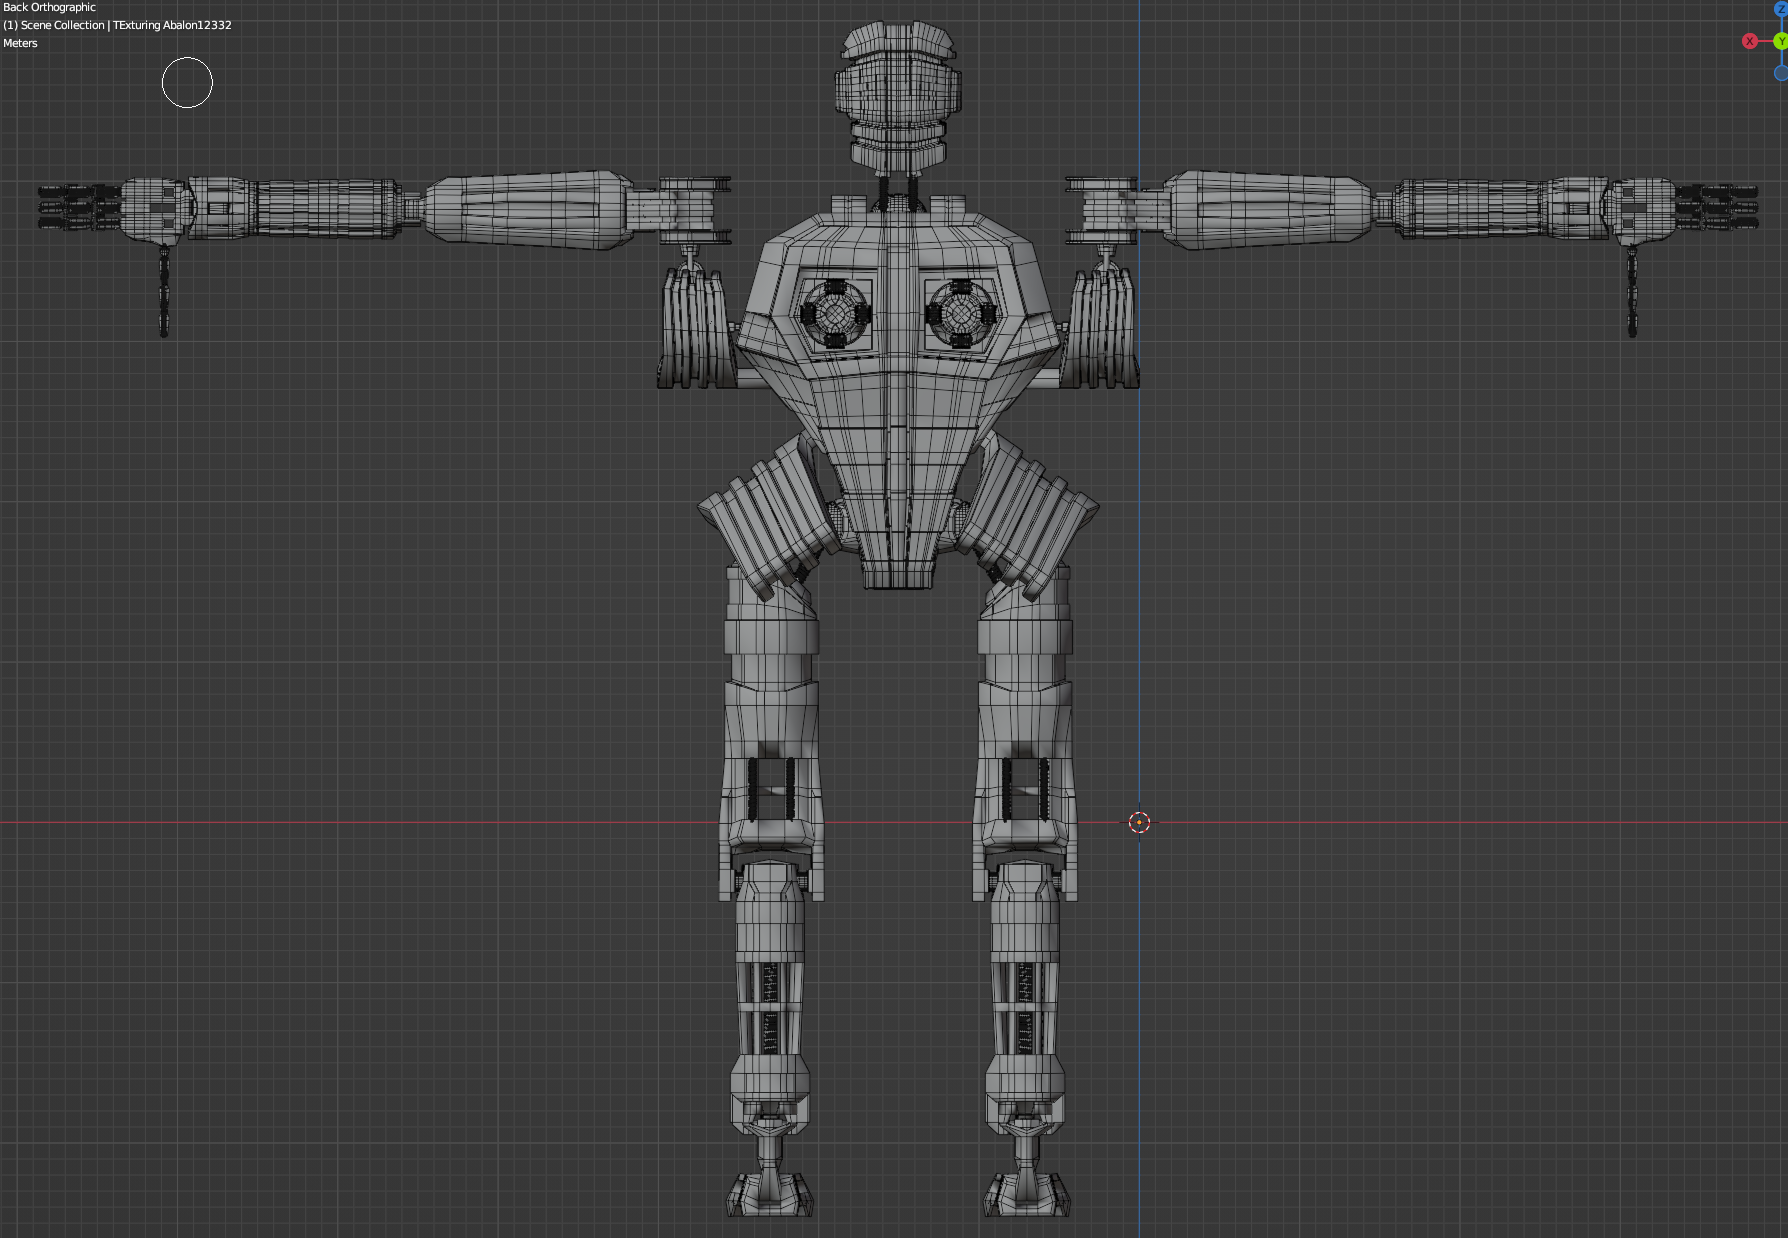
- Wireframe Rear
-
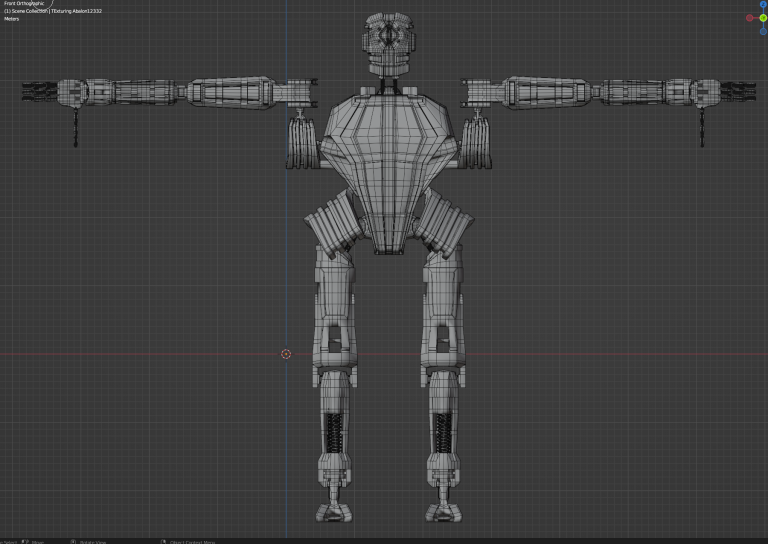
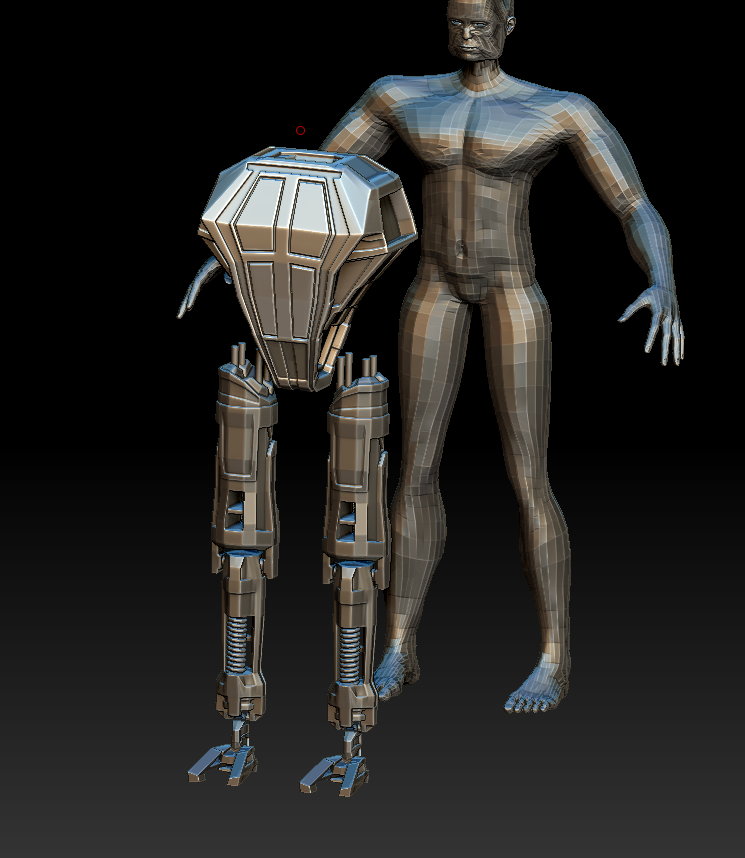
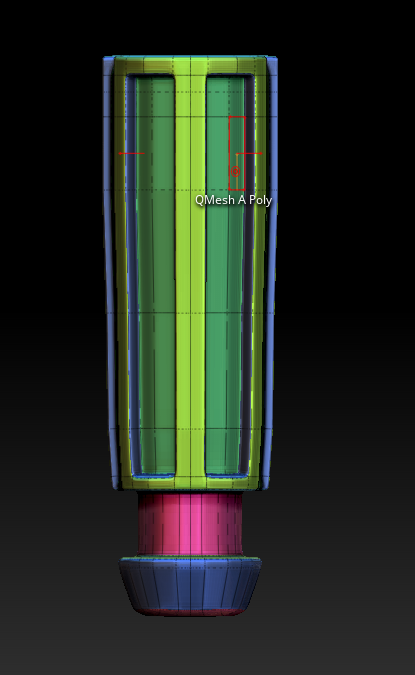
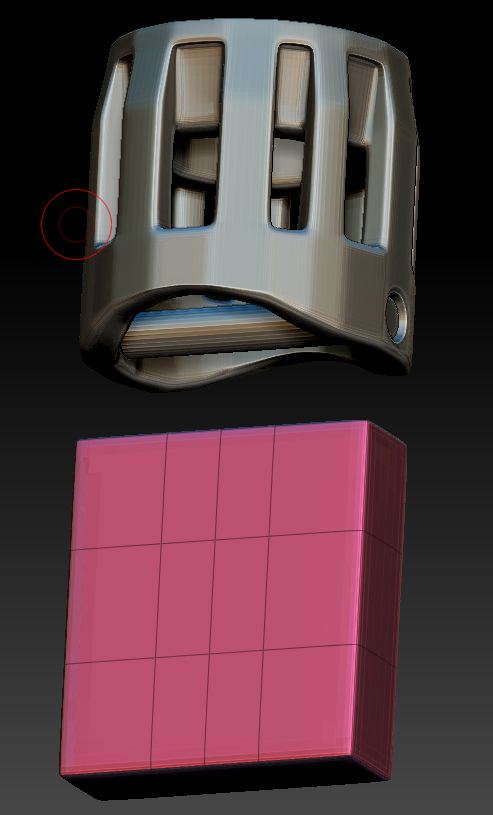
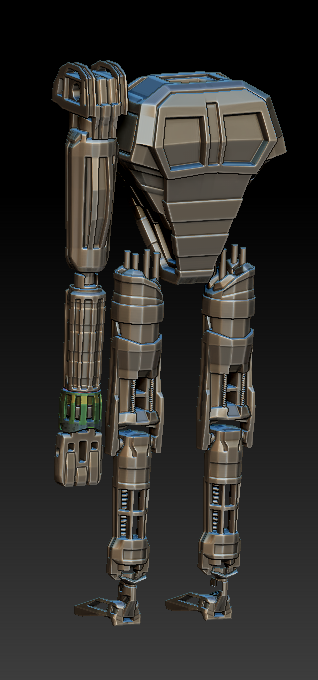
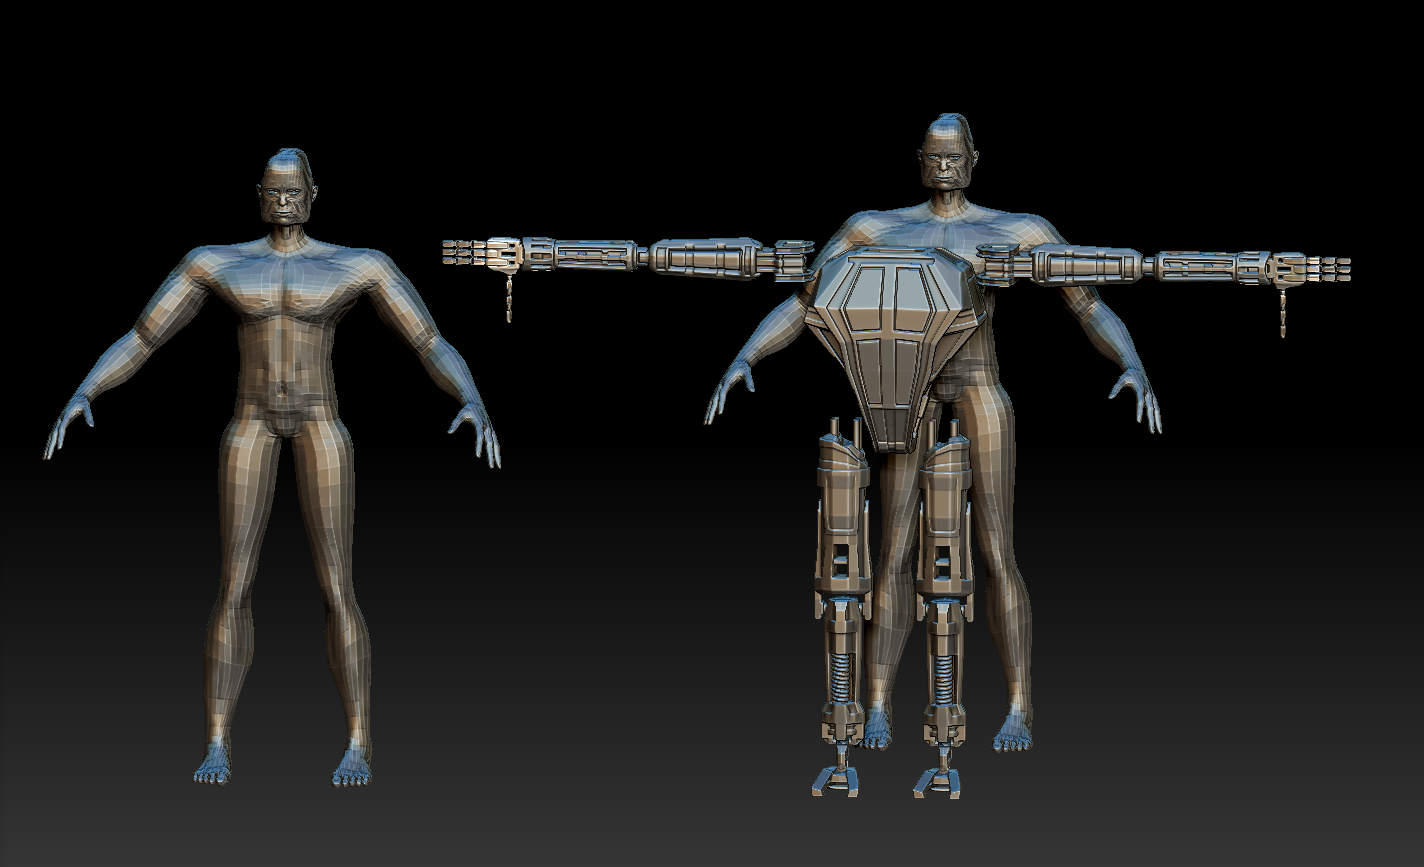
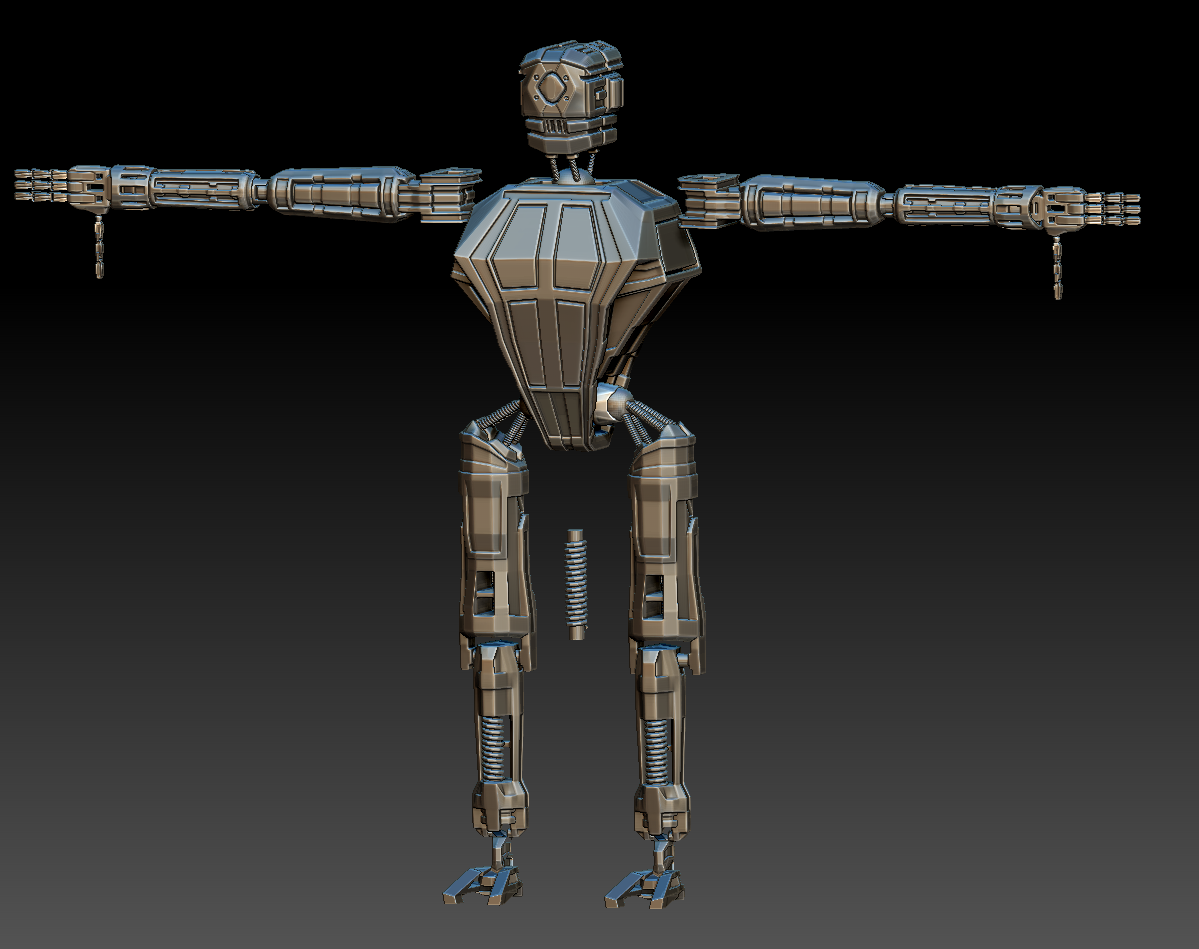
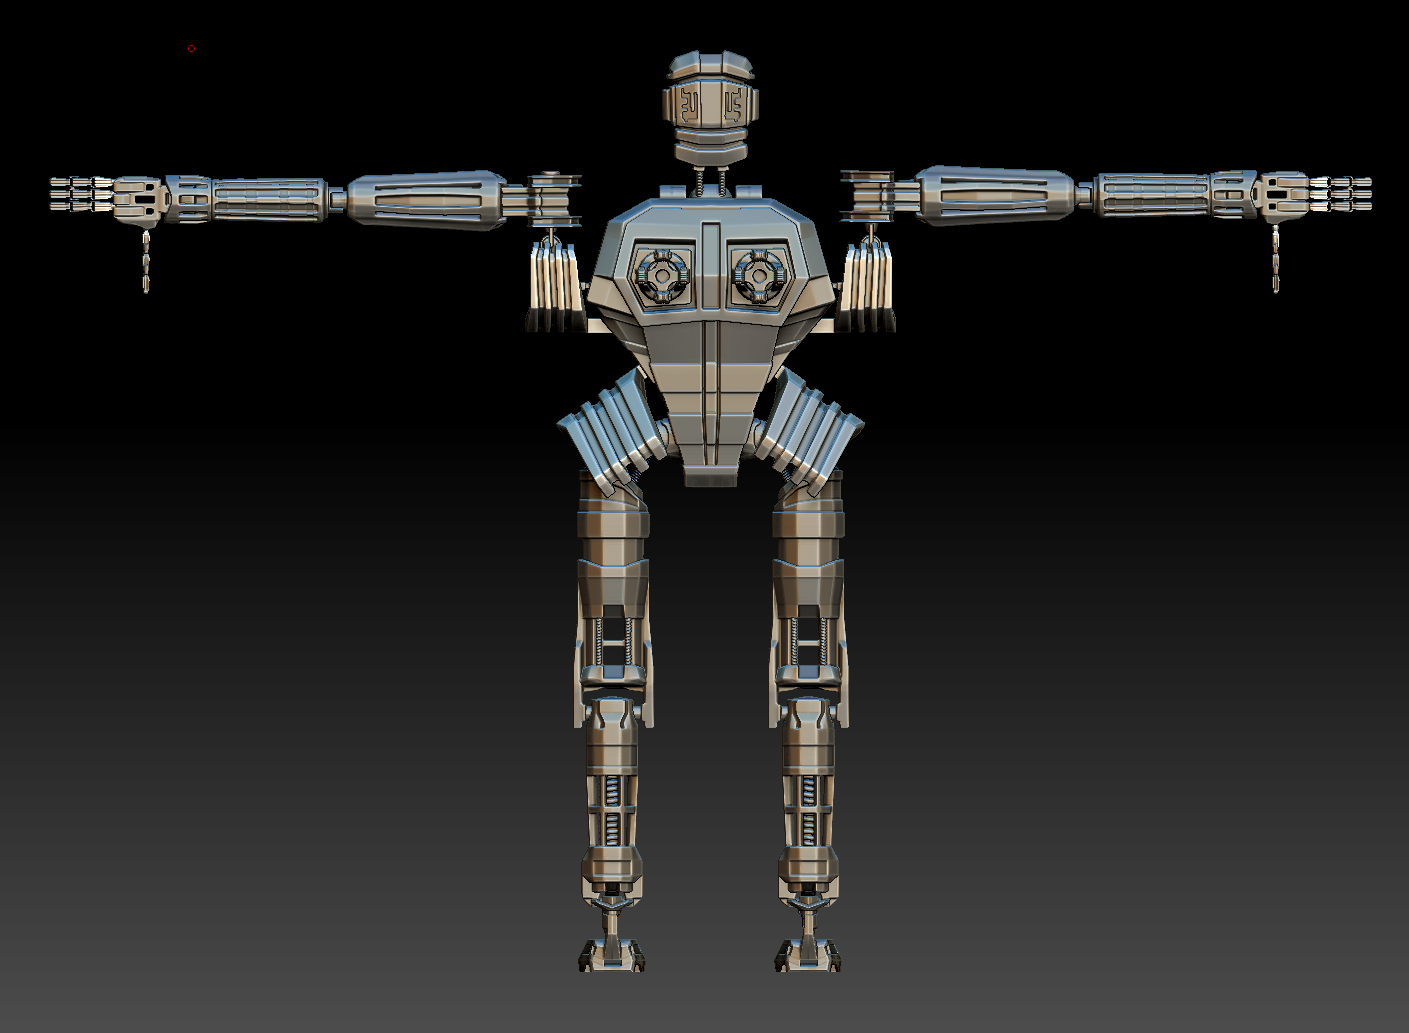
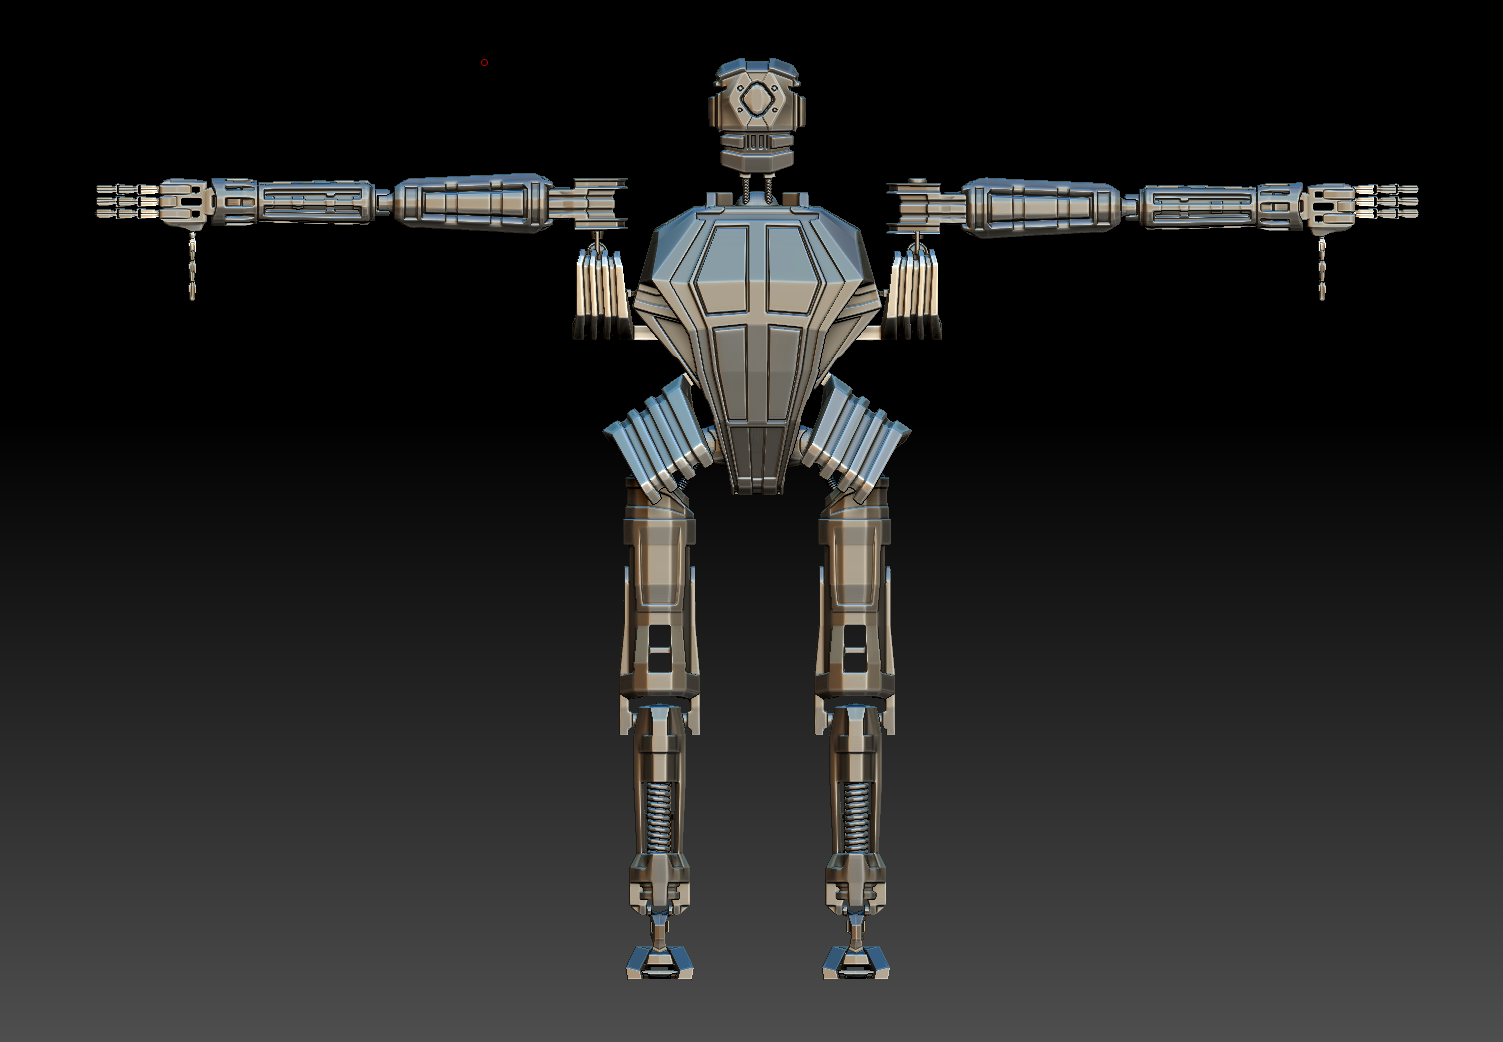
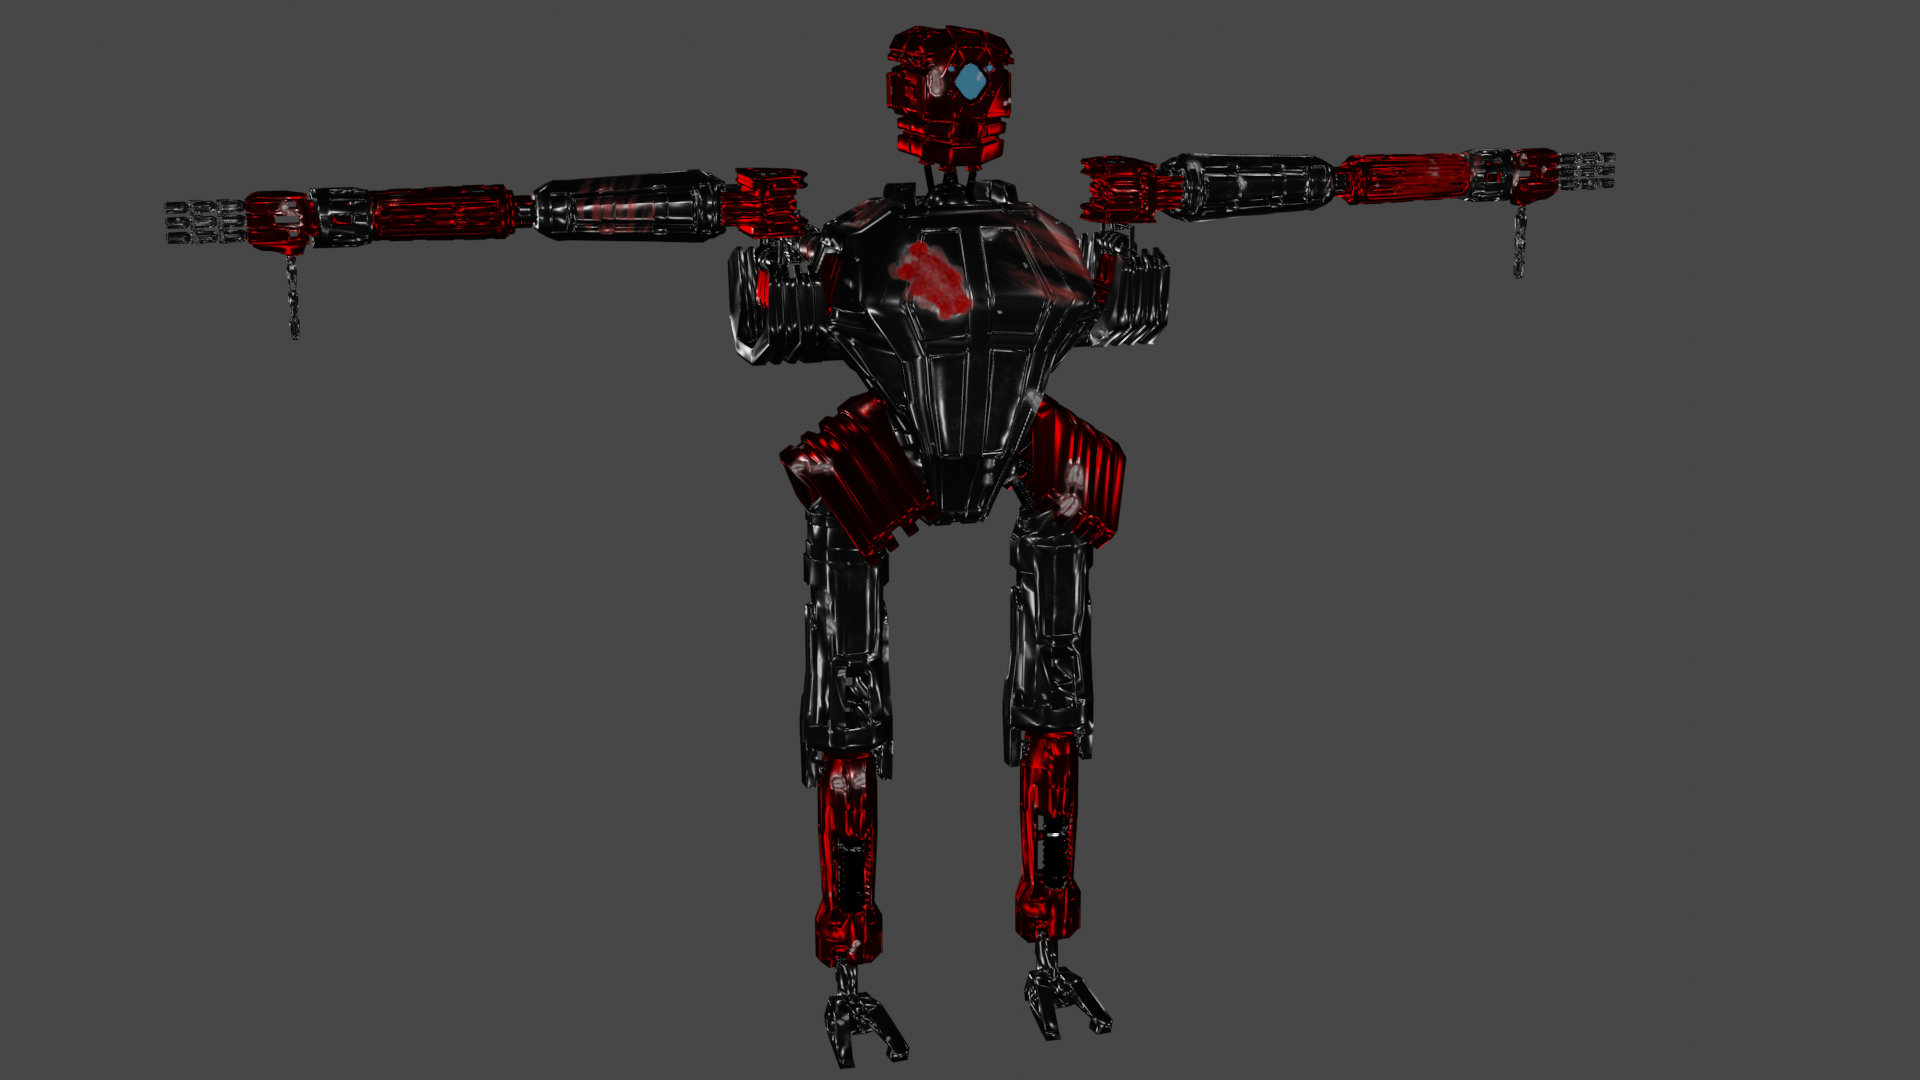
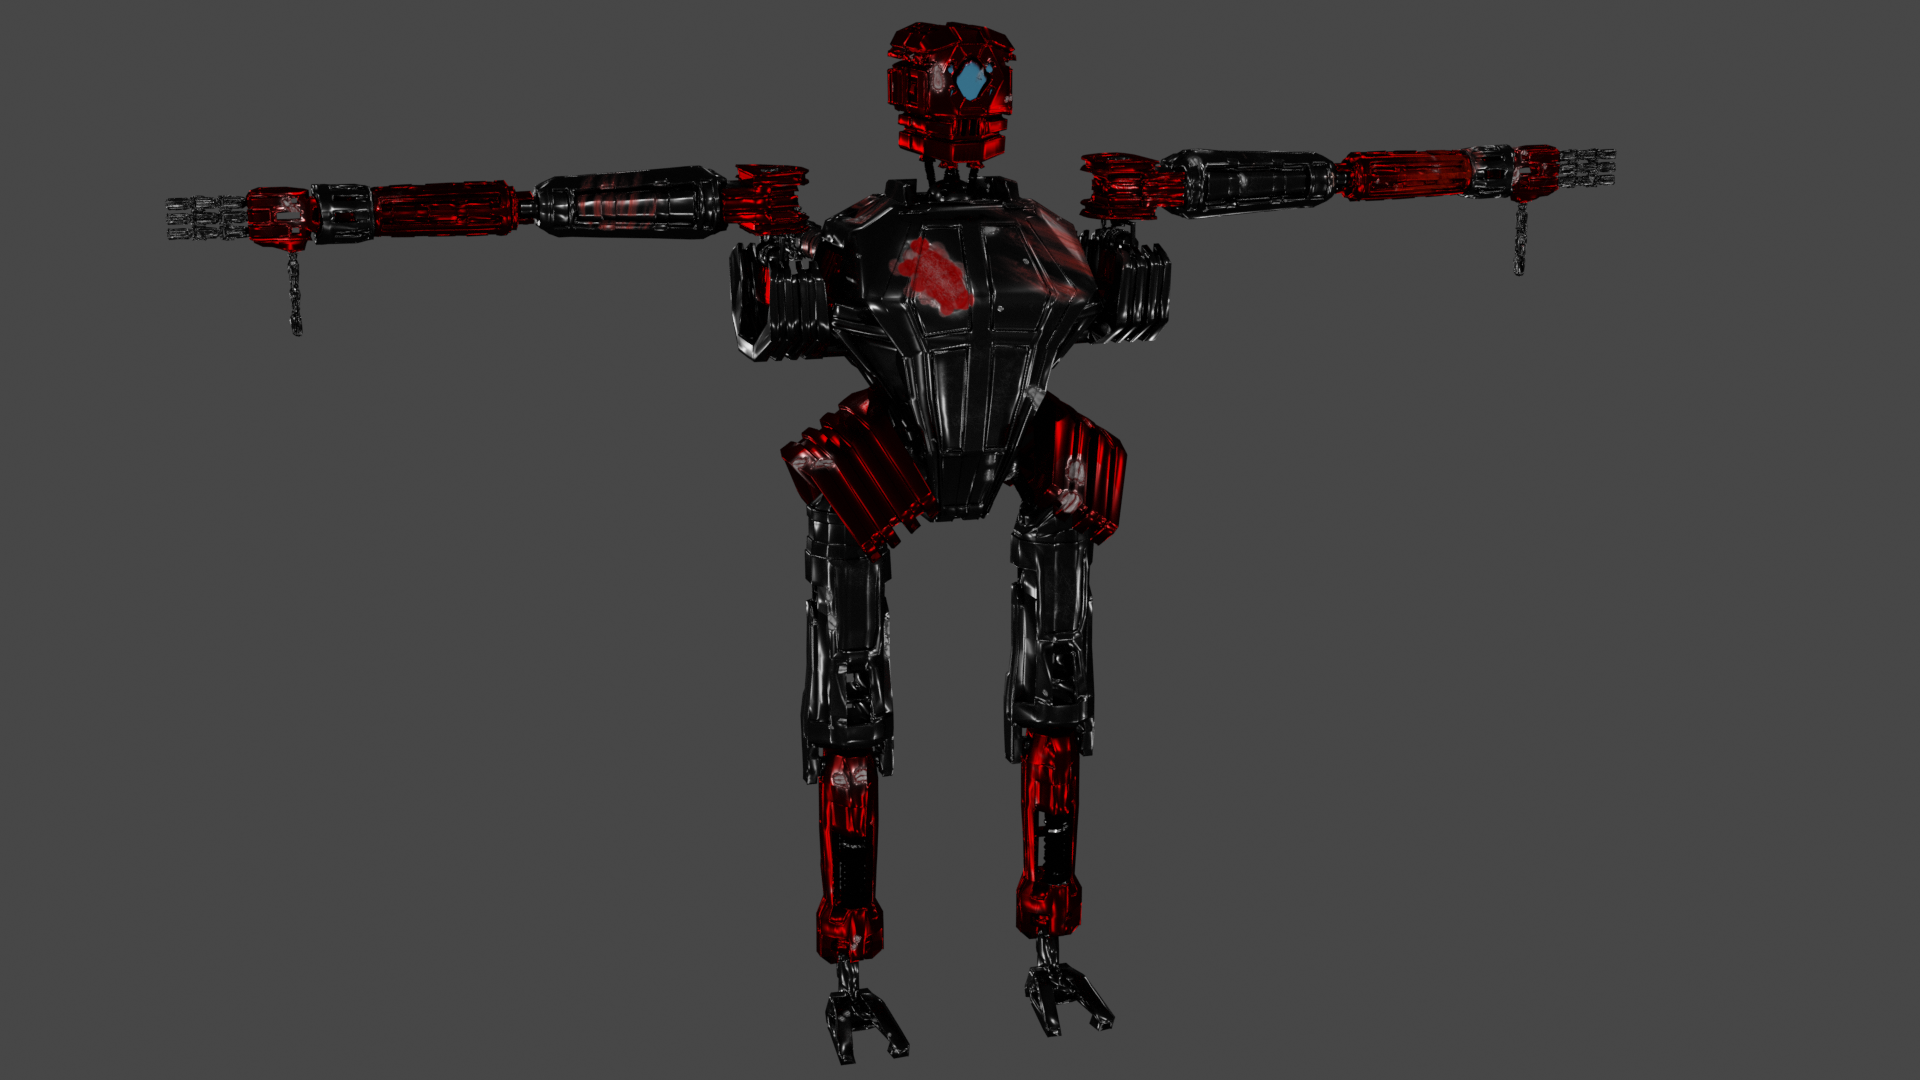
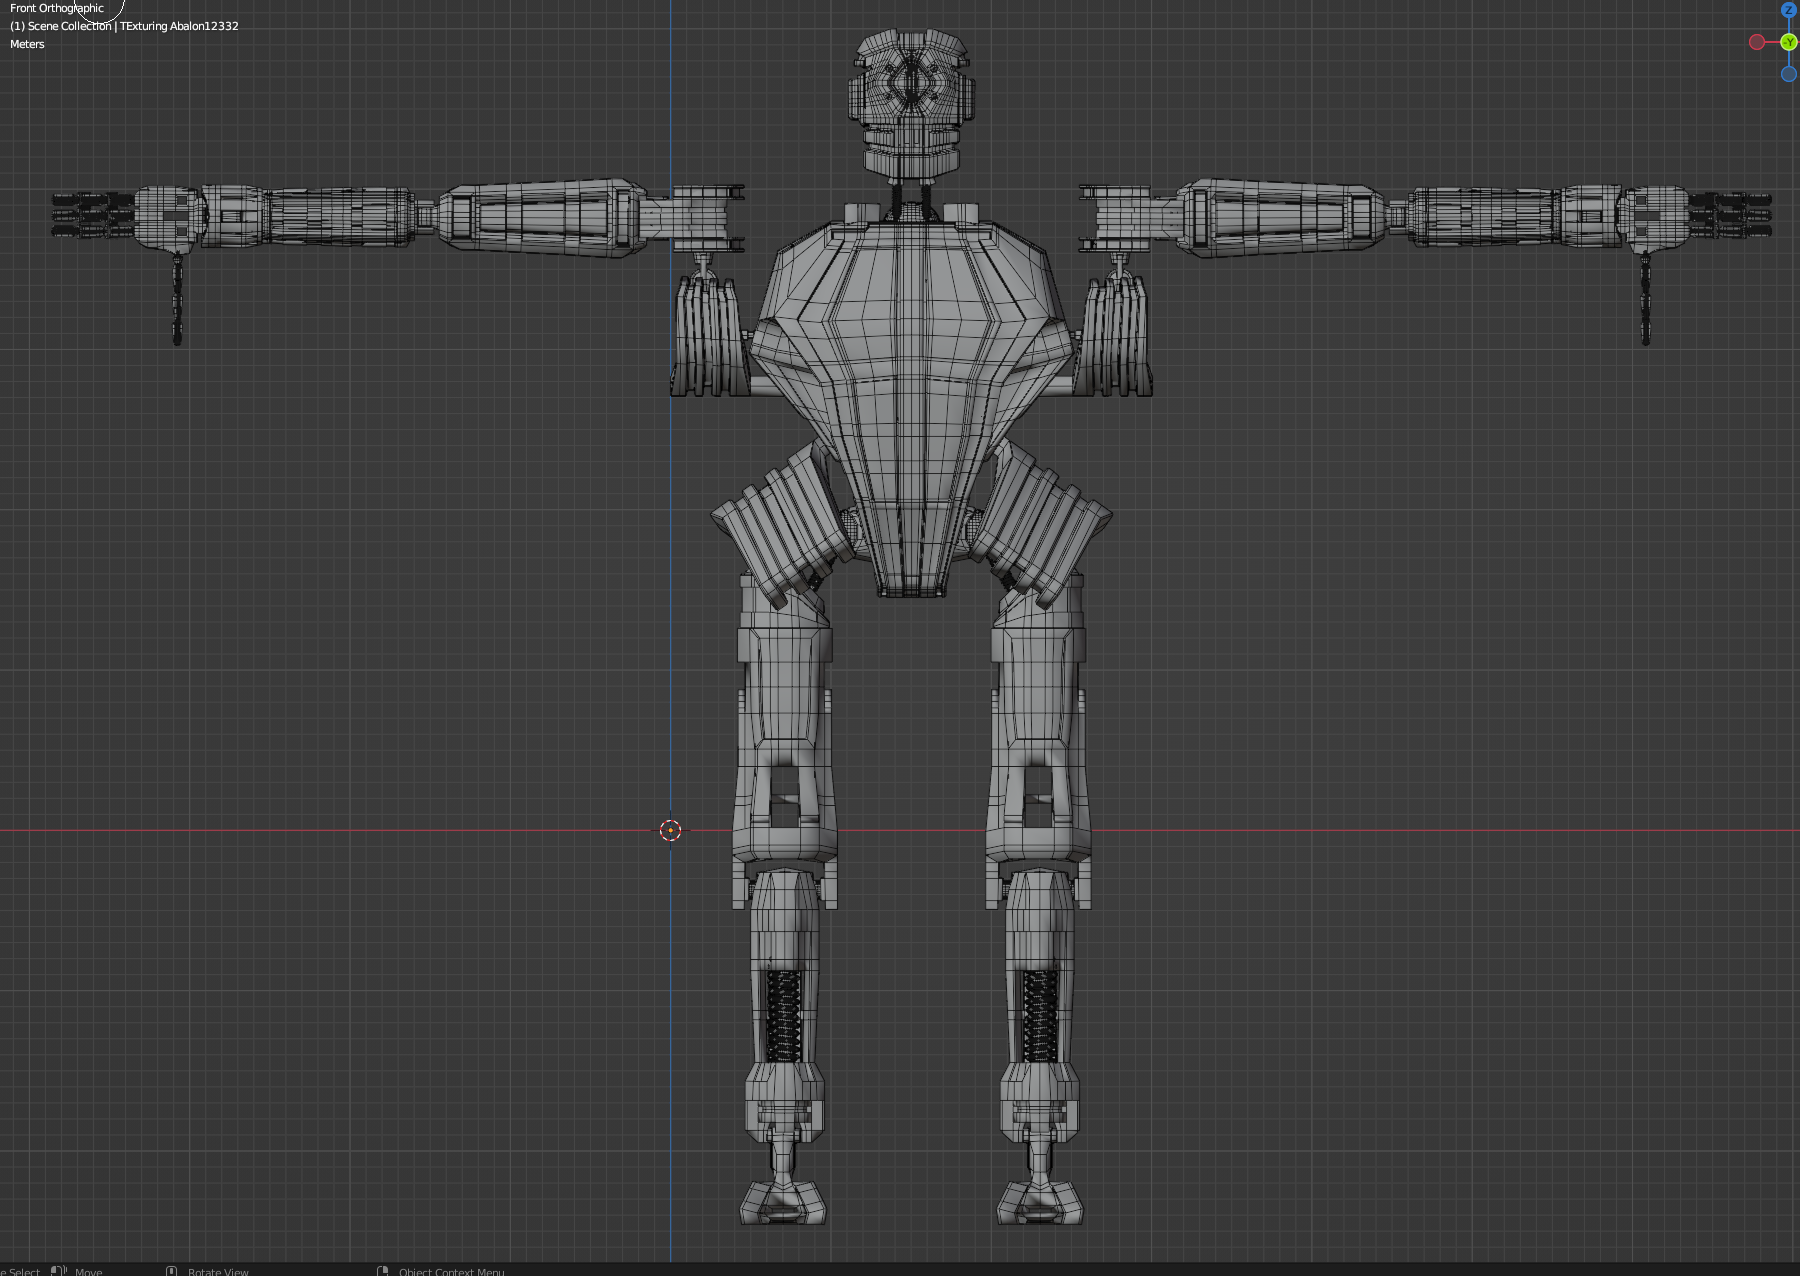
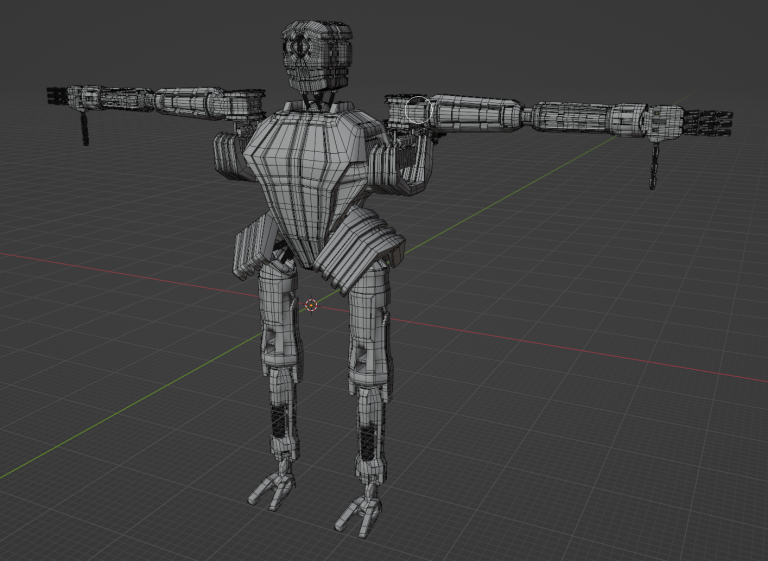
- Wireframe Front
-
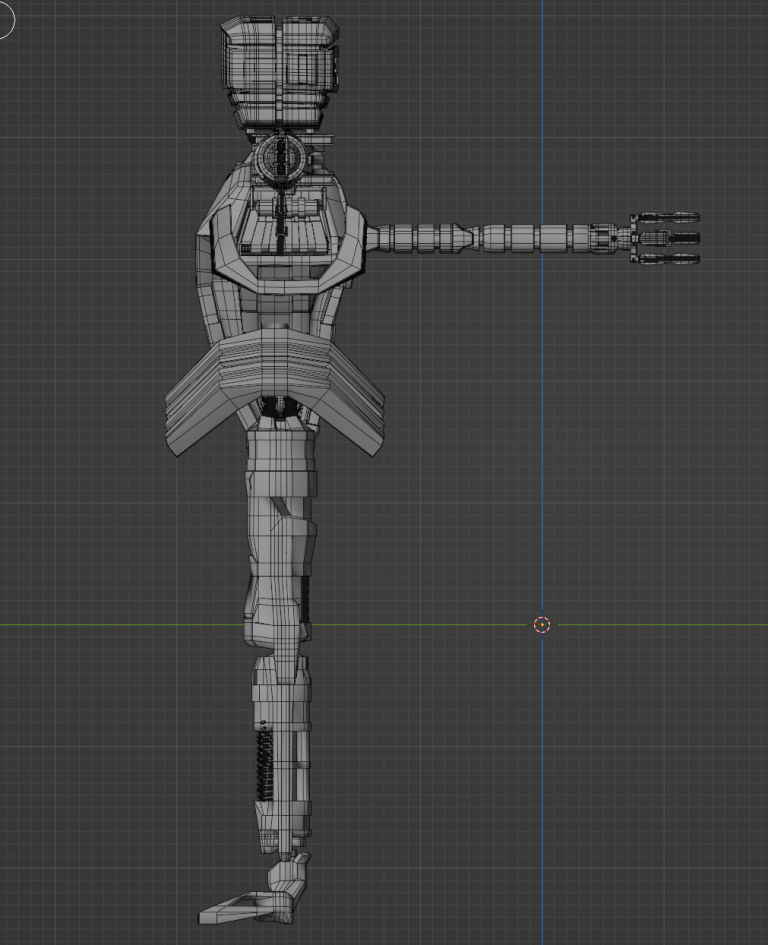
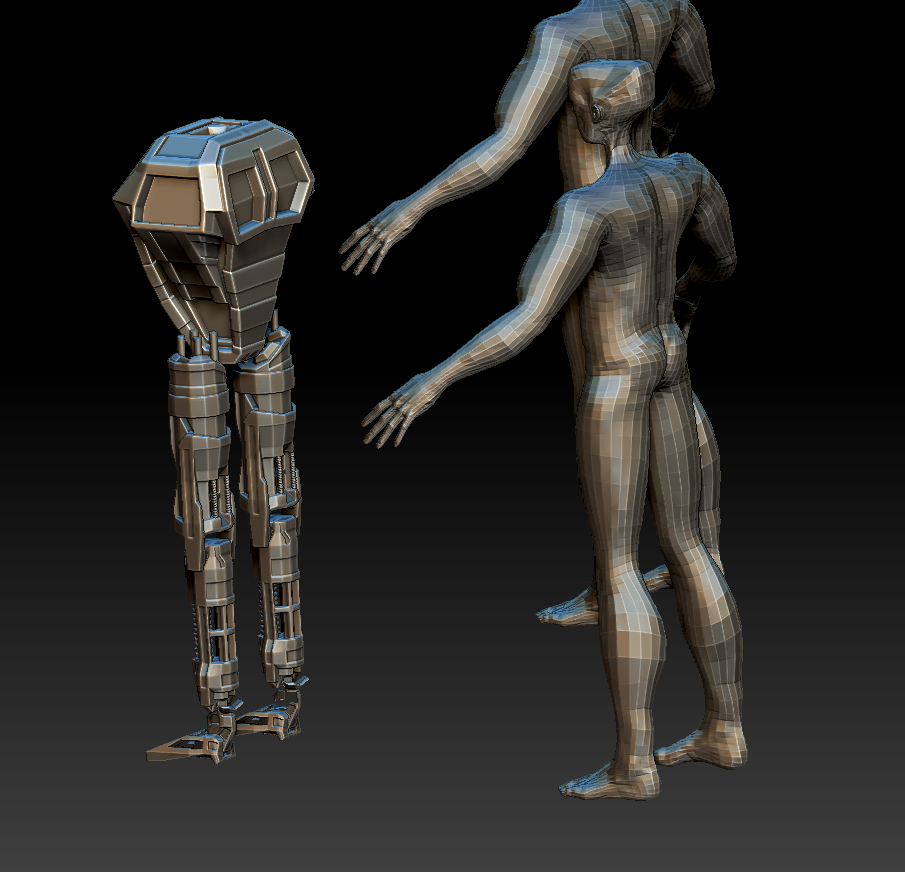
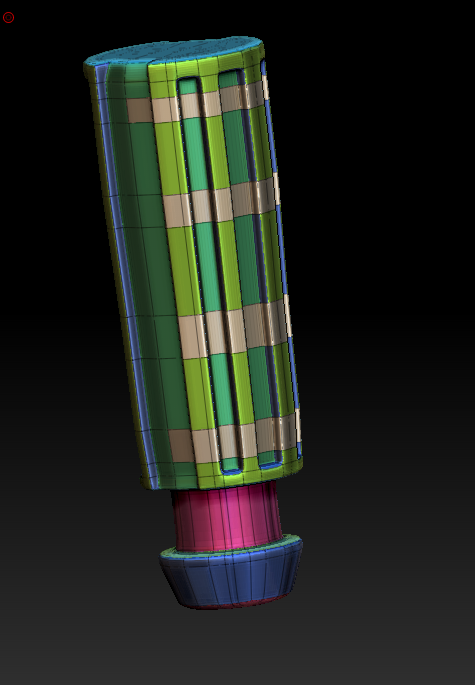
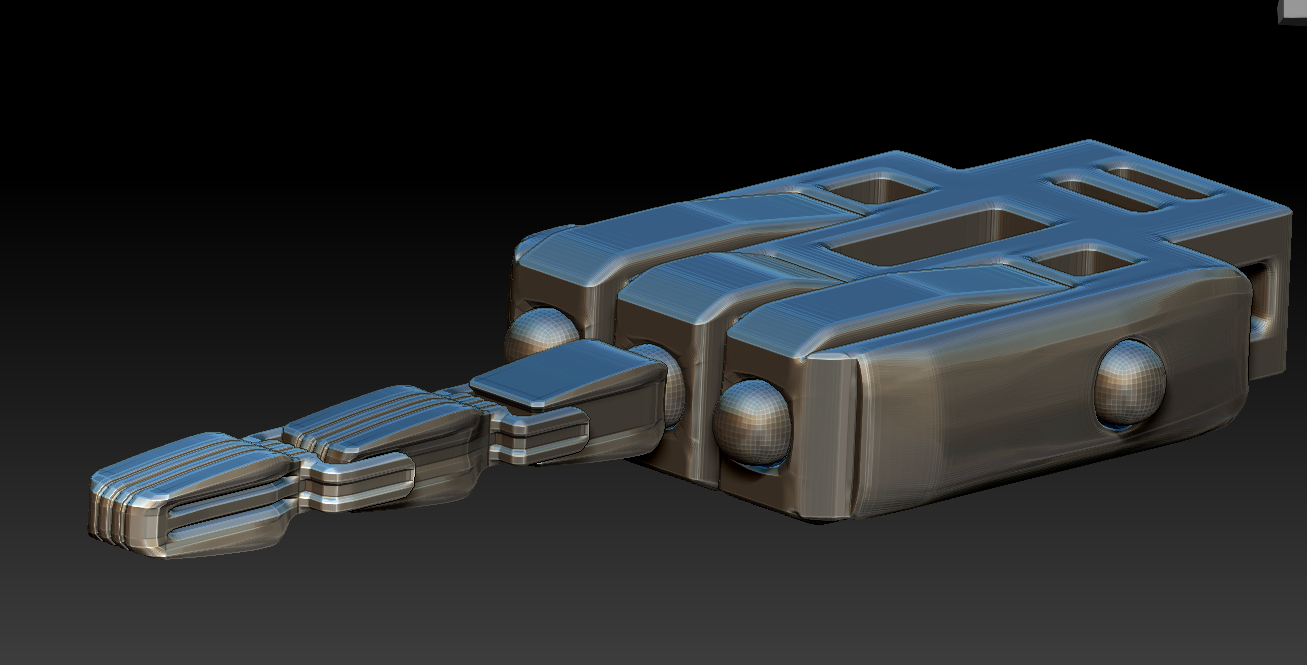
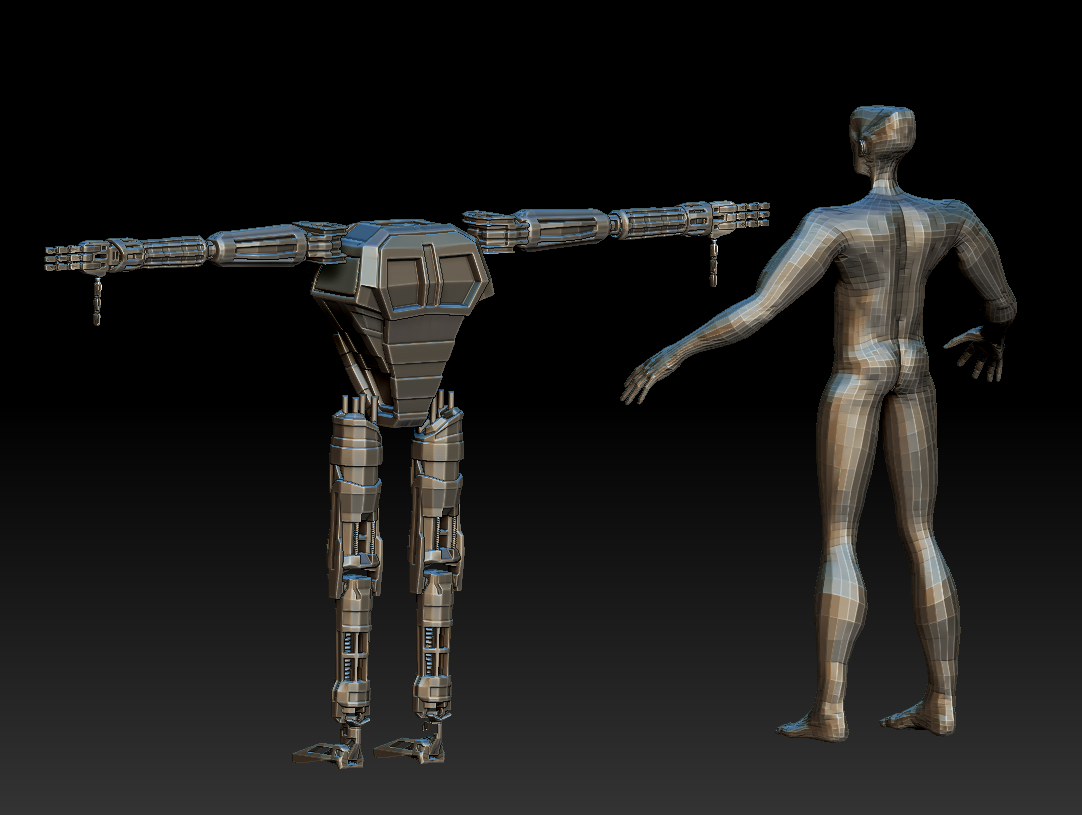
- Wireframe Side

-
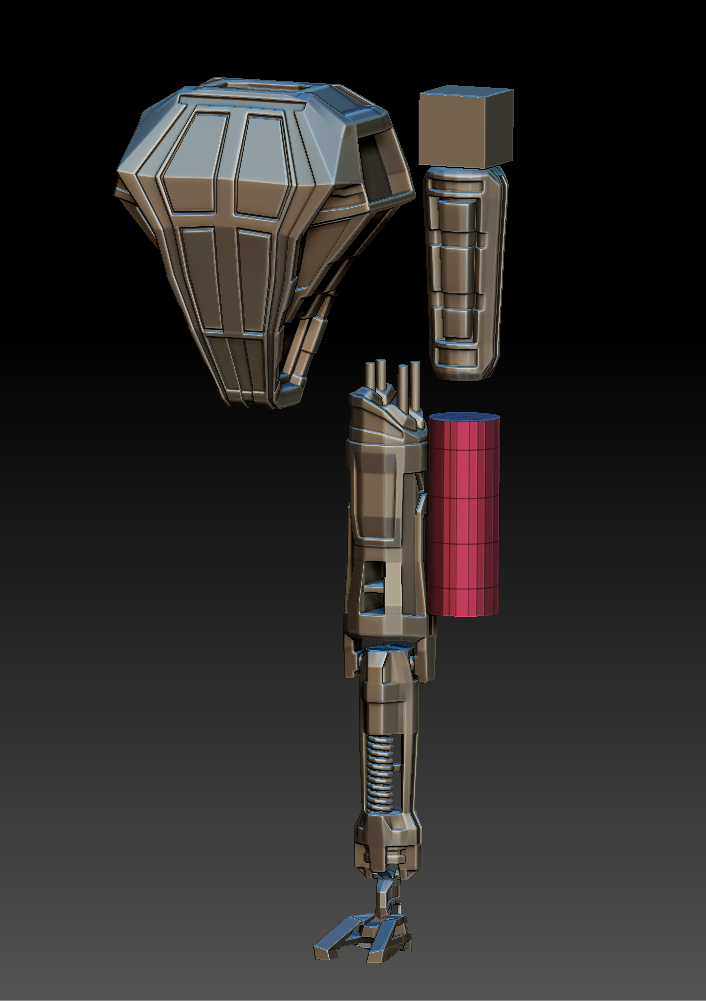
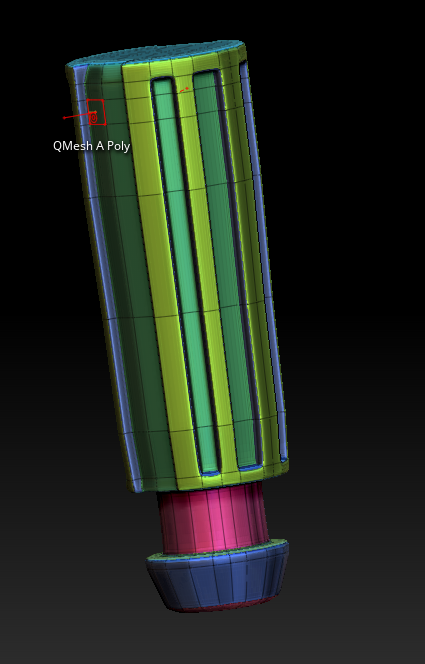
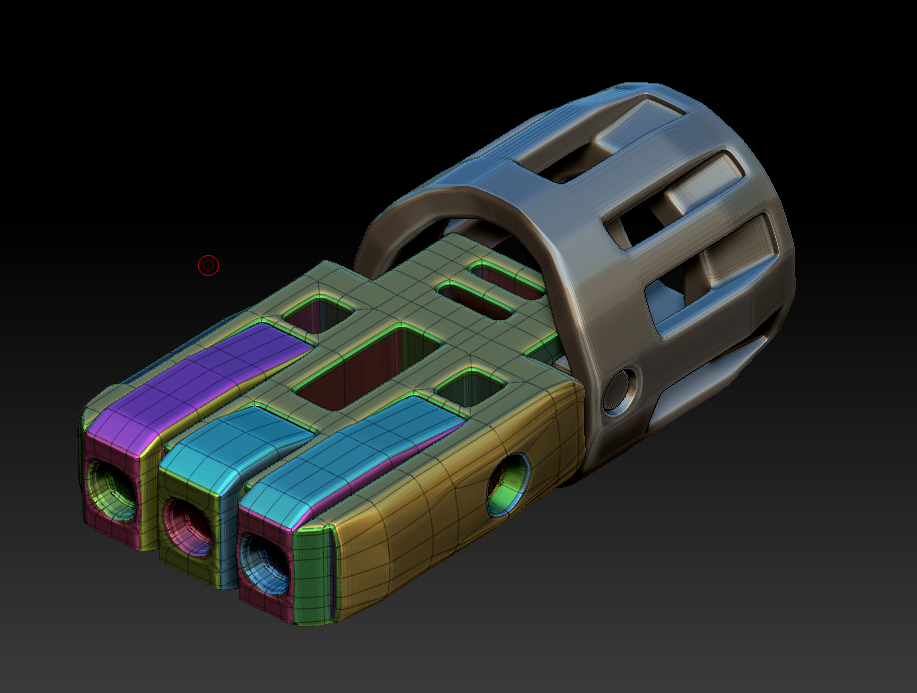
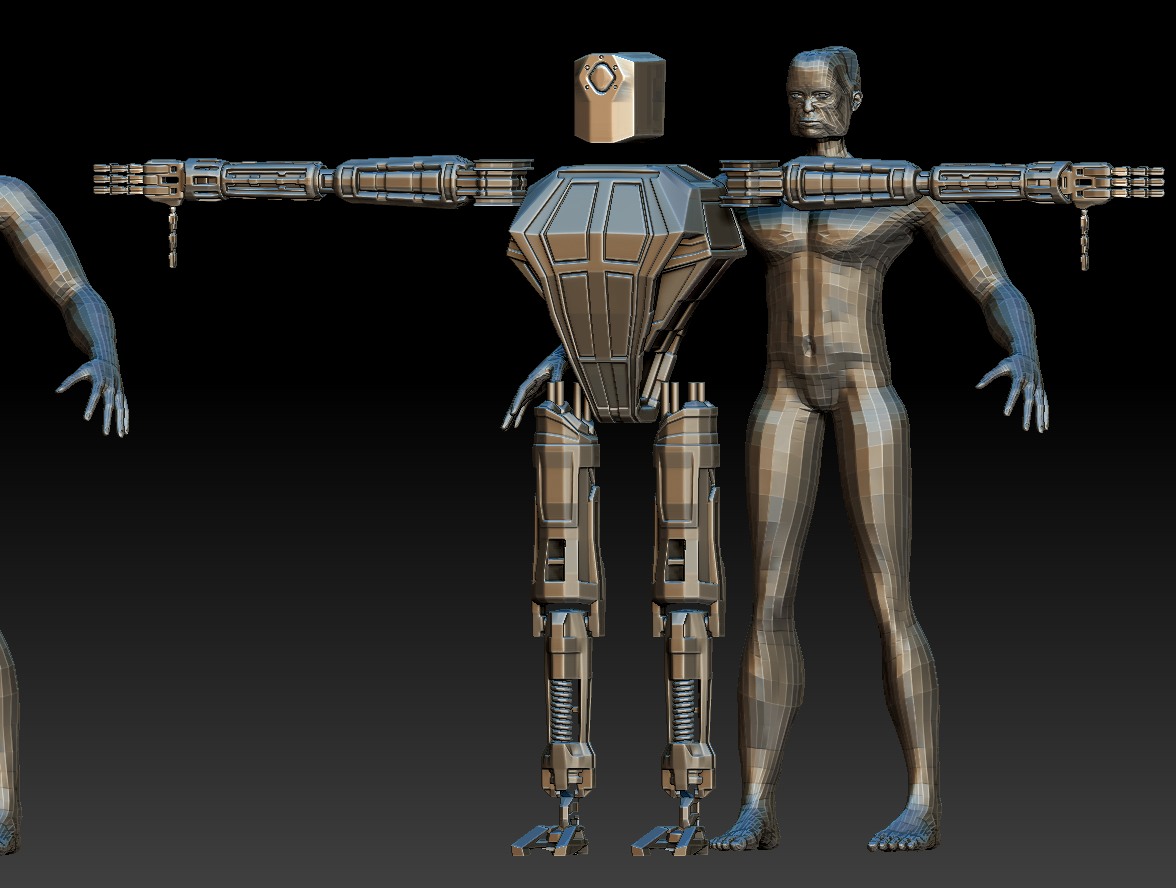
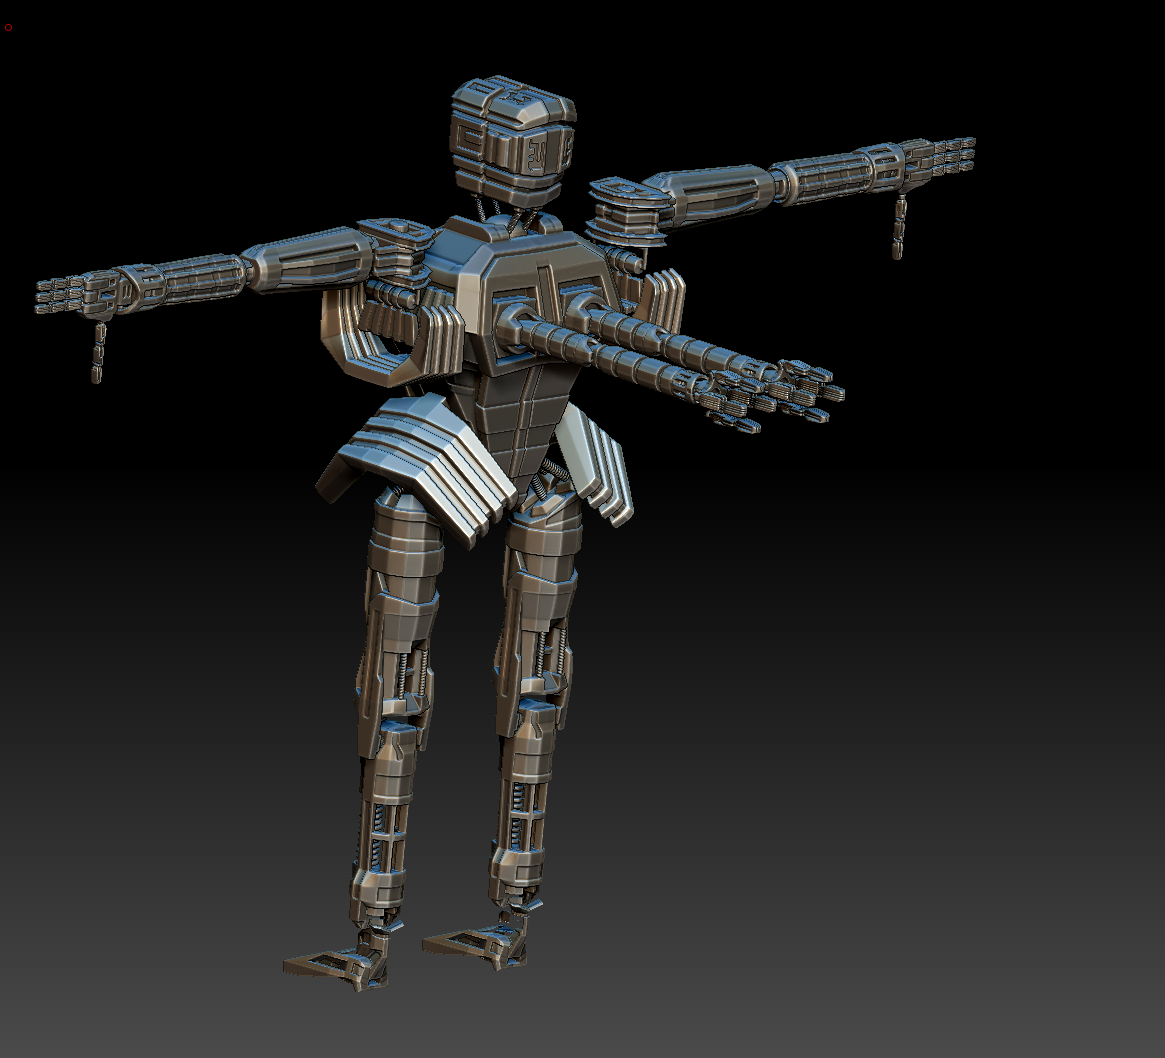
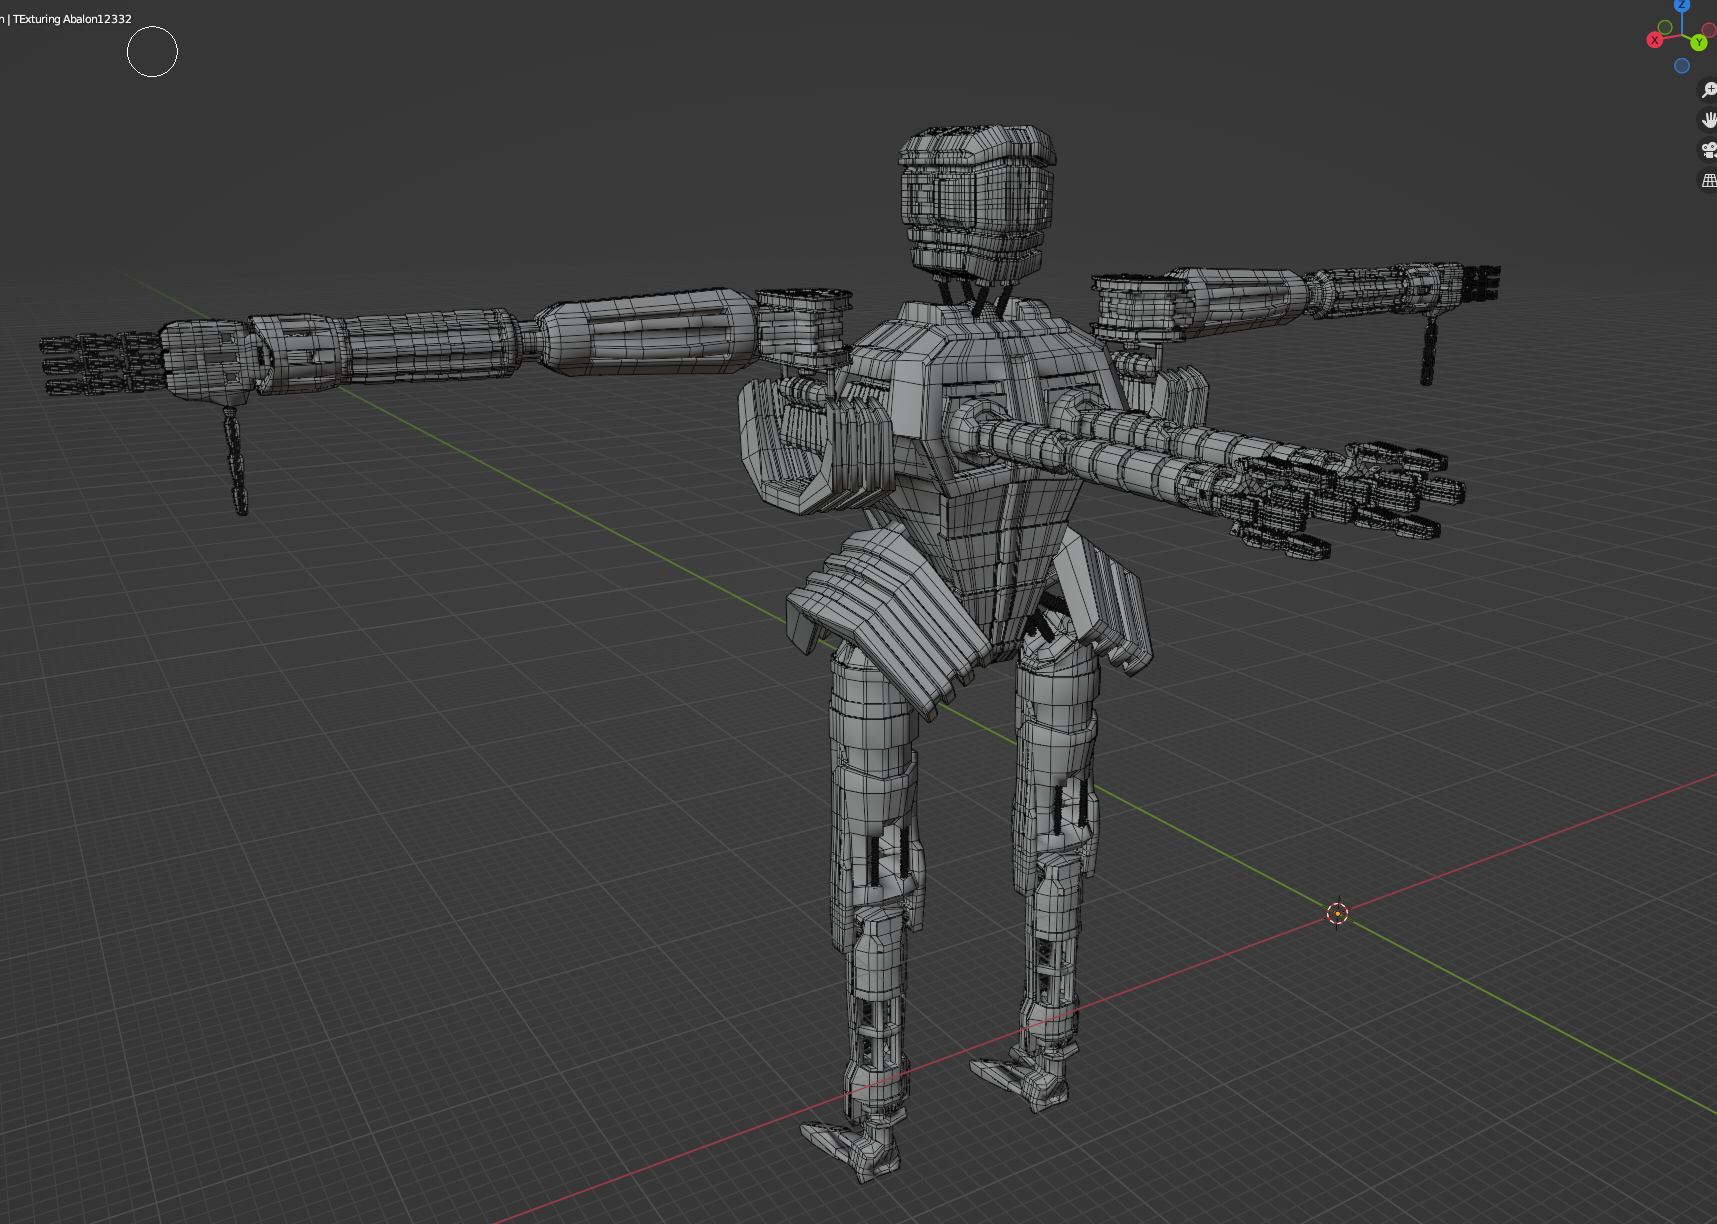
- Wireframe Front Tilted

-

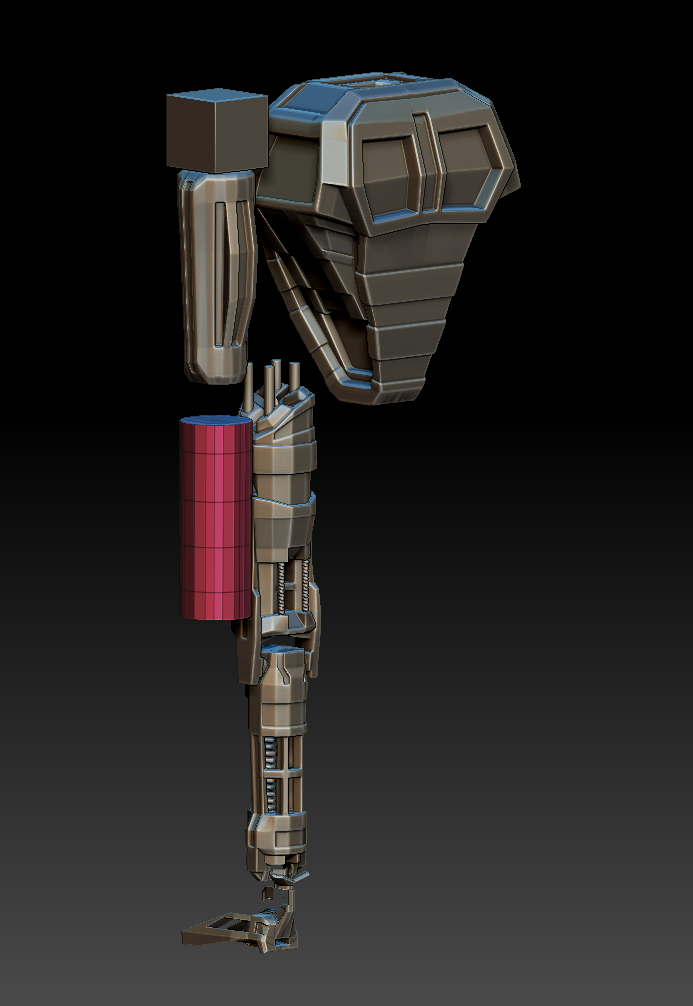
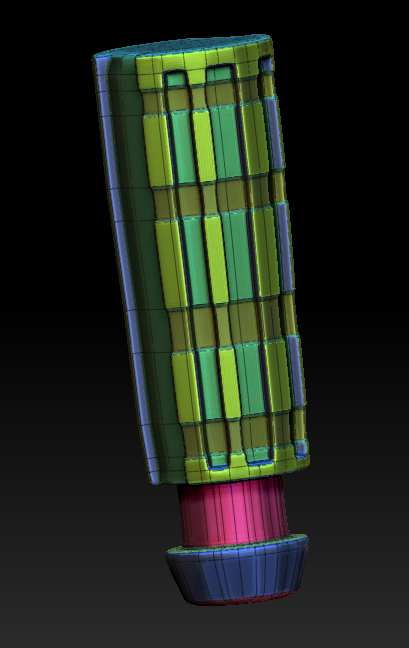
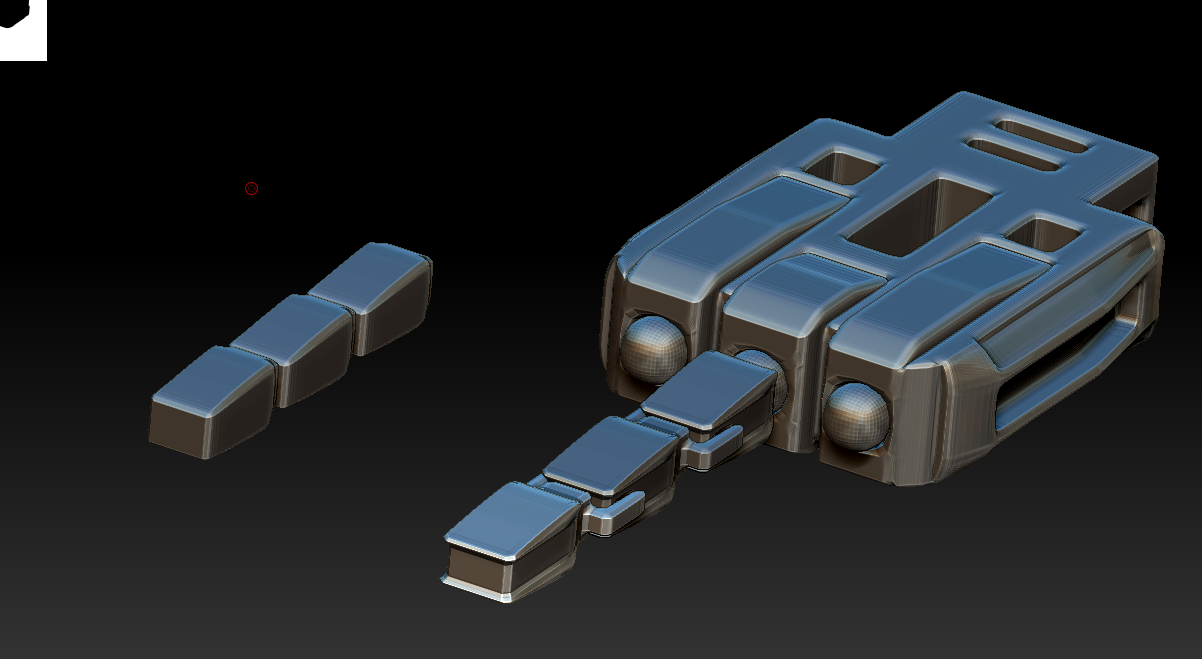
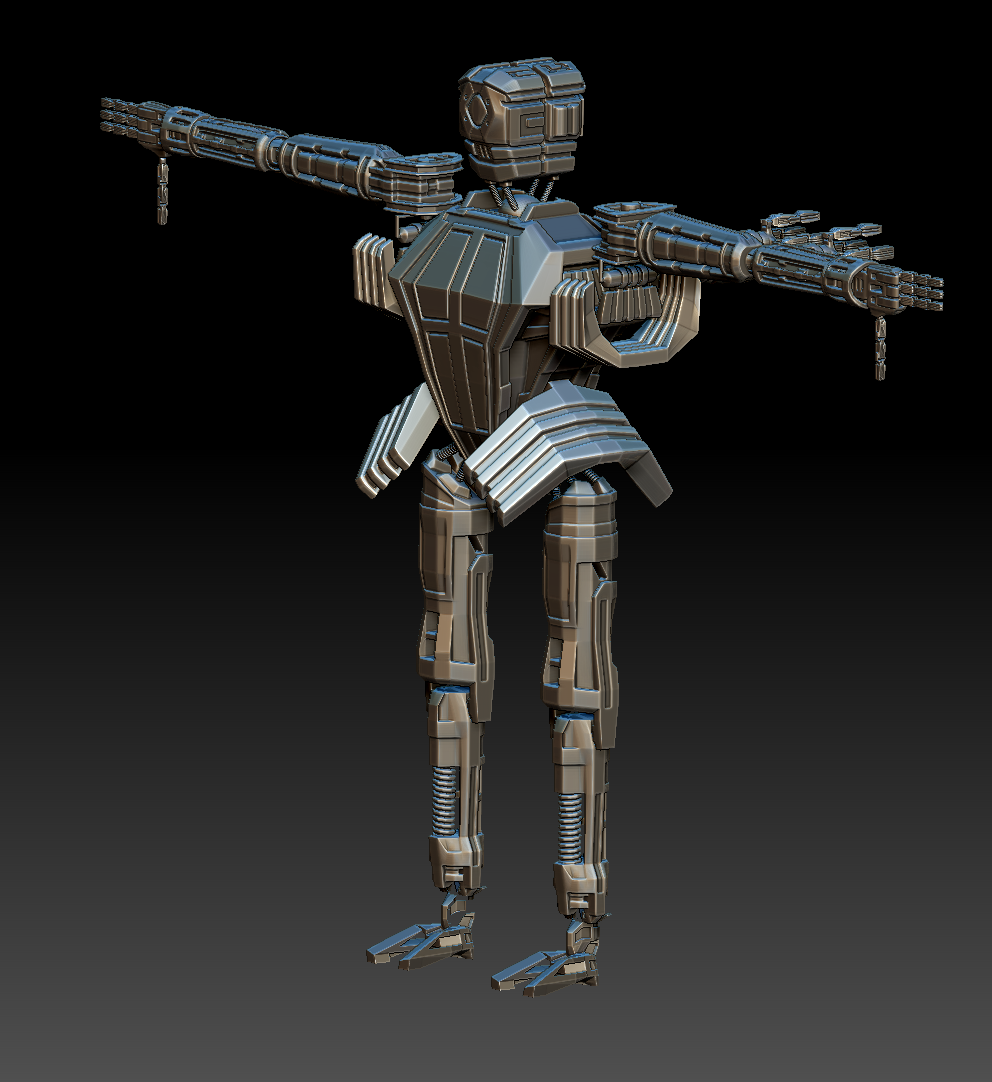
- Wireframe Rear TIlted
-

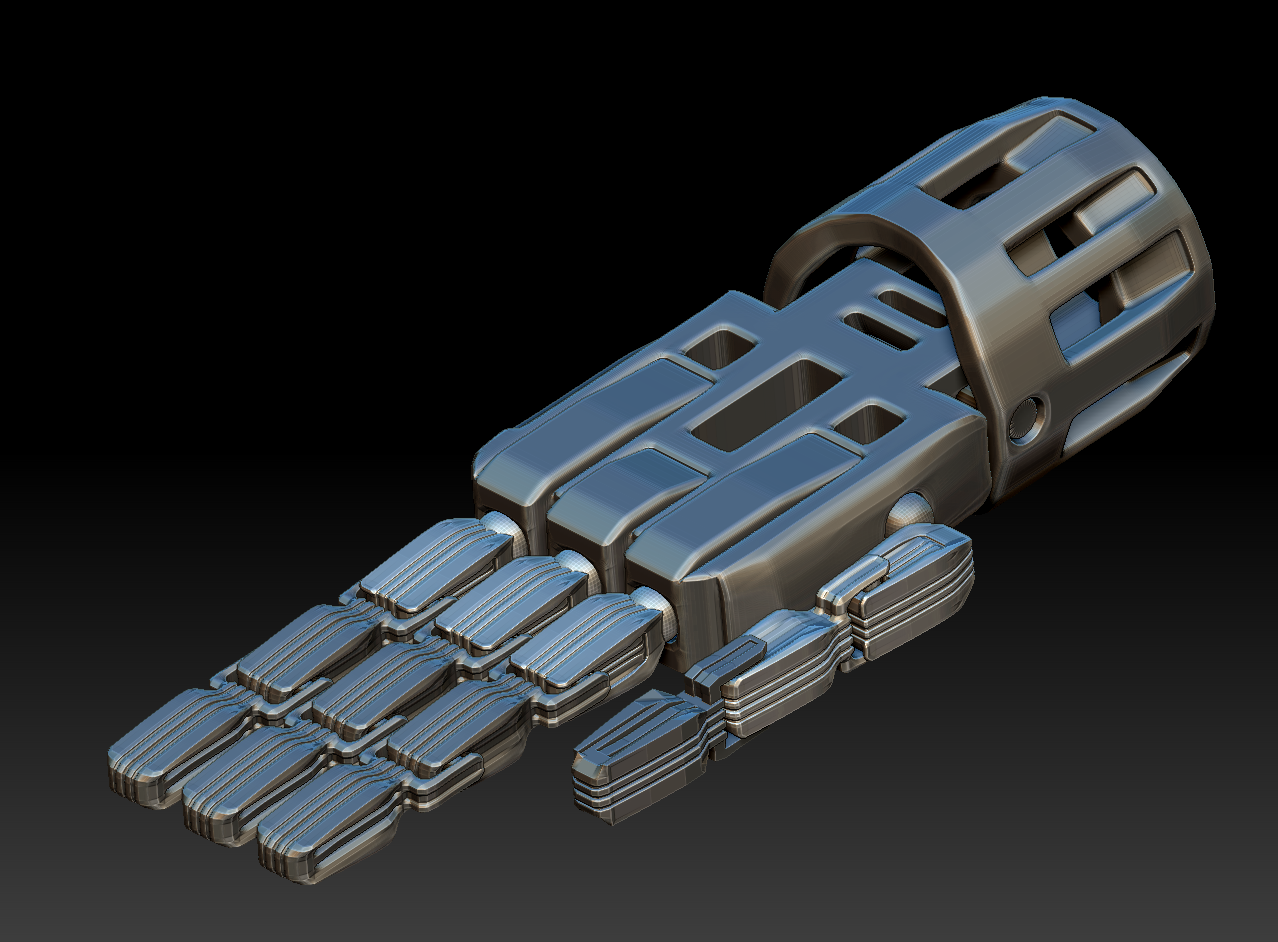
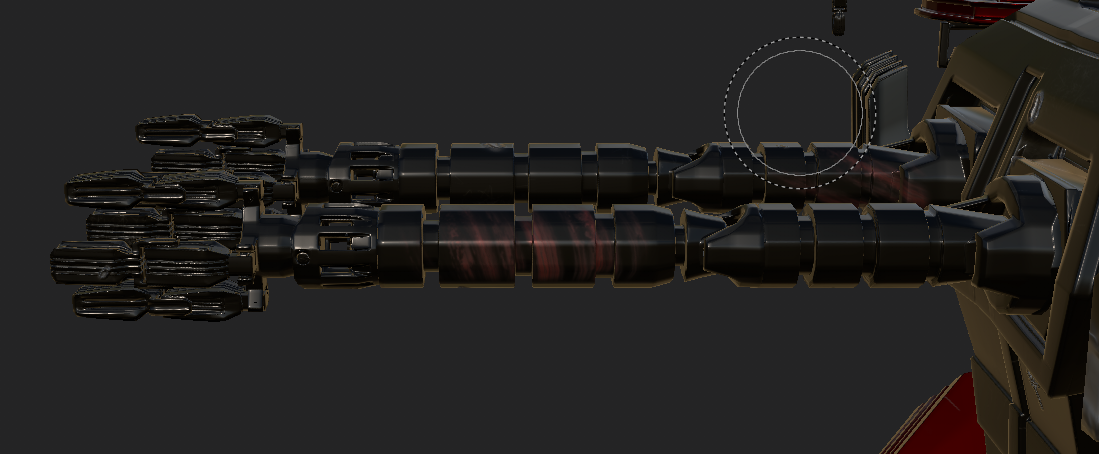
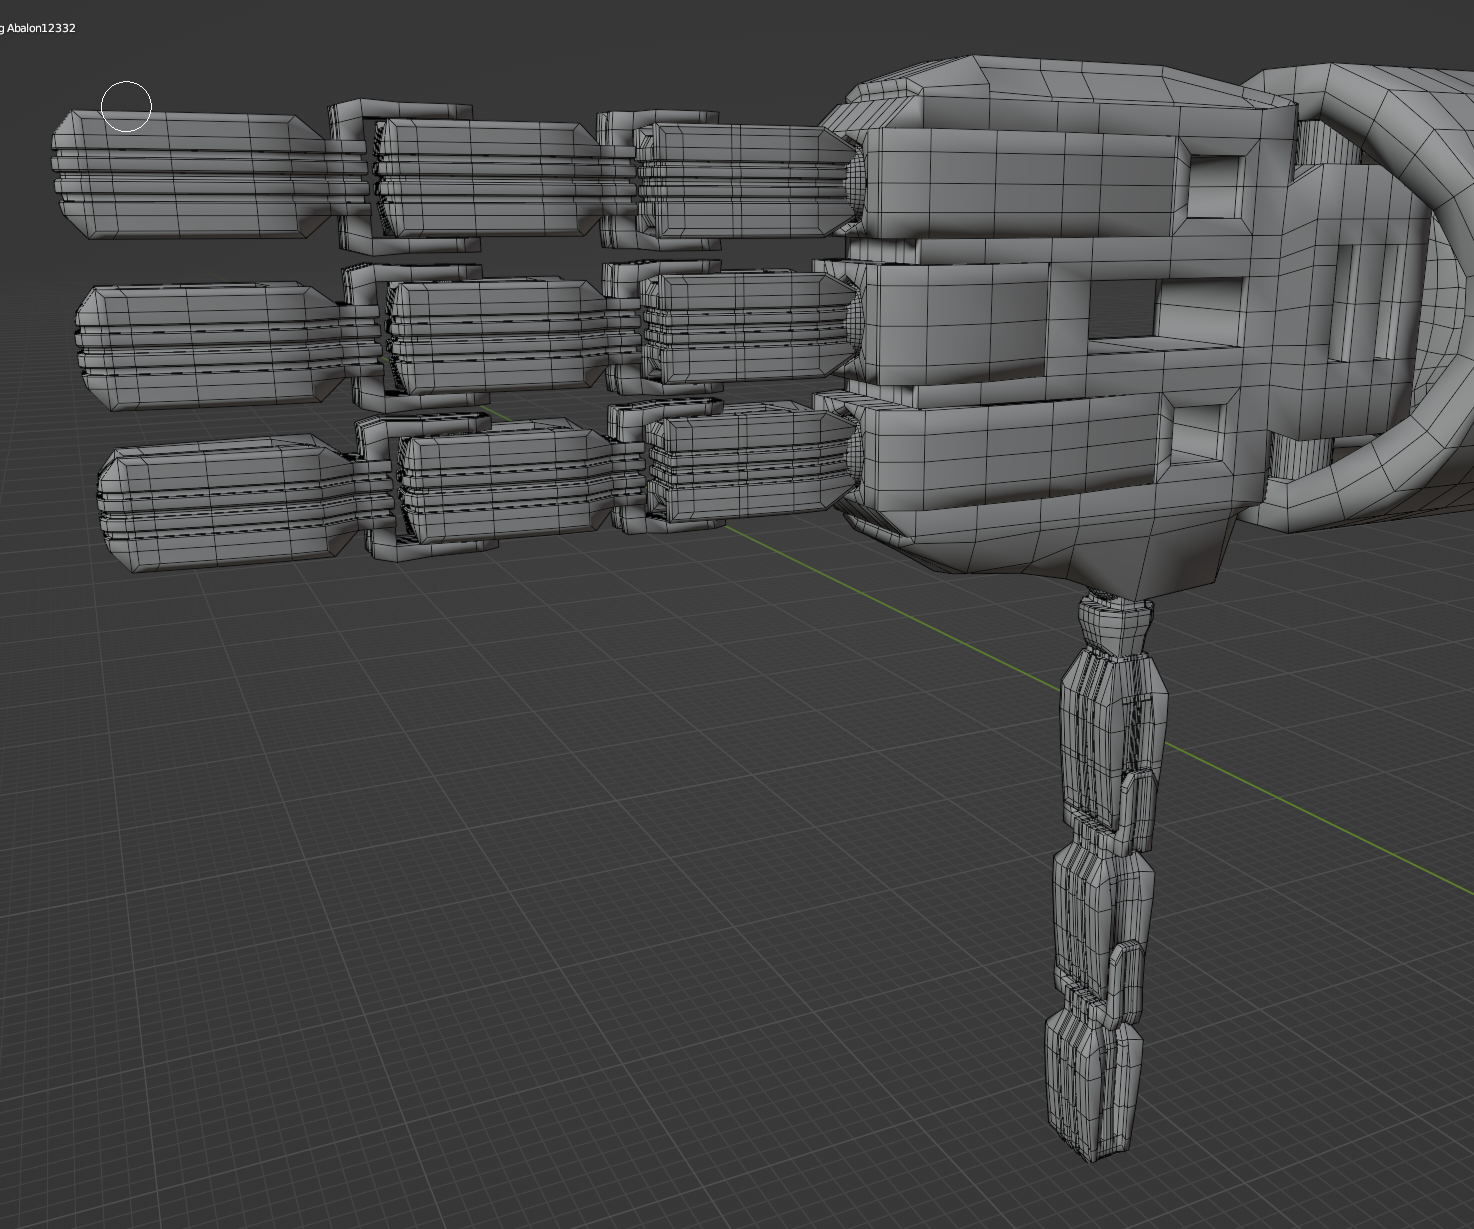
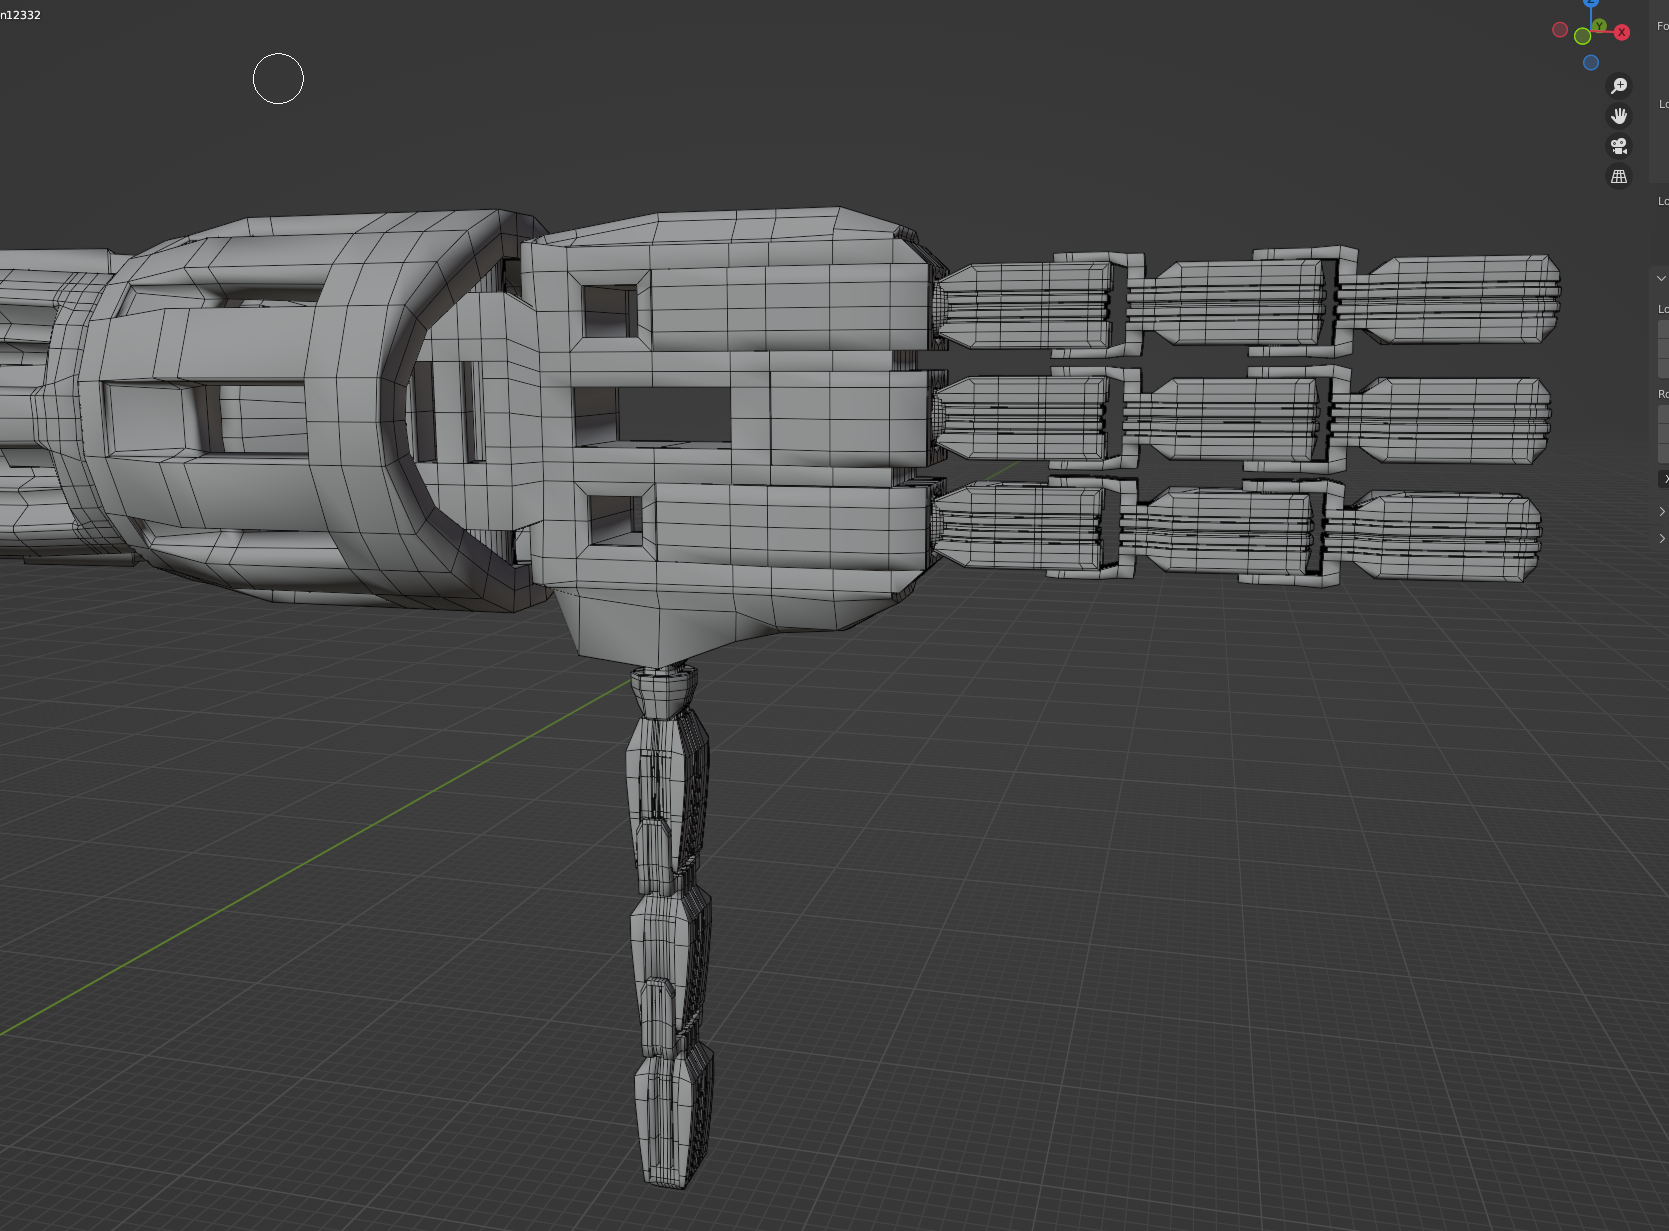
- Wireframe Hand Rear
-
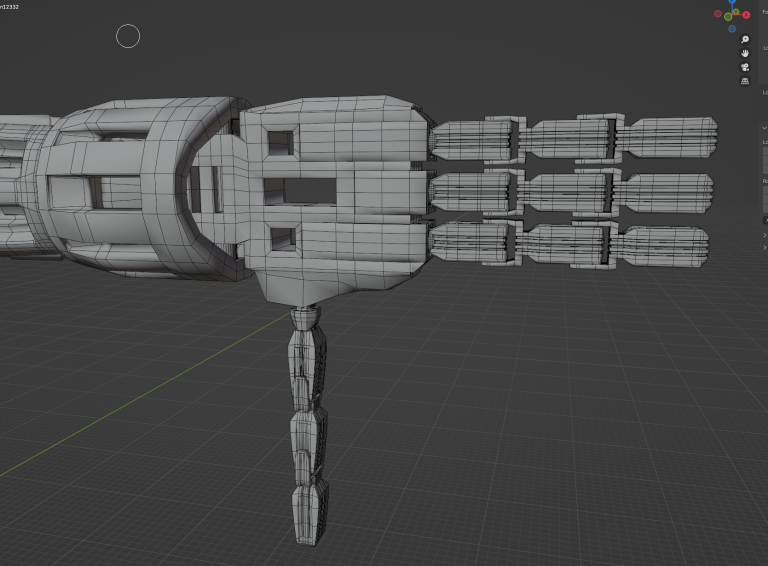
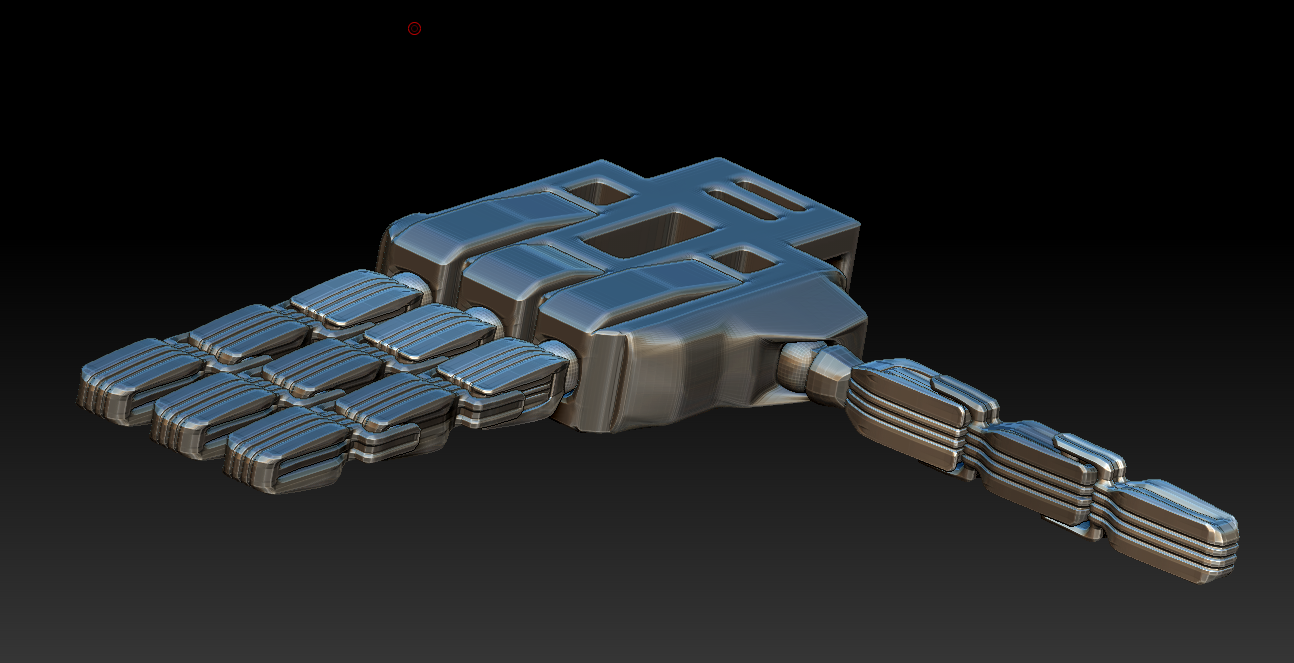
- Wireframe Hand Front
-
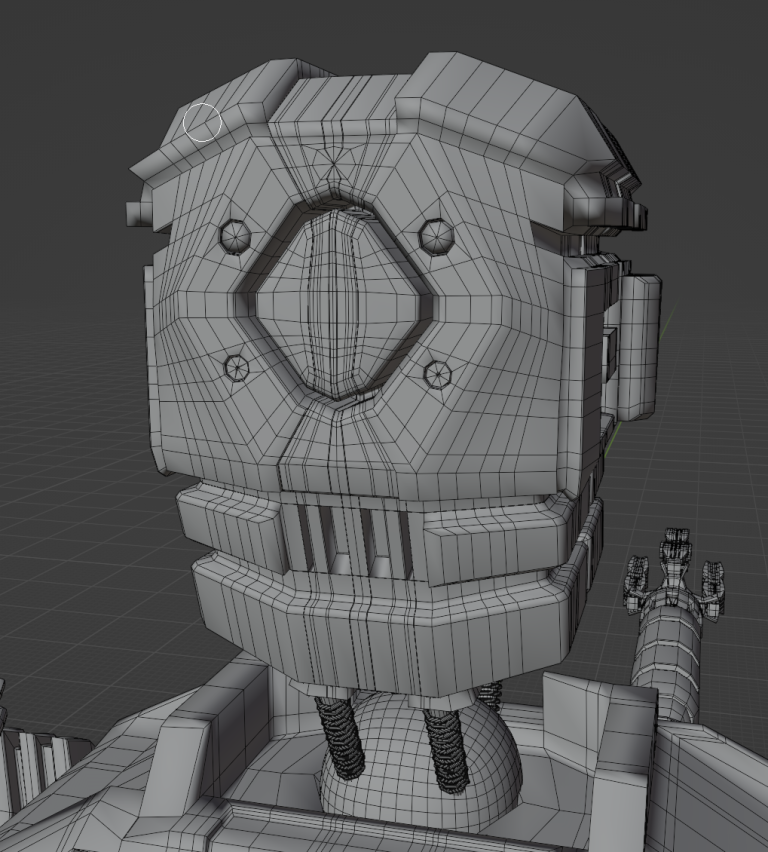
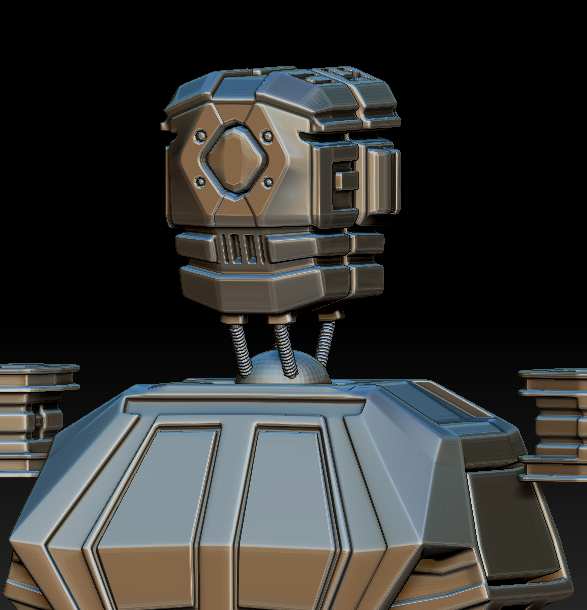
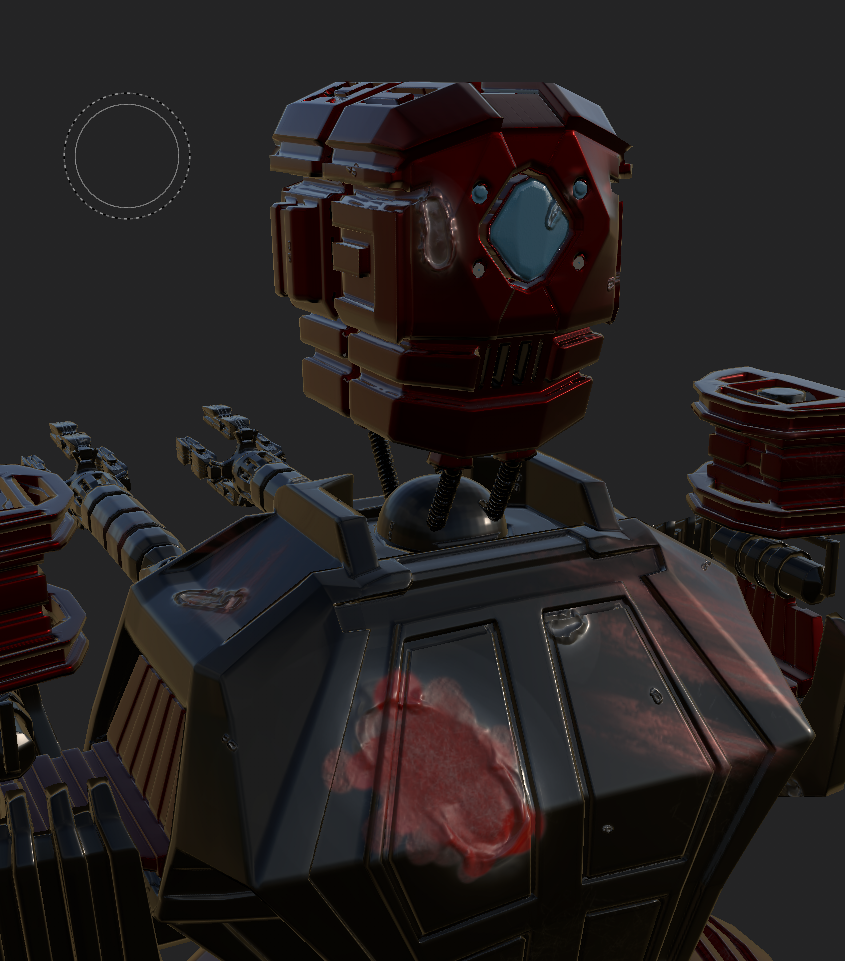
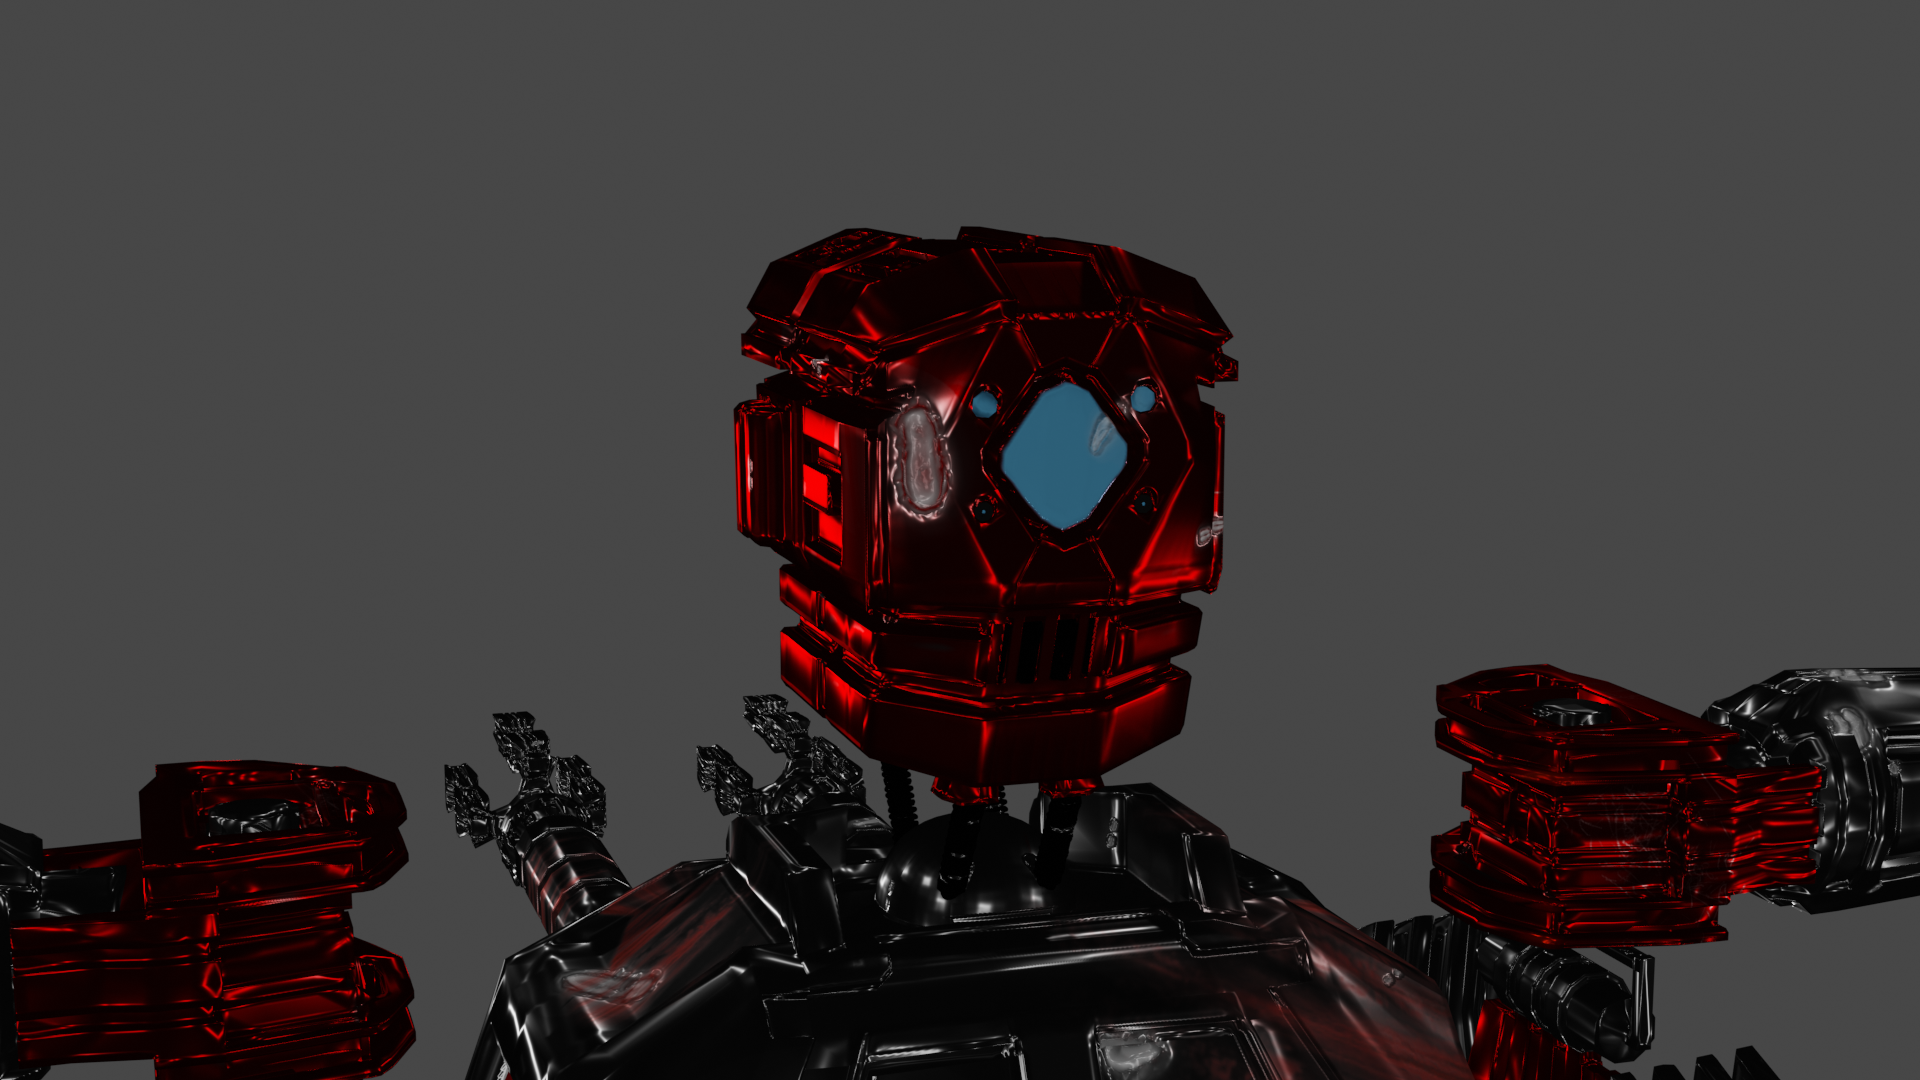
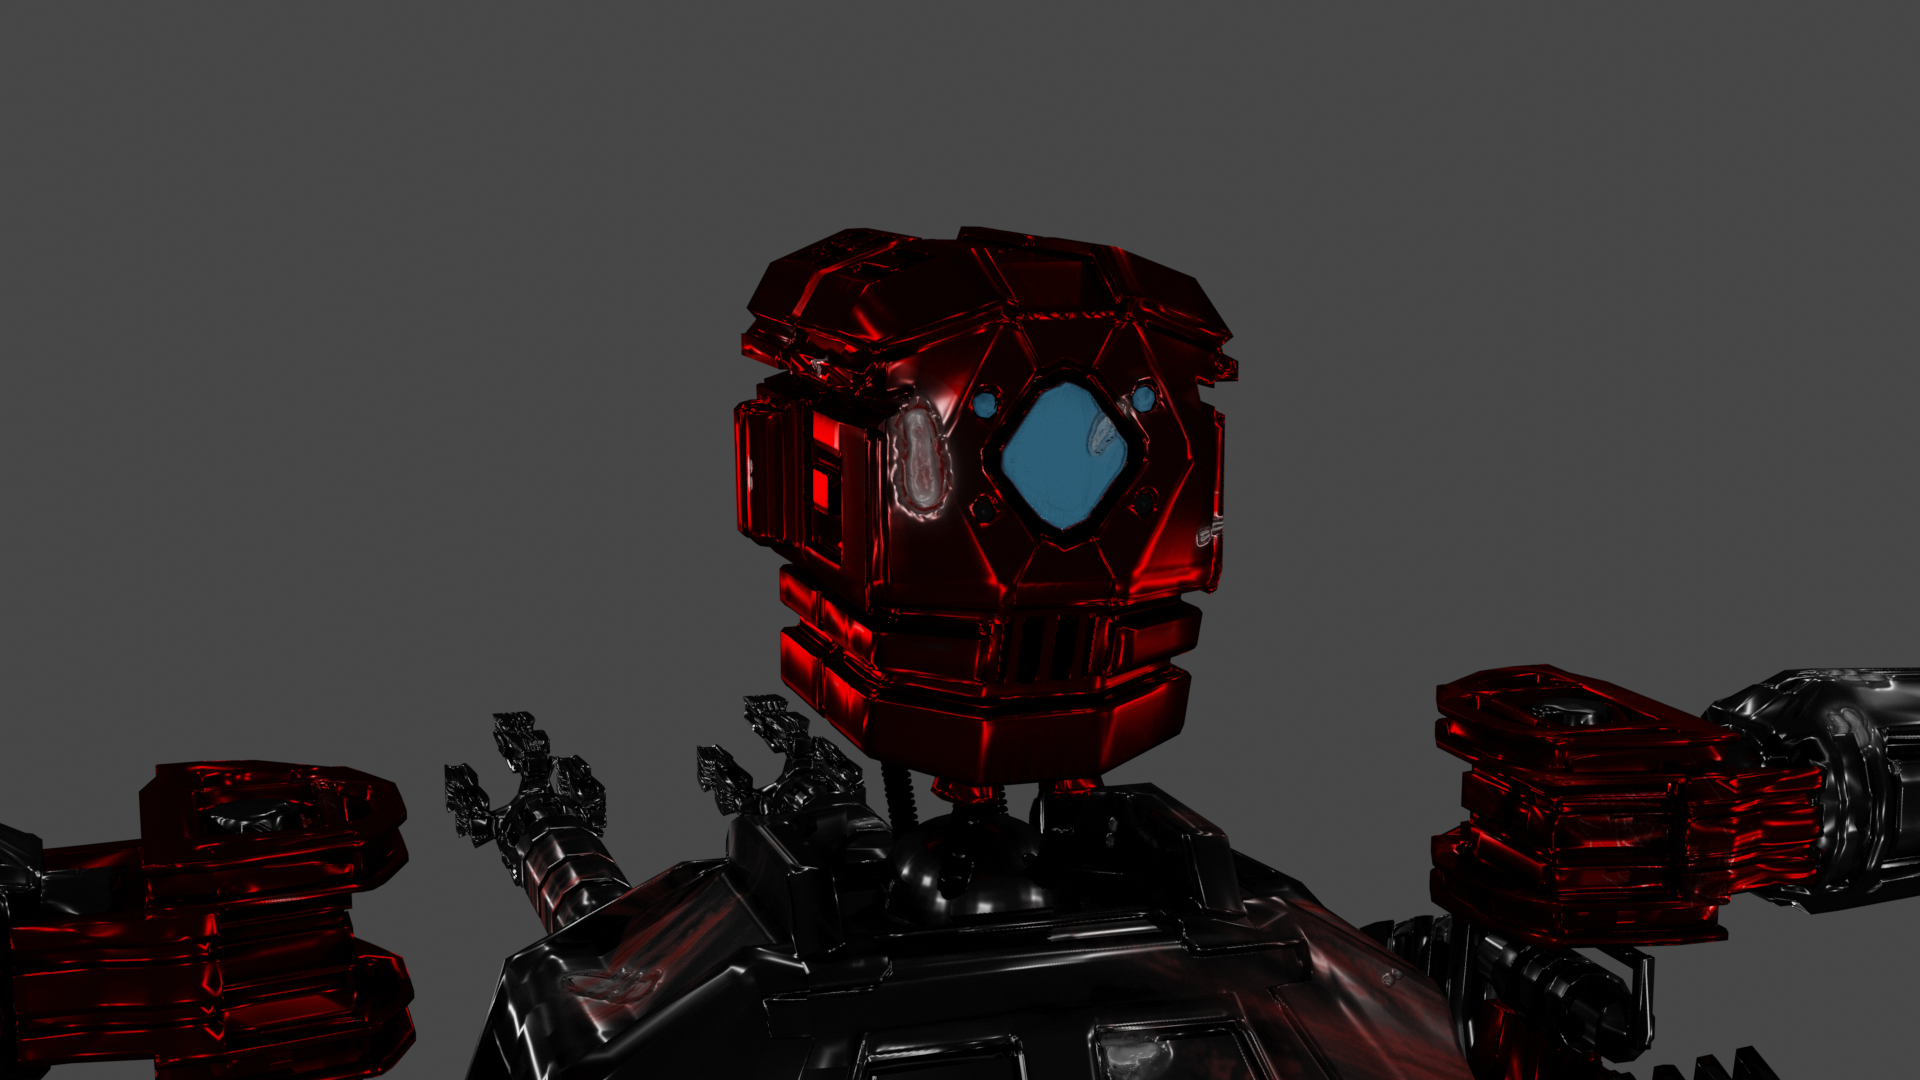
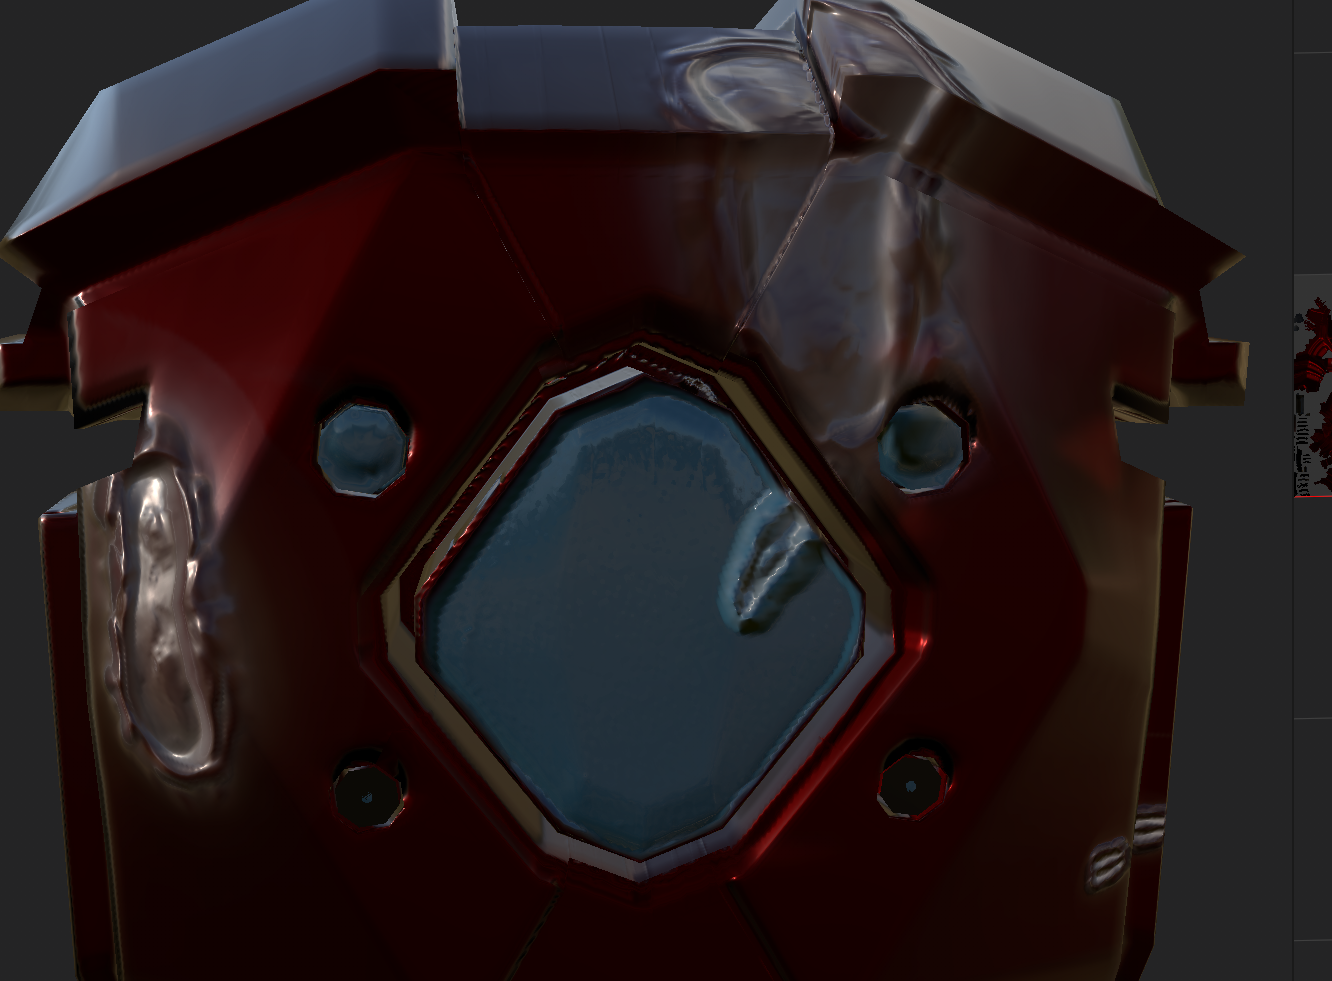
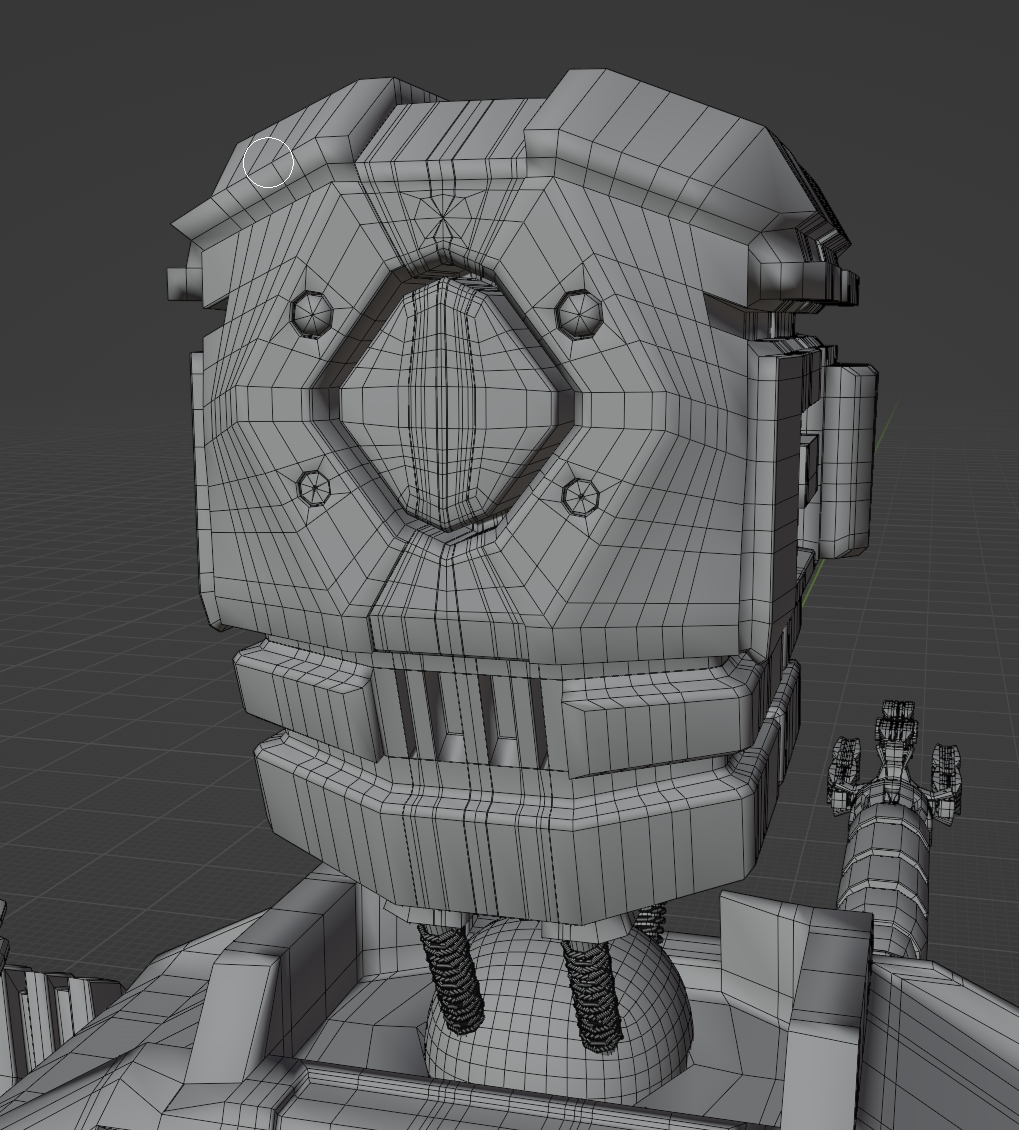
- Wireframe Head Front
-
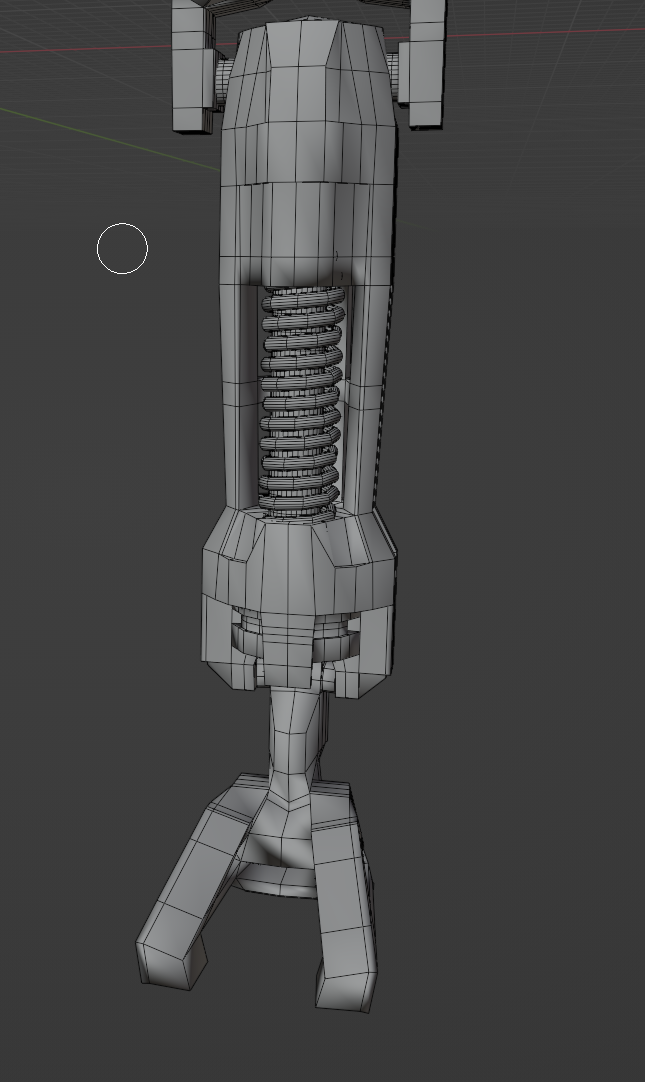
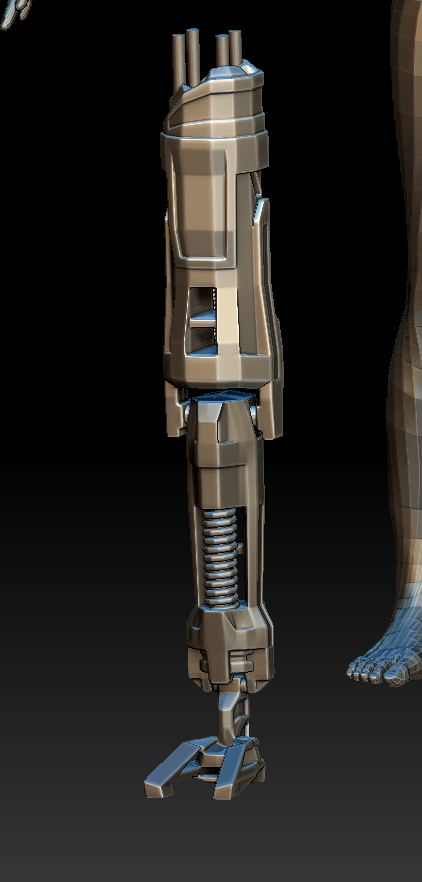
- Wireframe Spring